Windows 7 Advanced Disk Defragmentation
The defragmentation process searches your disk partitions and makes sure that the stored files are in one contiguous piece which results in better system performance. If you want to maintain your file system then the easiest and perhaps the most important way is that you should routinely defrag your drives.
Windows 7 has many added features in comparison to Windows Vista and XP, and one of them is the Advanced Disk Defragmentation feature. Just like Windows Vista, Windows 7 lets you easily perform common disk defragmentation tasks from the command line as well. In this post, we will take a look at how to perform advance disk defragmentation in Windows 7.
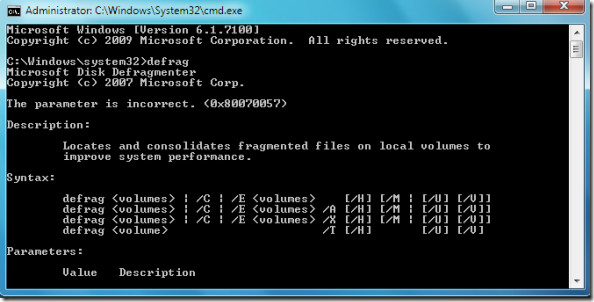
Now first of all launch the command prompt by clicking Start and then type cmd and press Enter. The command prompt will be loaded, now you may run the defrag command to perform the necessary operations. But you will need to use different switches with the defrag command in order to perform different tasks relevant to defragmentation. Simply type defrag and hit enter, Windows will then list down all of its available options(also called the switches).

Now let me tell you some of the common options which you may use with the defrag command to perform disk defragmentation.
defrag /r Defrags multiple drives simultaneously
defrag –a Performs the disk defrag analysis
defrag –v Prints the defrag results
defrag –w Defrags each and every thing
defrag C: -v –w Defrags the whole C drive
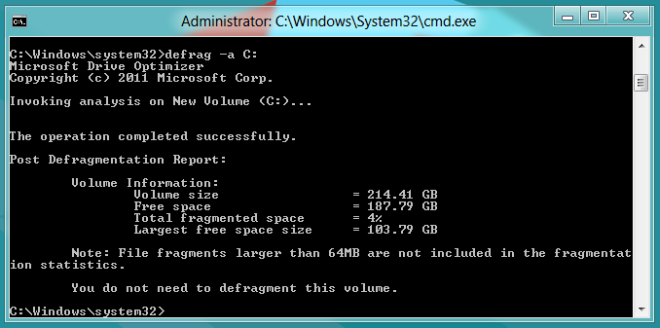
For example, here I executed the disk defragmentation analysis command (defrag -a) on my C drive successfully.
The core benefit of performing the disk defragmentation via command line is that the speed of the disk defragmentation process is exceptionally fast. Enjoy!


what about /b switch. It is also useful.