TileMill: Powerful, Cross-Platform GIS Mapping & Cartography Software
Many cartographers use a combination of Maptitude, Adobe Photoshop and Illustrator, or CorelDraw to make those gorgeous looking maps. Although these tools are very feature-rich, they do come with a hefty price-tag. However, graphic artists or cartographers will be delighted to know that we have an alternative solution for you. Labelled TileMill, this open source application for Windows, Mac OS X & Linux aims to let you create beautiful looking interactive maps with a multitude of options. It’s built on Mapnik’s map rendering library (another open source tool), and is designed to help folks who work on cartography and GIS (Geographic Information System) in map creation. Every map you create can be either uploaded to Mapbox, or be exported as PNG, PDF, SVG, MBtiles and Mapnik XML. Axiomatically, if you haven’t worked with GIS or cartography before, you might need some serious learning before taking the step and using this application, but a usage manual has also been included to make you quickly learn a few basic things. What’s more, it also supports a number of additional plugins for increased functionality.
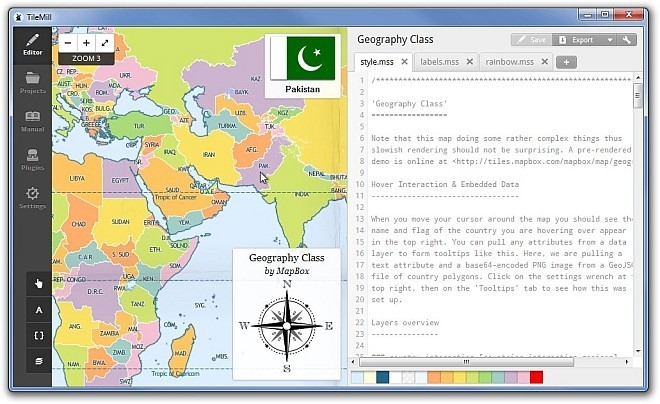
The intuitive interface of the application seems to be meticulously designed, with all the navigation controls on the upper left (Editor, Projects, Manual, Plugins and Settings), while lower left part contains the editing tools. On the right, you will see a toolbar, beneath which lies code editor for manually editing various map codes in stylesheets. Also included in the application are four sample maps, which can be accessed from within the Projects tab, namely Control Room, Geography Class, Road Trip and Open Streets, DC. You may also use the Zoom buttons to zoom in/out of the map.
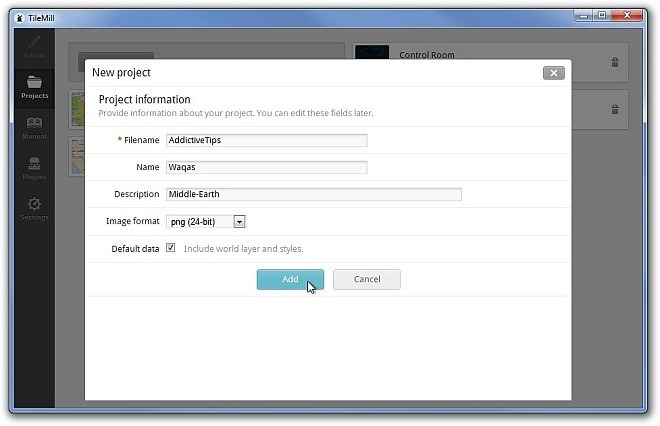
Apart from sample maps, you can create your own ones by adding a new project. You’d need to input Filename, Name, Description and Image format to get started.
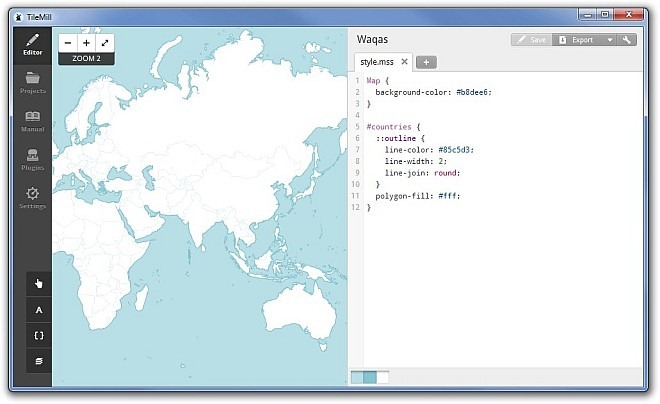
Every created project automatically appears under the Projects tab, and you can always click Editor to hop onto the editing process. Once under the Editor, you can add as many new Stylesheets and Layers as you want. You can navigate between your stylesheets under the code editor. If you have any confusion regarding the types of codes you may use, fire up the Carto (by clicking the third button on the editing tools, when under Editor tab). Carto contains various codes patterns, abbreviations, strings and so on, which you can use in coding your sheets. In addition to Carto, you can click Fonts button to get a glance at a number of different fonts from Mapnik, which can also be used in coding.
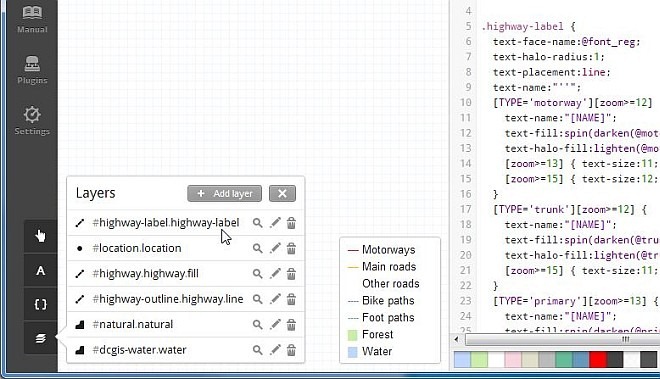
Layers, on the other hand, can be created from editing tools. You can create literally any kind of layer for your map, such as roads, streets, highways, forests, water, parks etc. Layers help in creating landmarks, and make everything on the map distinguishable from one another. TileMill lets you add layers from a range of popular databases, such as ESRI, Shapefile, KML, GeoJSON, PostGIS, GeoTIFF and SQLite. Further down the road, there is a color palette panel right below the stylesheet, which can be used to define variable colors in your projects using a built-in color picker.
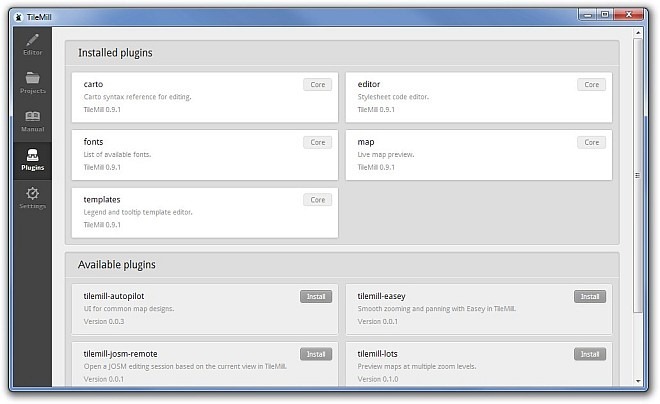
Move to Plugins tab, and you will see the number of installed and available plugins for the TileMill, for instance, tilemill-autopilot, tilemill-easey, tilemill-lots etc.
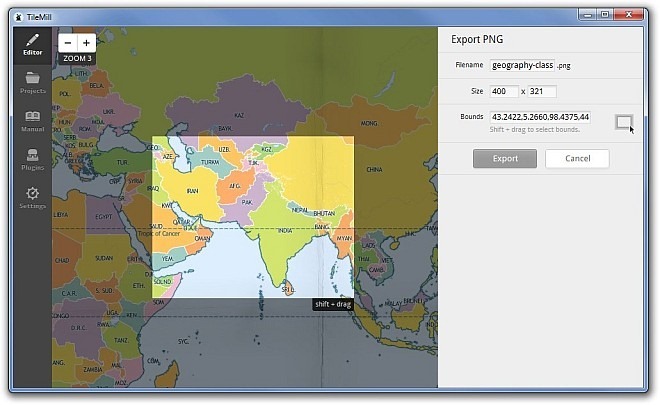
Should you need to export entire or a certain part of the map as PNG, PDF etc, you may do so by clicking Export on the toolbar. Suppose you want to save a PNG file, select PNG under Export and then input your filename, map dimensions and bounds, and click Export to save the selected map area.
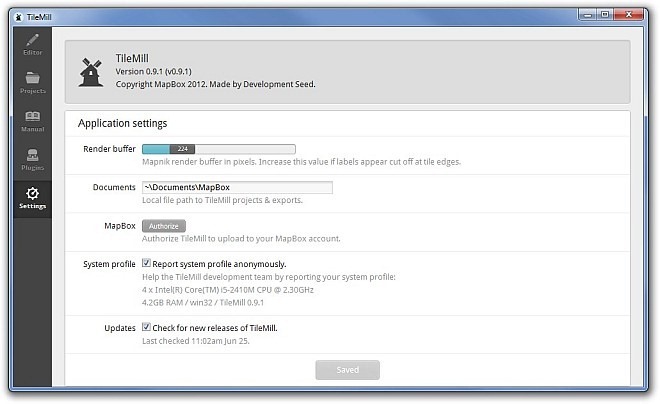
The Settings tab houses a few application specific configurations, too. For instance, you can specify Render buffer, select output directory for project and exports, activate and connect Mapbox account with TileMill by clicking Authorize, and toggle Report system profile anonymously and Check for new releases of TileMill checkboxes. Don’t forget to hit save, though, whenever you make any changes.
Pros
- Highly versatile map creation tool with full layer and stylesheet support.
- Intuitive and beautiful looking interface.
- Lightweight and easy on the system resources.
- Ability to export maps to PNG, PDF or upload to Mapbox to share with others.
- Open source with Windows, Mac OSX and Linux compatibility.
- Included sample maps.
Cons
- Not the easiest-to-use application if you don’t know what you’re doing.
- Mapbox free account comes with limited functionality, while all other plans are paid.
Final Verdict
Saying that the application can’t be outmatched would be highly far-fetched, as there are other cartography tools that let you go far beyond what TileMill has up its sleeves. However, the application does leave us highly impressed! It’s feature-rich, ergonomically friendly and open source. To top it off, Mapbox helps you to upload your created maps or grab the ones cooked by others, and then there’s Windows, Mac OS X and Linux support, too. So, if you were looking for a free cartography tool that can adequately do the job, TileMill surely is the one to get.
The application works on Windows, Mac OS X and Linux. Testing was carried out on Windows 7 Ultimate, 64-bit.

I looked forward to downloading and trying this program as I the need to make a series of maps for Wikipedia. When I followed the instruction for adding a layer I got an error message telling me TileMill could not autodetect the projection type for the data. This was for MapBox files which are supposed to be autodetected. I got nowhere. I was very disappointed.