StepShot: Create Step-by-Step (How-To) Product Guides And Help Manuals
If you’re planning to create a professional help manual of installing or configuring a complex application for your clients, colleagues, or for end-users, you may want to use a dedicated software to create and manage the design of help manual. The word processors and graphic design tools offer a limited set of options to design help manuals, technical documentations, procedural guides, etc. Therefore, it may become quite a wearisome task to write each step and then include marked screenshots to explain the steps involved in installing or configuring the product. StepShot has been developed to easily create procedural guides and help manuals without having to manually adjust text and images in the document. StepShot lets you effortlessly take and mark screenshots, caption them, adjust the images in document and compile the steps in required sequence.
Inspired from MS Office 2010 ribbon based interface, StepShot categorizes tools into groups, so you can easily find the relevant tools related to one feature. For instance, screencast tools are present in Session Recording group, while the sreen capture options are accessible from Standalone capture group. The preliminary setup wizard helps you easily configure basic settings, including, hotkey combinations, screen area crop size, enable/disable draw cursor and highlight cursor, session auto-save period, external image editor, and limit on number of screenshots in history.
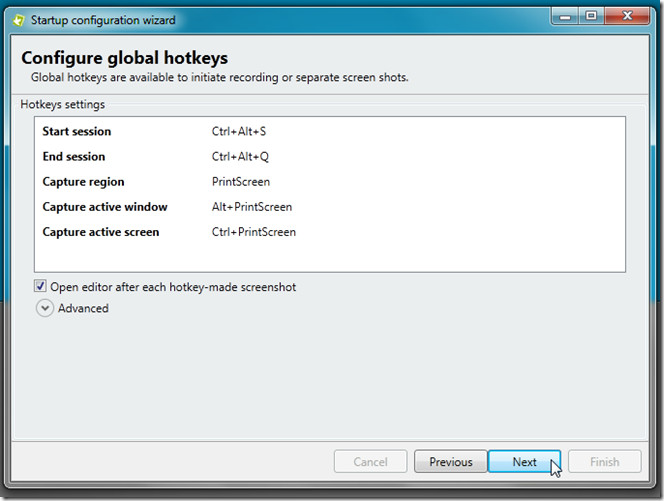
StepShot automates the way you create a help manual. You no longer need to capture screenshots, set them in a sequence, and then import them to the help manual document. Just select the screen from Start session recording group to start the screen capturing session. Upon click, it will bring you to the desktop, letting you launch the application for which you’re creating help manual. When you open a program, use a function, move through some steps in an application, it takes a snapshot and immediately saves it in History. The process of recording screen is completely distraction-free. It doesn’t interrupt your workflow at any stage of recording or capturing screen area.

The left sidebar contains History which displays all the images recorded during the process. The main window shows the captured images and lets you edit them with built-in tools. From underneath the main window, you can add caption and image description.
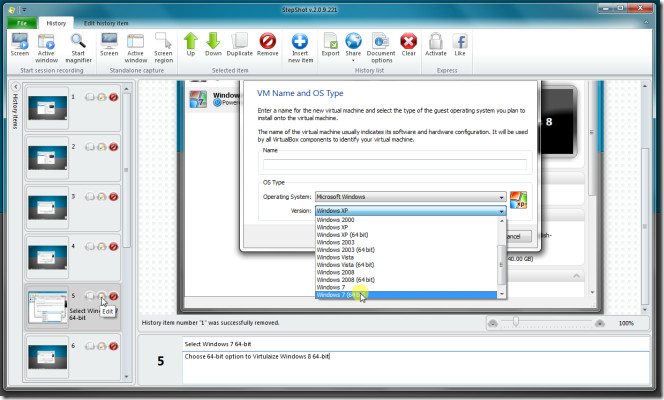
The toolbar contains options and tools to start screen recording and standalone capture sessions, remove selected items, insert new item, and export, save, and clear History list.

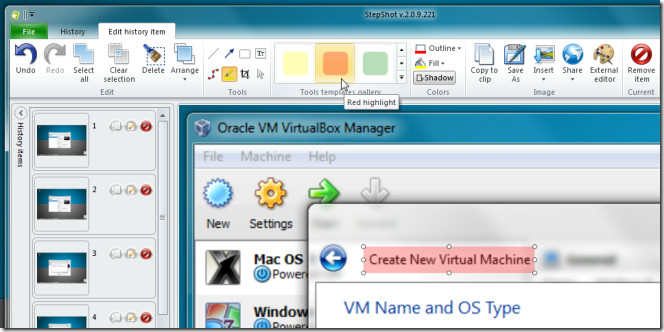
The Edit history Item tab contains free hand drawing tools and options to edit the image, insert markers, crop image, insert textbox and shadow, outline specific section of image, fill shape with colors, copy image to clipboard, insert image from external source, upload image to Imageshark, Dropbox, Mail account, and to open specified external image editor.
The History pane at left sidebar can be extended to get bigger preview of recorded images. It shows both caption/title of images with thumbnail while options to create duplicate, remove and edit image are also available.
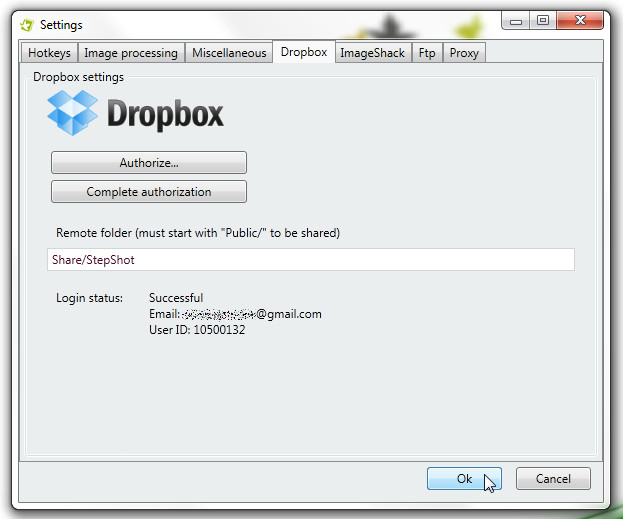
StepShot is a highly customizable application. You can reconfigure hotkey combinations, define image processing settings, change notification options and external image editor, from Settings. StepShot lets you directly send images to Dropbox, ImageShack, and to FTP server. Select Settings from File menu to configure respective accounts and change aforementioned application settings. You just need to specify the Dropbox folder where images are to be sent. Likewise, it requires your ImageShack and FTP account credentials to upload images directly.
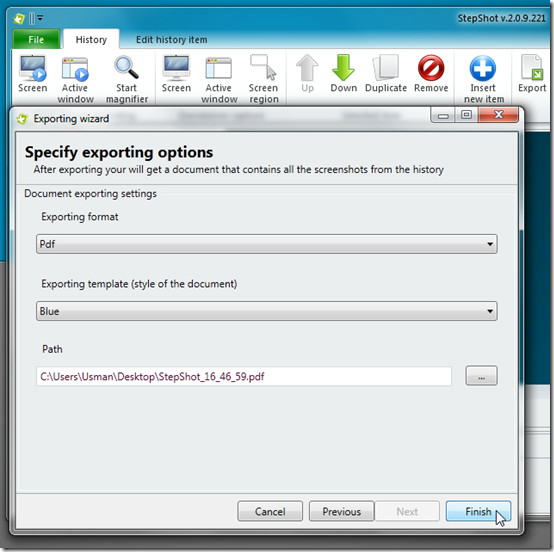
Once you’ve captioned all the screenshots, bring up the Export wizard from History tab. The wizard guides you through the process of exporting all the items in StepShot history. It supports 6 export formats, including, PDF, RTF, HTML, XLS, MHT, and JPG. In first step, enter the description, artist name and abstract of help manual. In second step, specify export formats, exporting template (supports 6 color schemes), and output path. Once done, click Finish to export the screenshots to specified help manual format.
You can watch detailed usage video below.
All-in-all, StepShot provides the easiest way of creating help manuals and procedural guides. Check out complete feature list by hitting up the link below. It works on Windows XP, Windows Vista, and Windows 7.

I find either windows 10 steps recorder (or doing printscreen (at each step) in Linux, which saves as JPG), then putting that into Microsoft Word or LibreOffice Writer – works well for me for building a step-by-step guide. A bit like cookbooks, photo of step and written “what to do” at each step.
Great tool. Awesome review. Its basically addictivetips which makes it special and to become known among us. Thank you addictivetips for bring this here.
watermark :/
this is a great app, just what i needed
I’ll test it, thanks !
great, free but have watermark.. i wonder why you guys wont add any url box for the reader leaving their url site. i think a lot off comment will publish here if you guys add it. just try, wont hurt.