Step By Step Upgrade Process From Windows 7 To Windows 10
Windows 10 is out and we jumped the queue like any restless impatient tech enthusiast would to get it as soon as possible. The Microsoft’s Media Creation tool took care of the files that needed to be downloaded and it carried us through all the way to the Windows 10 upgrade screen. Here are step by step screenshots of the upgrade process.
Before you start, make sure your Windows installation has been activated. To check if Windows has been activated, right-click on the My Computer icon and select Properties. Under the Windows Activation section, you can check your activation status.
Back up your files. The Media Creation tool gives you an option to keep your current files and settings after the upgrade and it works too but it’s always better to be safe rather than sorry.
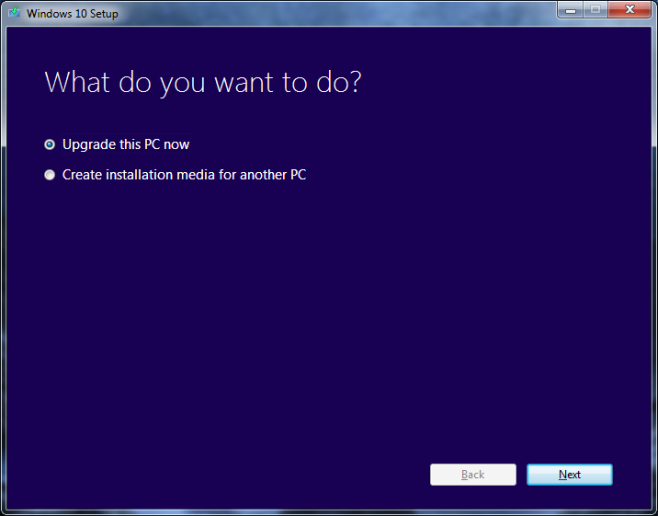
Next, download and run the Media Creation tool. This is the first screen you will see. It will ask you if you want to upgrade the current Windows installation or if you want to create installation media (USB or DVD) for a different system. Since you want to upgrade Windows 7 to Windows 10, select the ‘Upgrade this PC now’ option and click next.
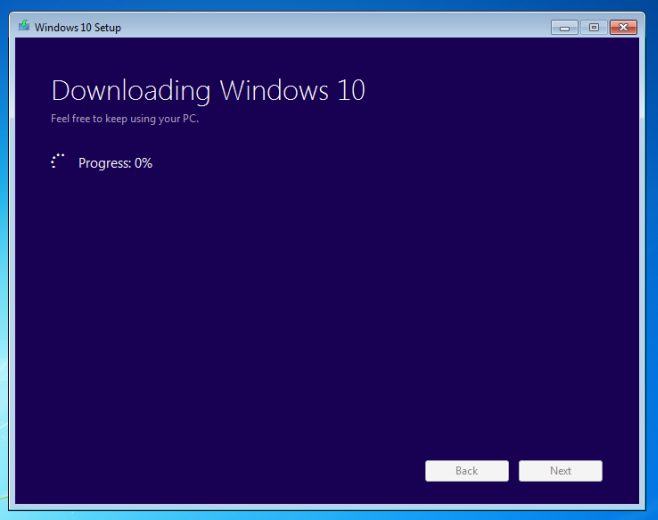
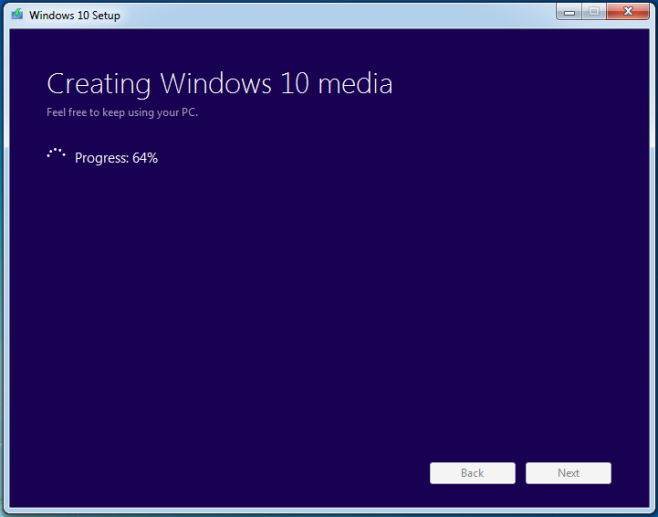
The Media Creation Tool will now start downloading files. This will be one of the longer waiting periods you will encounter during the upgrade. The files are now downloading and it can take up to 3 hours on a moderately fast connection. You can continue to use your PC in the mean time and minimize this window, however, DO NOT close it unless you want to abort the download.
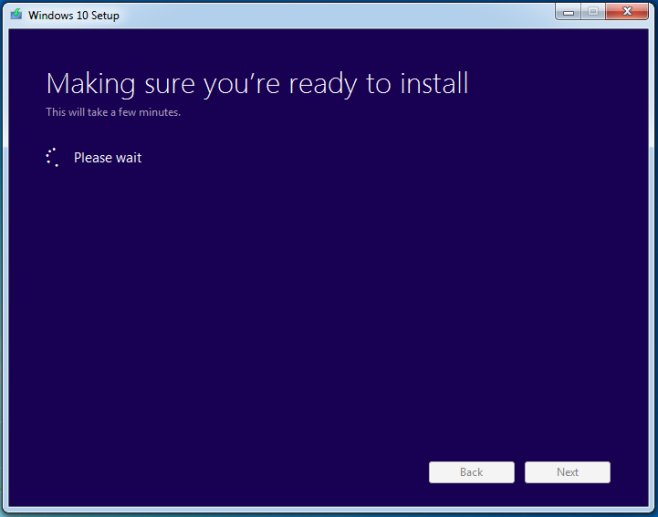
Once Windows 10 files have been downloaded to your system, they will be prepared for installation and you will see the following screen. It will require some input from you after this step.
The next screen will indicate the start of the upgrade process. At this point, we’d like to warn you that you can abort the upgrade if you want but that you should do so only through the Media Creation tool. It will take some time to roll back any changes and you shouldn’t interrupt it.
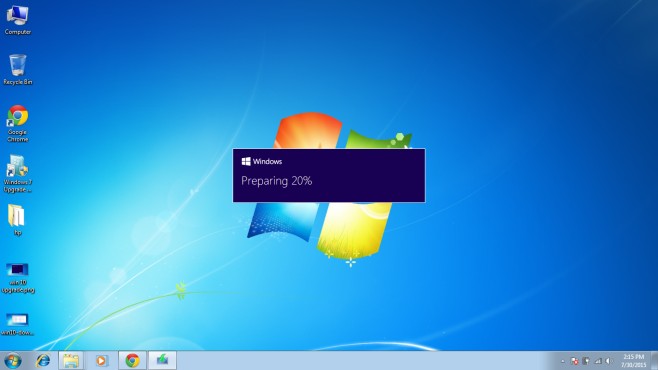
You will be asked if you want to search for updates or not and that searching for and downloading the updates will help smooth the upgrade process. If you decide to search for and download updates, it will take longer. If you decide to skip the downloads, you will be able to download them after upgrading to Windows 10. Skipping them has no adverse effects.
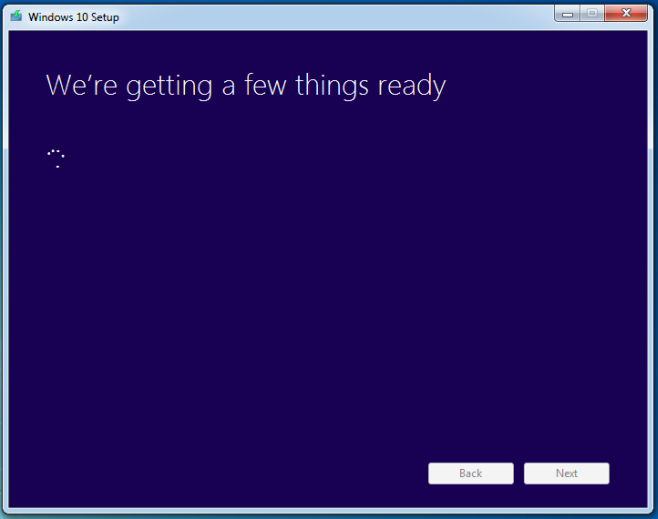
It’s surprising how much time Windows needs to ‘get a few things ready’ but hang in there.
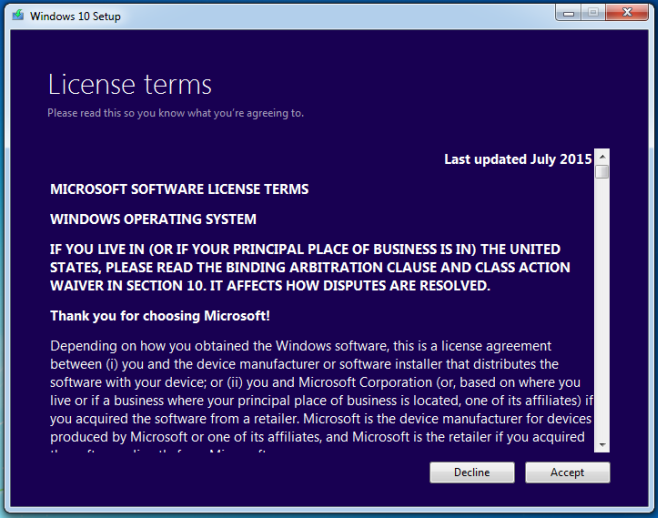
Accept the license when prompted;
Almost there;
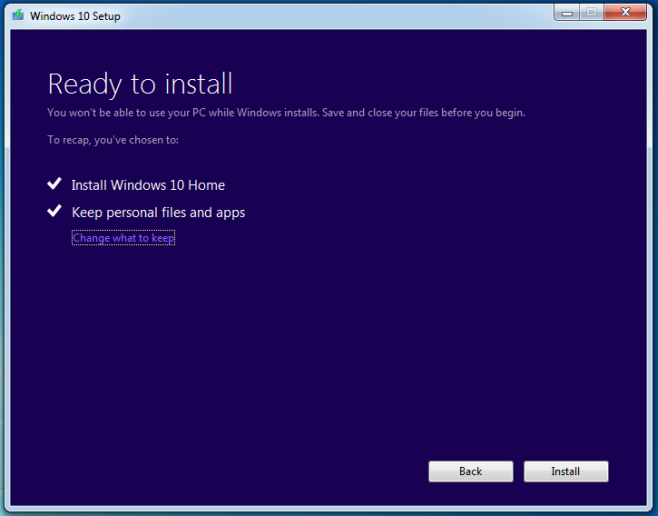
You will be asked if you want to keep all your files and apps after the upgrade. By default, it will keep everything however, if you’re looking to start fresh with no apps or files, click the ‘Change what to keep’ option.
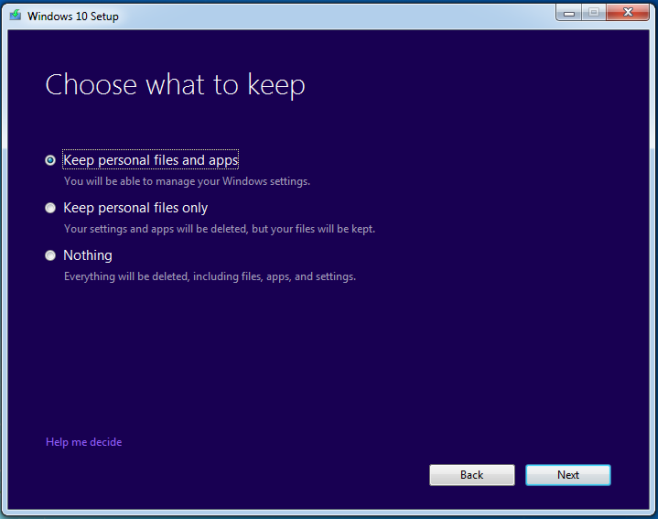
The tool will give you three options; keep files and apps, keep files but not apps, and keep nothing. Choose what you want to do and click Next.
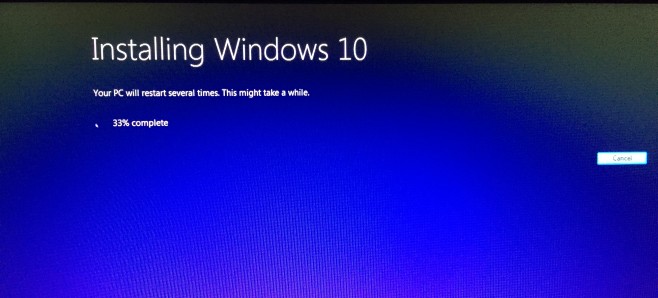
From this point forward, taking screenshots wasn’t possible so we’ve got some potato quality photos to illustrate the rest of the upgrade process. After this next step, your PC will restart and that’s the last you will see of Windows 7 on your current system.
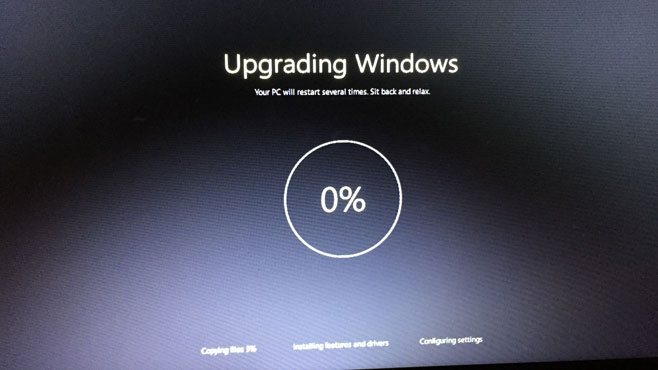
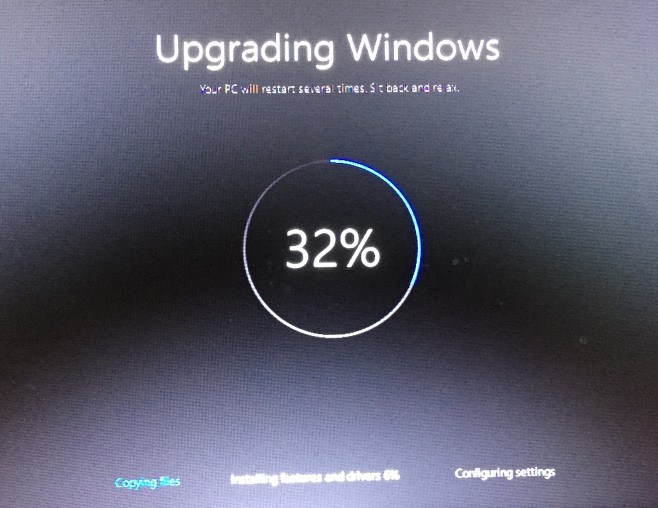
The rest of the update is divided into three steps the first of which is ‘Copying files’. This constitutes roughly 30% of the upgrade process.
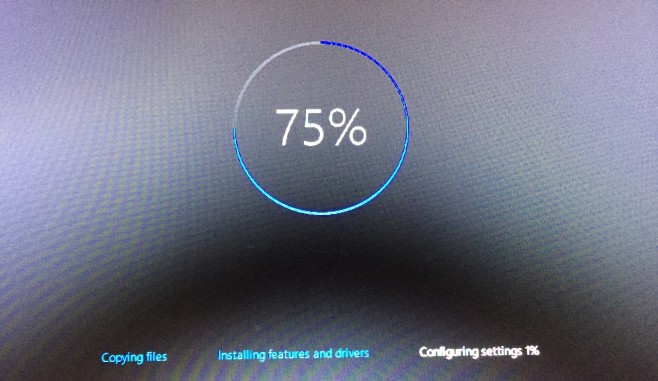
Your PC will restart after it has finished copying files and you will move to the next step, ‘Installing features & drivers’. This will account for up to 75% of the upgrade (bad photo quality is bad).
And finally, you will get to the Configure Settings part (after another restart).
That’s it. If this completes successfully, your upgrade will be complete. What will follow are screens where Windows 10 asks for some basic information like your time zone, and which WiFi you want to connect to, as well as your Windows Live ID.
The upgrade takes time and several times Windows will tell you it’s preparing something and that it will only take a few minutes for it to do. It can actually take several minutes to do that so don’t worry and happy upgrading!
Download Microsoft Media Creation Tool To Upgrade To Windows 10
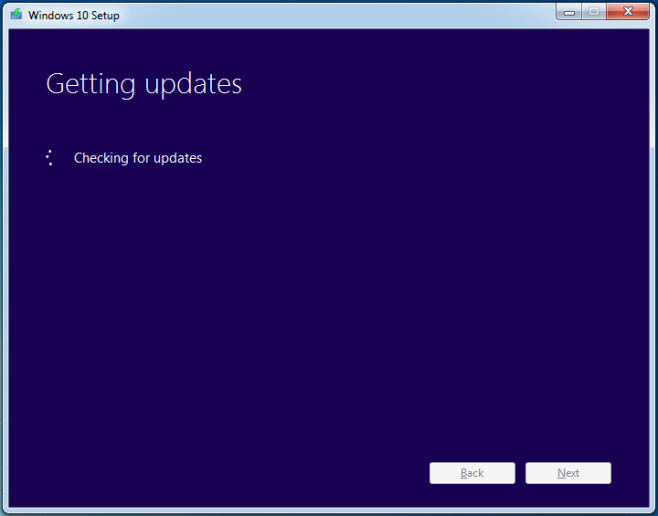

It won’t stop checking for updates–twice now on this attempt to get windows 10. I’ve already accepted their license and now back on looking for downloads. Never ends. Earlier I called the disability # because I am on disability and he started me on this process but it’s been hours and I can’t even skip this. No offer to skip. Yeeeccchhh!
I keep getting the “Something Happened” screen then it closes. anyone know what gives?
my downloaing stopped at 44%.
any way i can resume dat or do I have to start again?
My experience on one machine was to keep restarting the downloads (it finally worked after the 7th attempt.
A better way though is to download the ISO for windows 10 and burn it to a DVD.
Make sure you set it up as a bootable disk (search the Internet on how to create a bootable disk for an ISO). Then shut down your PC (after making sure it will boot from a DVD by checking out your BIOS). You can usually set up the BIOS by pressing “F8” key as your machine boots up (some PCs have a different key – again search the Internet about how to change your BIOS).
Note: This method will remove all your files! Make a list of all the programs you have installed and find their DVDs/CDs (if you have them) and obtain the Licence keys. (Use a program such as “Belarc Advisor” to do this…it is free to non-business users) If you have downloaded software the keys are probably stored in your emails or may actually show in the Belarc Advisor reports)
I would take a screen capture of your PC main screen(s) as well (using something like “Snagit” which you can download and use as a trial temporarily (well worth buying by the way). Print out the captured screens so you can look at them later to set things back how they are (or be like me and just start building your screens again) Yes, there is quite a bit of work to do using this method.
It is vital you backup your email (if you use the desktop programs such as Outlook).
After a reboot from the bootable Windows 10 ISO file, the system will be “clean installed” (just like a new PC without any of the usual “Junk” programs that come with it).
Then comes the chore of re-installing all programs from your “List” and setting up the screens how you want them. Not that the screen setup applies only to the “Desktop”. The main Windows 10 screen will look after itself (I harldy ever visit it, truth be known!) 🙂
It would be even more helpful if someone would address the *something happened” failure.
I have tried everything I could find in response to that error, and nothing has worked
Thank you for reporting this. I’ll start looking for solutions and post them as soon as I find something solid.
From my experience this error arises when users are running Windows 7 and Windows 8 Enterprise edition. The upgrade tool does not support Enterprise versions.
Microsoft mentions it themselves on their “Upgrade Tool” page, “If you’re on an Enterprise edition, the media creation tool won’t work for an upgrade.”
I have Windows 7 Professional Service Pack 1. I do not see anywhere that I might have enterprise edition, I assume this would be evident on the page where my Windows Product ID is . And i have a legitimate windows license.
I have also tried the tips that mention that the default language might not be set to en-us. Mine is.
Recently, the error msg i started getting is after it completely downloads and creates the installation media, it kicks off the full screen Setup screen, and I get “invalid command line option /DynamicUpdate ” . I found some tips that said to make sure that Windows Update was working…. But that is not my problem either. So, I do not know what else can drive this “invalid command line … ” message…
It would great if we can get a tutorial how after to do a clean install after upgrading
I’ll definitely try and do one.