SPlayer: A Feature-Rich Media Player With GPU Acceleration
SPlayer is an open source media player that claims to be (in a lot of ways) better than other popular free media players such as Storm player, QQ Player, Realplayer and KMPlayer. The application supports many file formats and also calls itself to be the lightest of all. Some of the key features of this player include auto-matching subtitles, GPU usage optimization, startup speed, optimized CPU utilization, ease of use and a simple yet elegant interface. The player uses various optimization engines to present fascinating picture and sound quality, such as ShaderEngine, LiveColor and SmartAmplify technologies. The application is available as both installable amd portable versions for on-the-go usability. Does it live up to all the hoopla its creating? Let’s find out.
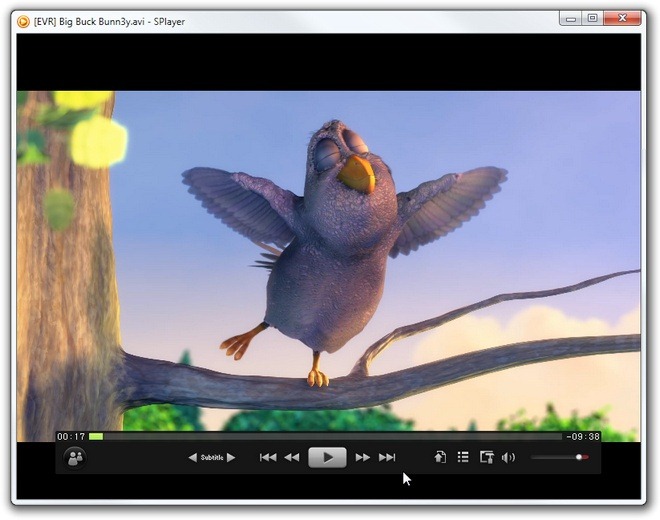
The player has a black interface design with metallic grey navigation controls. The playback slider consists of green color, and the overall GUI seems satisfying enough. It supports a total of six different languages. The navigation buttons consist of Play, Forward, Backward and Skip controls along with Open file, Playlist, Setting Panel, Mute and volume slider. It also includes subtitle synchronization controls to easily time your subtitle files if they are out-of-sync.

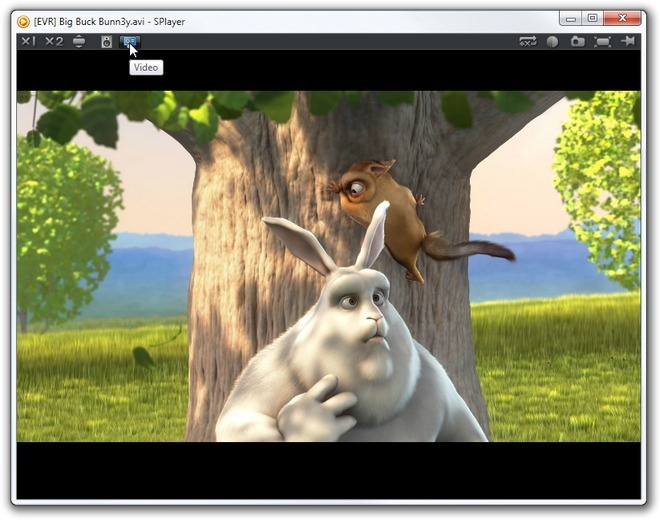
Hovering your mouse curser over the upper most section of the application window reveals another menu, which contains a few more options to customize the playback. On the left side, there are buttons to control video zoom level, remove the black bars above and below some views, and set various audio/video settings. On the right side of the window, there are five more buttons, namely Repeat, Bright and Contrast, Image Capture, Fullscreen and Ontop (where the latter keeps the application above all other windows).

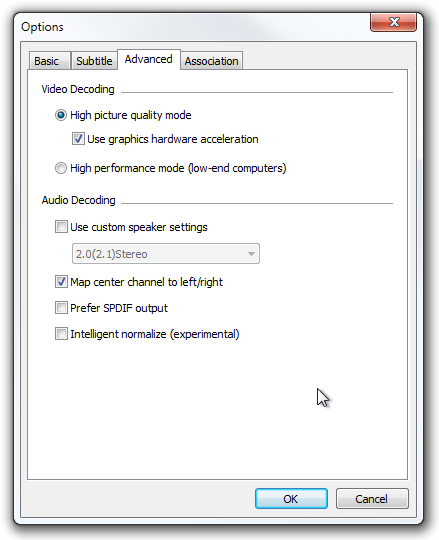
The player supports GPU hardware acceleration for smooth playback and vivid picture quality, which in return also reduces CPU load. You can instantly switch between Quality and Performance display mode by right clicking the video and heading to the display menu. By hopping into the Options window, you can configure various application settings. The Basic tab contain options for setting User Interface and Player Behavior. You can go to the Subtitles tab to customize your subtitles color and enable Auto download of subtitles from the internet.
The Advanced tab contains the aforementioned settings for Video Decoding, as well as options for Audio Decoding to set output audio channels, for example, stereo or 5.1 etc. You may enable SPDIF output for better sound and audio clarity. The application supports various file formats such as AVI, MKV, WMV, MP4, MP3, WMA, Flac etc. and you can mark the formats by heading to Association tab.

The application is compatible with Windows XP, Windows Vista, Windows7 and Windows 8, on both 32-bit and 64-bit system architectures.

For HD content, Media Player Classic paired with MadVR beat’s anything I’ve used, bar none. It requires a decent GPU and thrashes your system, but it’s as good as picture quality can get.
For upscaling low res content, PowerDVD is really nice.
For low CPU usage and play anything, always work reliability, I love VLC.
Seems good, but this version has serious issues with audio, at least with my system (notebook Asus N43 series). Only if I popup the channel controler option I can hear the center sound. Sometimes the subtitle also bugs.
Also, VLC still rules here…
Is it better than VLC 2 in any way??
using it for a year… but vlc 2 still the best
im always looking for a media players