ScreenSnag Lets You Create Multiple Screen Capture Profiles
Screenshot tools seldom lose their relevance, especially for documentation and reporting purposes. Therefore, it is always beneficial to keep an eye on the best and most suited tools that match your requirements. Although we have covered an overview of the 5 best free screenshot capturing software, ScreenSnag has caught our attention, owing to its simple yet powerful interface, and some additional features that are bound to help you in the hour of need. All features are organized in accordance with user-defined profiles. The Caption, border, scale, timer, sound, cursor and other options promise to give you a unique screen capturing experience. With the standard modes, you can easily add captions to the captured images for documentation purposes.
The main window is organized into 4 sections: Input, Output, Options and Profile. The Input section allows you to define properties for Full Screen, Region and Window modes while the Output option allows you to save or copy the screenshot directly to the clipboard as per your requirement. You can also take intelligent screenshots of elements in an application such as the buttons in the Calculator app in Windows. A wide array of Options is provided, allowing it to present the best of everything categorized in multiple Profiles relevant to the situation. In addition, you can instantly access the configuration by clicking the system tray icon. The Storage button allows you to locate screenshots and open the destination folder for easy access, while the Capture button takes screenshot according to the set profile.
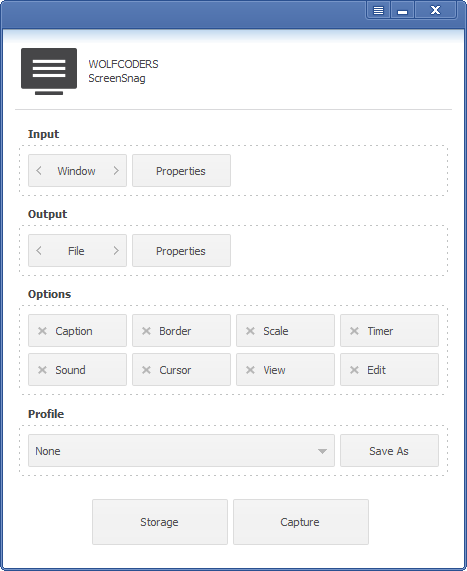
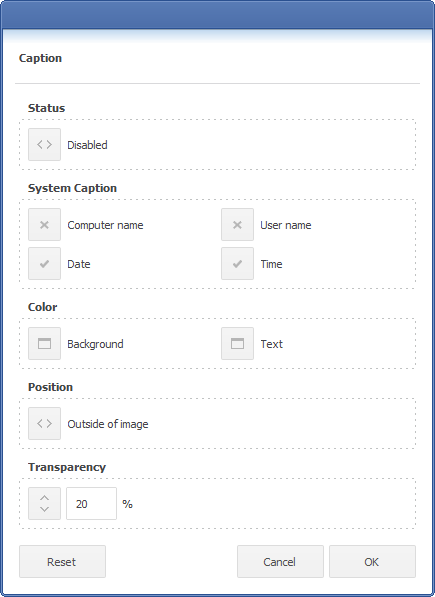
Clicking the options buttons of features opens the respective windows. For example, the Caption allows you to add System information like Computer/User name, Date and Time to the image, and set background and text colors in accordance with your taste. It is worth noting that the default image editor for ScreenSnag is Microsoft Paint.
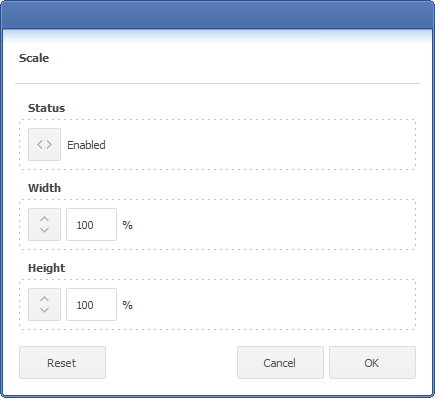
Enabling Scale lets you to define the Width and Height of the screenshot for better focus and processing. You can always Reset the settings in case of any unwanted outcome.
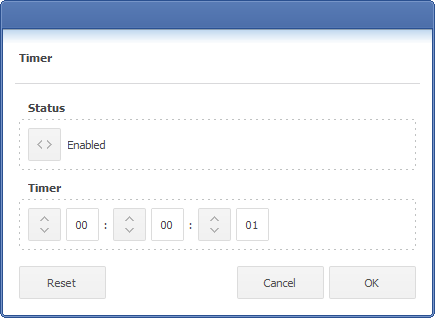
The Timer feature, on the other hand, allows you to specify intervals for taking automatic screenshots.
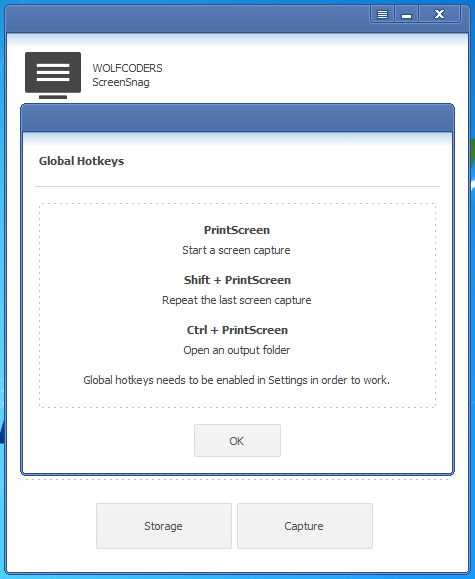
Moreover, clicking the configuration button on the top right corner of the main window lets you access the Global Hotkeys to simplify the user experience. Remember to enable the Hotkey settings in your profile for the appropriate hotkeys to work.
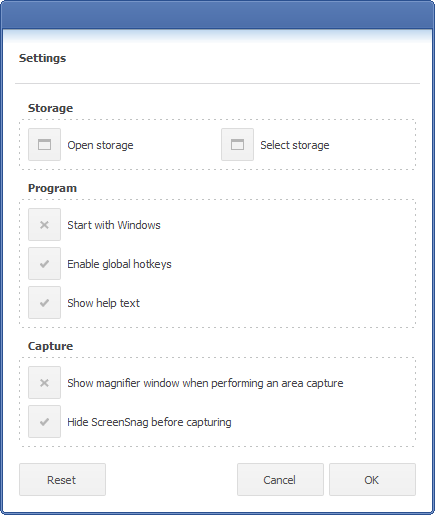
If the built-in magnifier is annoying you while taking screenshots, you can easily disable this or any other software-specific detail for your ease from the Settings window. Screenshots can be saved in JPEG, PNG and BMP formats.
We tested this utility on Windows 7, 64-bit edition. It also supports Windows XP, Windows Vista, Windows 7 and Windows 8.
