How To Restrict Account Users From Changing Personalization Settings In Windows 8 [Tip]
Like previous Windows versions, each user can keep their own personalization settings in Windows 8. That means that everyone can have their own customized desktop with respect to theme settings, screen saver, sounds, desktop background, and other visual styles. Yesterday, we published a tutorial on how to restrict users from accessing internet connection settings property sheet in Windows 8, using the Local Group Policy Editor. The Local Group Policy Editor allows users, with administrative permissions of the system, to specify a wide range of system components usage settings, and put restraints on the amount of control a non-administrative user has on the system. In this post, we will show you how to restrict Users from making changes to the Personalization and Visual Style settings in Windows 8.
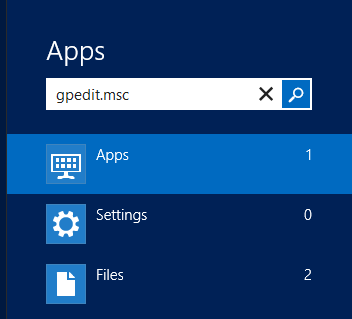
To begin, make sure that you have logged in as Administrator or have required administrative rights to change local group policies. First, go to Start Screen, type gpedit.msc, select Apps from right sidebar, and then click gpedit.msc in main window.
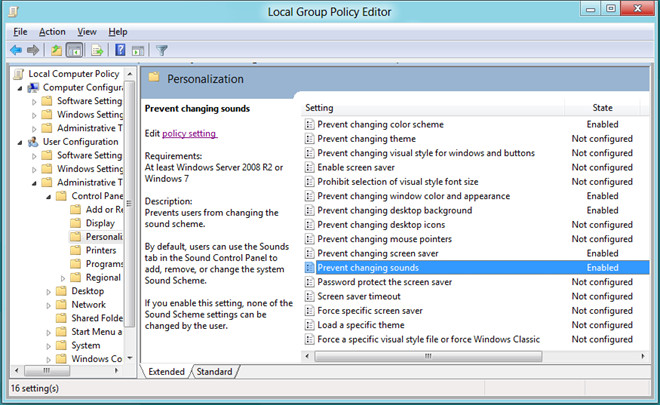
This will open Local Group Policy Editor. Now, go to the following location and select Personalization to view the list of available policy settings.
Local Computer Policy/ User Configuration/ Administrative Templates/Control Panel
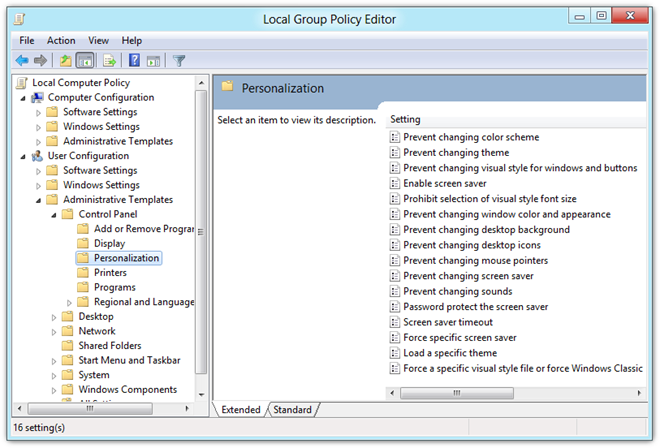
The right side will list all the items in the Personalization category with their policy setting set to Not Configured. You can view the current state of each policy setting by looking under the State column in the right side.
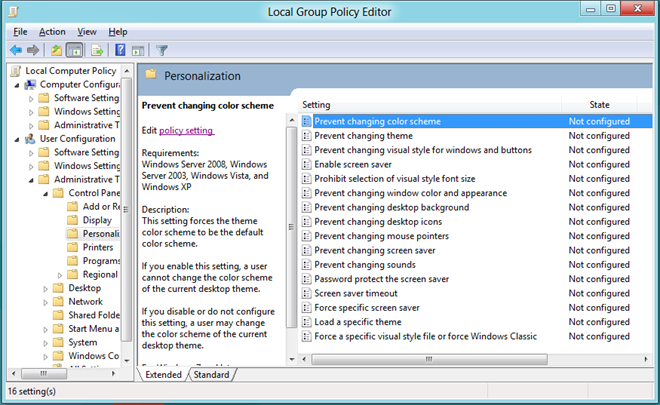
Now, to restrict access for all the Users to any type of personalization option, select the required option from the list and choose edit Policy Setting. This will open a separate window, which allows you to tweak the default policy setting for the selected item. At the top, there are Not Configured, Enabled and Disabled options available. Selecting each setting will let you read about the effect that it will have on your computer in the Help section. To enable the restriction, select Enabled and click OK.
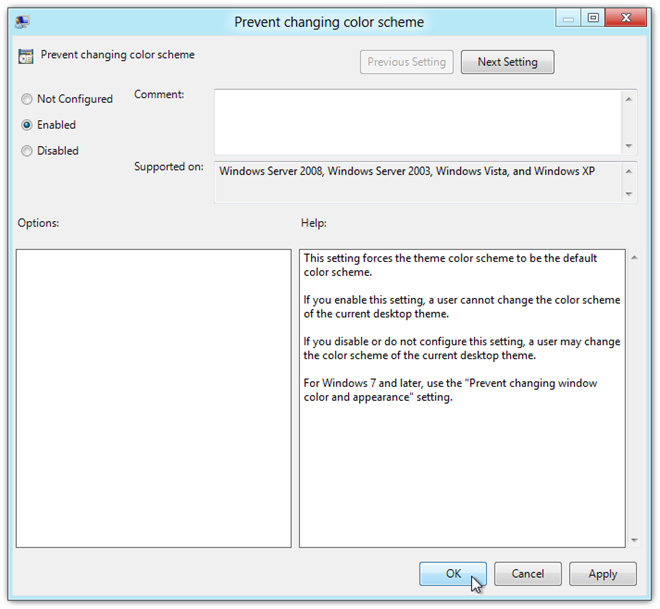
Perform the same steps for disabling all the other Personalization options for all Users. When you change the policy setting, the state should be changed to Enabled under the State column.
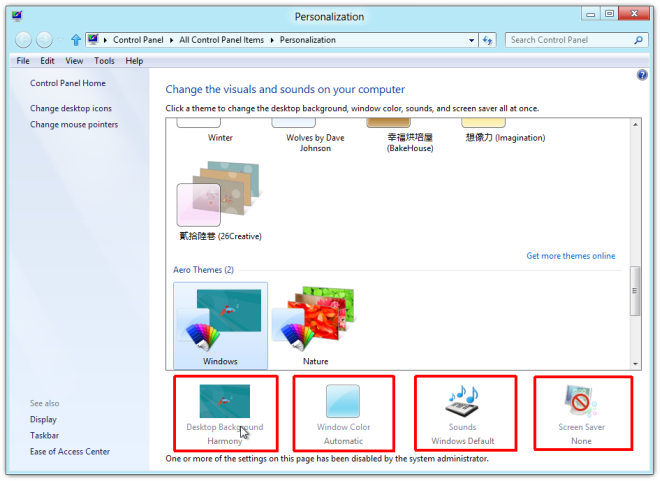
Now, any users who open up the Personalization dialog box, will not be able to change any of the settings that you have restricted.
Such a restriction might come in particularly handy for corporate users, or for people who deal with shared computers and do not want inexperienced users meddling around with any personalization parameters as a precaution.
