Installing and Configuring Microsoft SharePoint Server on Windows Server
Microsoft SharePoint Server is a web-based collaboration tool. It is neatly integrated with Microsoft’s online office suite: Microsoft 365. SharePoint has been around for quite a while and is primarily used for document management and storage. However, users can also use it to create intranet websites, extranet websites, and many other things.
In this guide, we’ll show you how to install and configure Microsoft SharePoint Server on your Windows Server. However, ensure your Windows Server meets the following minimum requirements.
- Operating System: Windows Server 2016 or later
- Processor: 64-bit, quad-core, 2.5 GHz or higher
- Memory: 16 GB RAM or higher
- Disk Space: 80 GB or more
- Database: Microsoft SQL Server 2016 or later
- .NET Framework: .NET Framework 4.8 or later
- Web Server: Internet Information Services (IIS) 8.0 or later
- Browser: Microsoft Edge, Internet Explorer 11, Chrome, Firefox, Safari (latest versions)
Note that you will need multiple Windows Servers to connect SharePoint Server 2019 to a server farm. Having a farm is essential for SharePoint as it helps with fault tolerance,
Preparing your server for Microsoft SharePoint Server
Before installing Microsoft SharePoint Server on your Windows Server, please ensure that Windows is updated with the latest patches. You can do this by opening Windows Update and checking for any available updates. After checking for updates in the Windows Update area, install them.
Once you’ve installed available patches via Windows Update, you’ll need to install software prerequisites for SharePoint. There are a few ways you can install these prerequisites (such as server manager). We’ll use PowerShell as it is much faster.
Open up PowerShell and enter the following commands to get the features you need to run Microsoft SharePoint on your Windows Server.
Install-WindowsFeature Net-Framework-Core

Add-WindowsFeature -IncludeAllSubFeature Web-Asp-Net

Install-WindowsFeature RSAT-AD-PowerShell, Web-Server, Web-Mgmt-Console, Web-Mgmt-Service

Install-WindowsFeature Web-Server
Once these 4 features are installed and enabled on your system, reboot it. When Windows Server is logged back in, you can begin installing SharePoint.
Installing Microsoft SharePoint on Windows Server
Microsoft SharePoint on Windows Server is distributed to users in the form of a downloadable IMG file. It is about 3.4 GB in size, so the download should take a couple of minutes.
To download it, head over to the official Microsoft SharePoint download page, select your language in the drop-down menu, and select the orange “Download” button. When you select this button, the IMG file will begin downloading.
After “officeserver. img” finishes downloading, open up the Windows Explorer app on your Windows Server, and select the “Downloads” folder. Inside the “Downloads” folder, right-click on “officeserver.img” and select the “Mount” option.
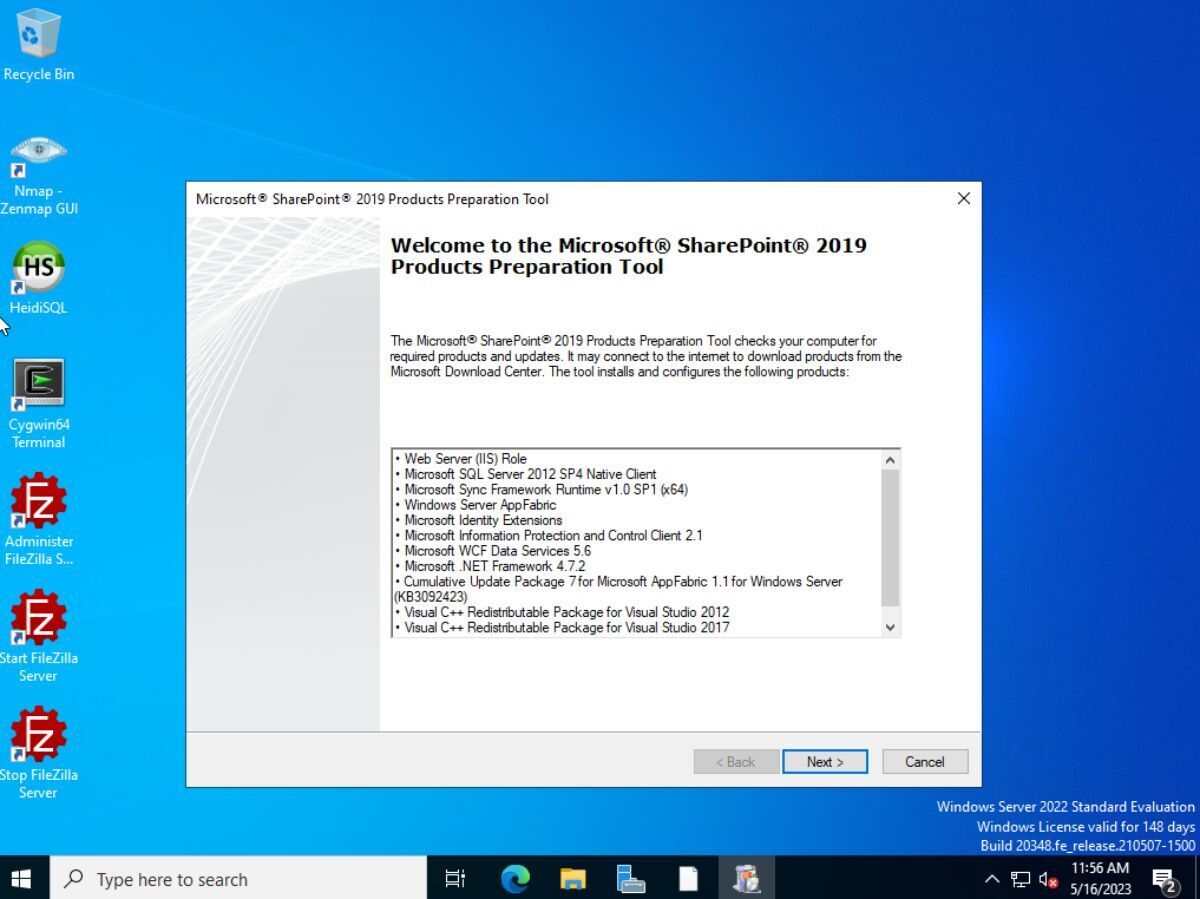
Selecting “Mount” will allow the IMG file to be mounted as a virtual file system. From here, find “PrerequisiteInstaller.exe”, and double-click on it. Run it to install the software needed to run SharePoint on your Server.
Once you’ve executed the PrerequisiteInstaller.exe and it has finished, run “setup.exe”. You’ll then be asked to enter a product key. At this point, enter your key. Or, use the free trial key provided by Microsoft.
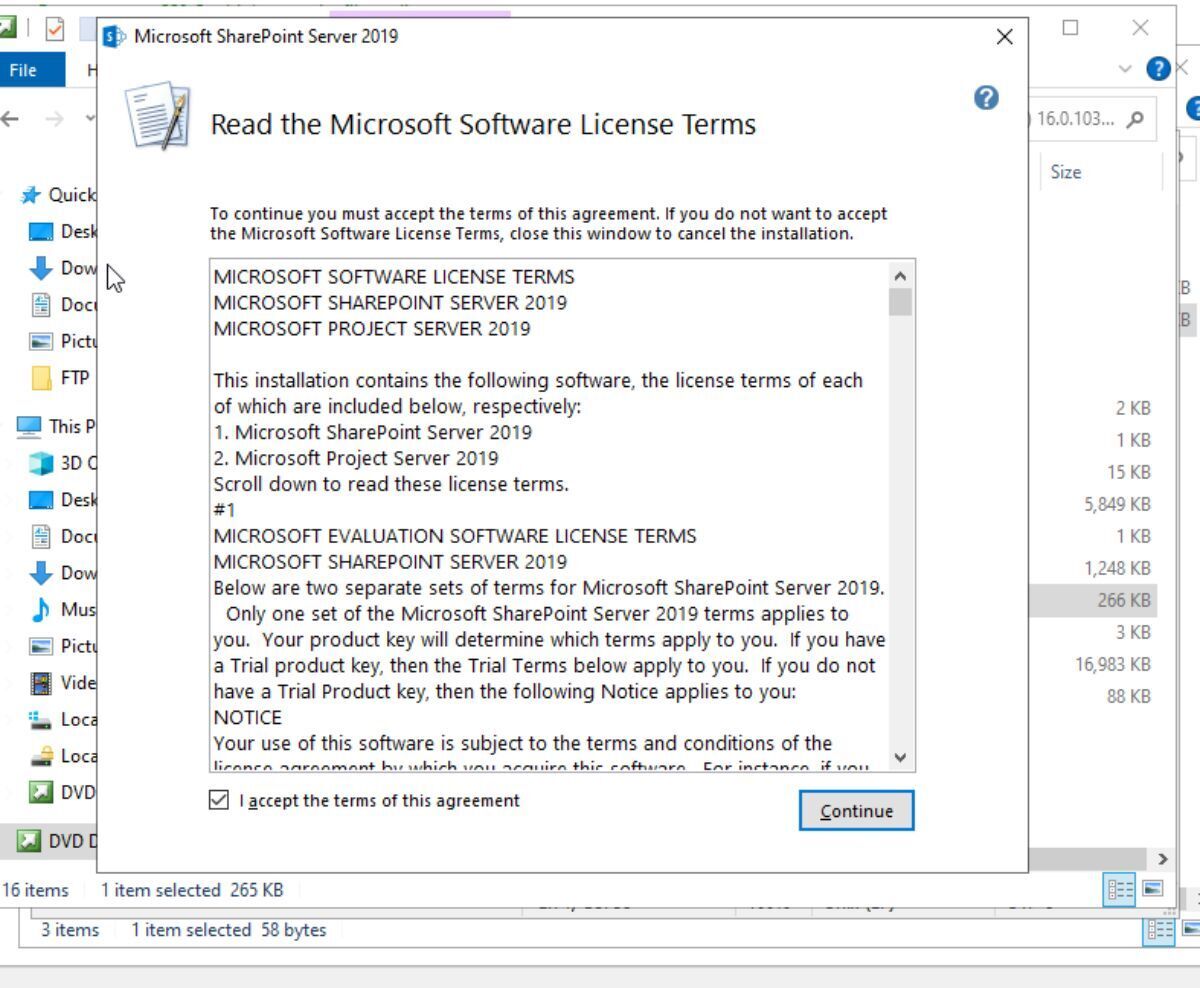
When you’ve entered your product key, click the “Continue” button to move to the next page. Then, read the Microsoft EULA. Check the box to agree, and click the button to move to the next page.
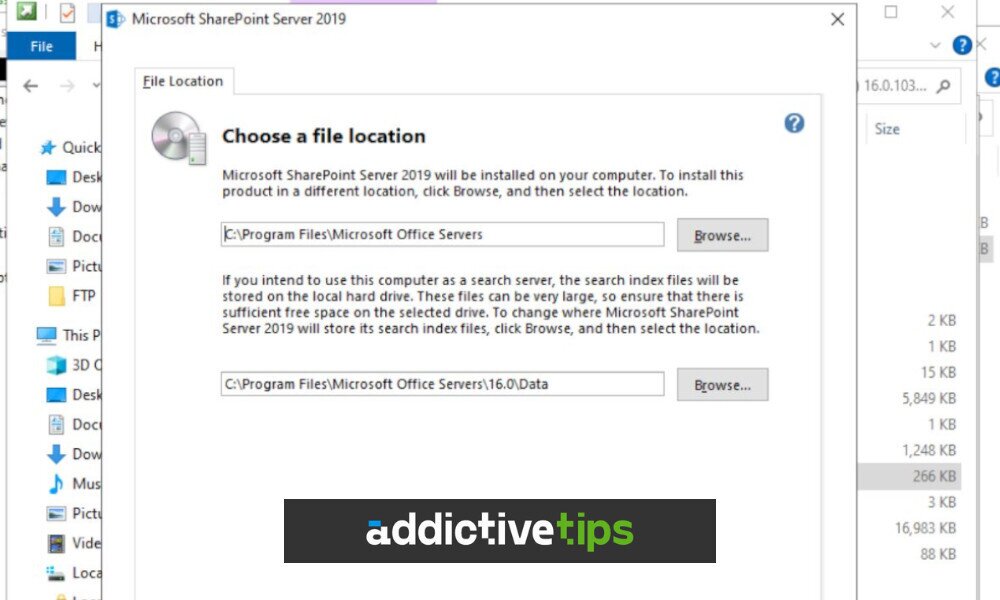
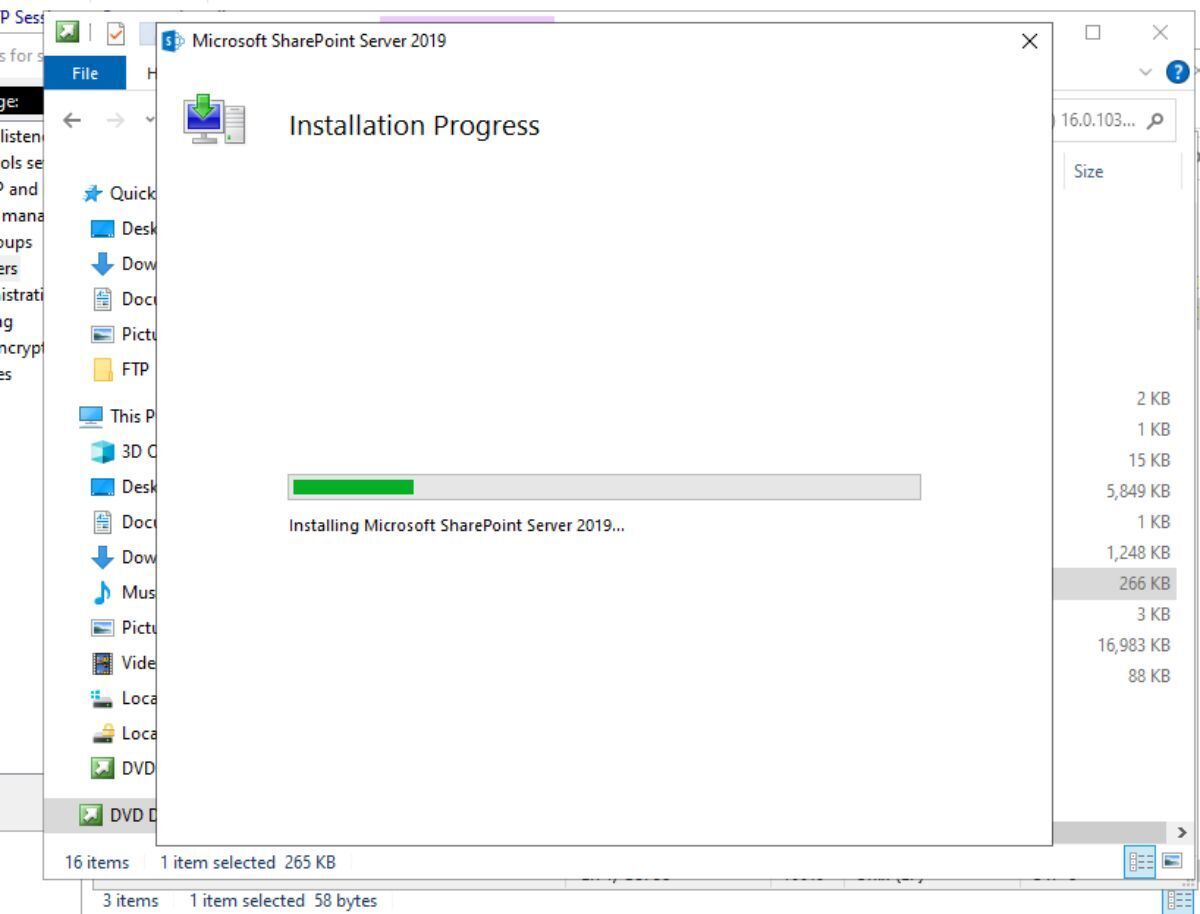
After going over the Microsoft EULA, you’ll be asked to choose where SharePoint Server will be installed on Windows Server. Leave the locations unchanged, as the defaults are good. Then, click the “Install Now” button.
Once Microsoft SharePoint Server is installed on your system, you’ll be asked to run the configuration wizard. Check the box next to “Run the SharePoint Products Configuration Wizard.”
Running the SharePoint Products Configuration Wizard
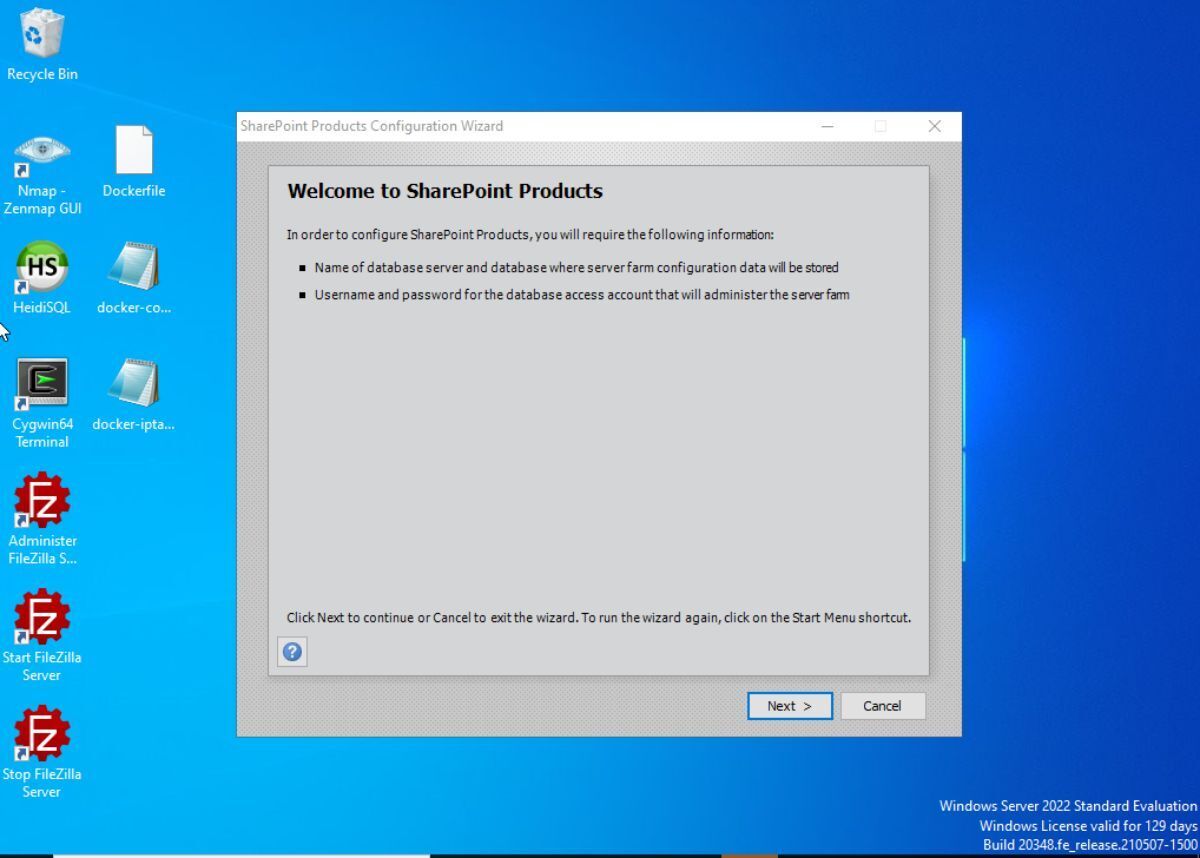
Inside the SharePoint Products Configuration Wizard,” you’ll see a welcome page. read the welcome message. Then, click the “Next” button to move to the next page in the wizard.
On the next page, you will be asked to connect to a server farm. In this guide, we’ll show you how to create a new farm and connect a second Windows Server to it. However, in this demonstration, both machines are virtual machines.
To start, ensure both of your Windows Servers are connected to the same domain. Then, in the SharePoint Product Configuration Wizard, select the “create” option.
Note: ensure the Windows Server you are creating the farm on has Microsoft SQL Server running and configured.
Enter your information into the text boxes to create a new farm. Specifically, you must specify the server that is hosting the SQL server by its hostname. For example, if your Windows server (windows-vm-serv) is running Microsoft SQLEXPRESS, you’d enter:
windows-vm-serv/SQLEXPRESS
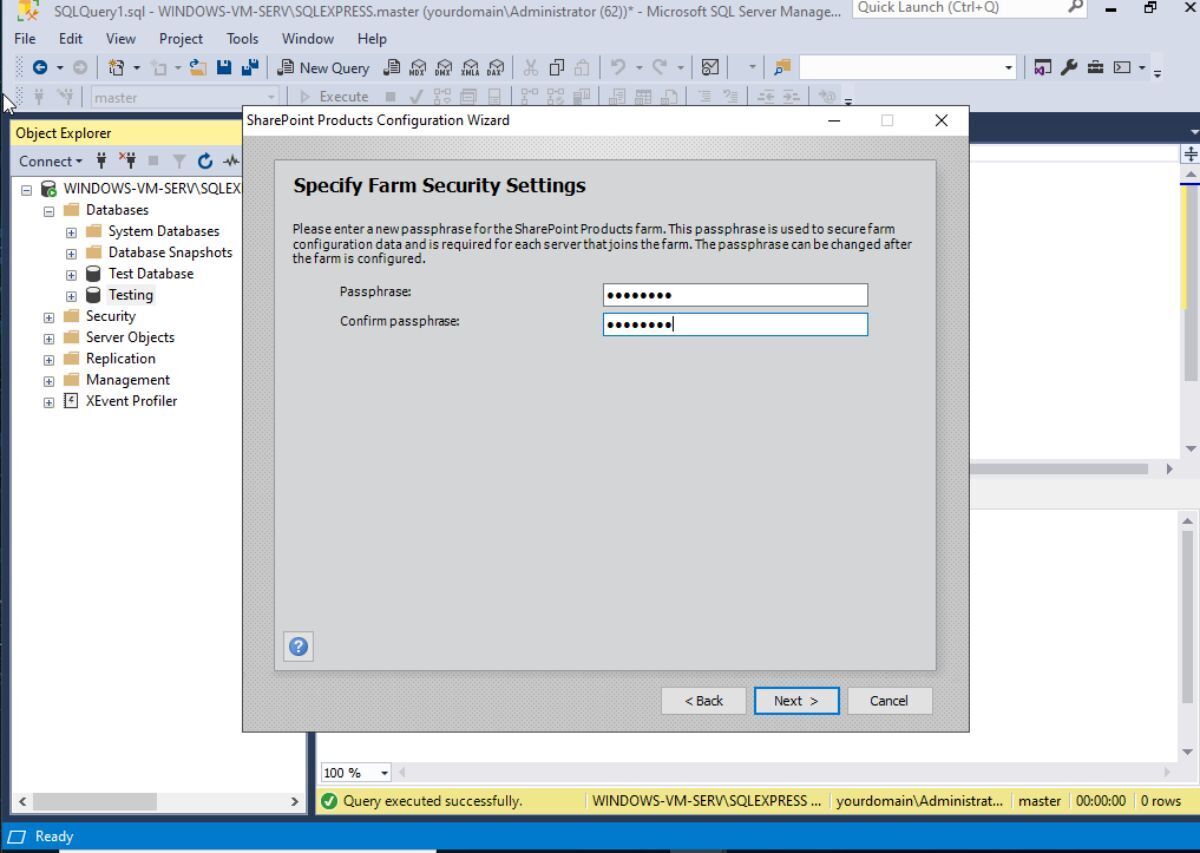
After adding the database information, enter a password for the farm. This password is required for every system that connects to the SharePoint farm.
Once you’ve created a SharePoint farm, go to your other Windows Servers, run the SharePoint Products Configuration Wizard” and connect to the farm using the correct information, and farm password.
When each system is connected to the SharePoint farm, the SharePoint Products Configuration Wizard will ask you to specify the server’s role. In the “Specify Server Role” area, customize the roles for each server, and click “next”.
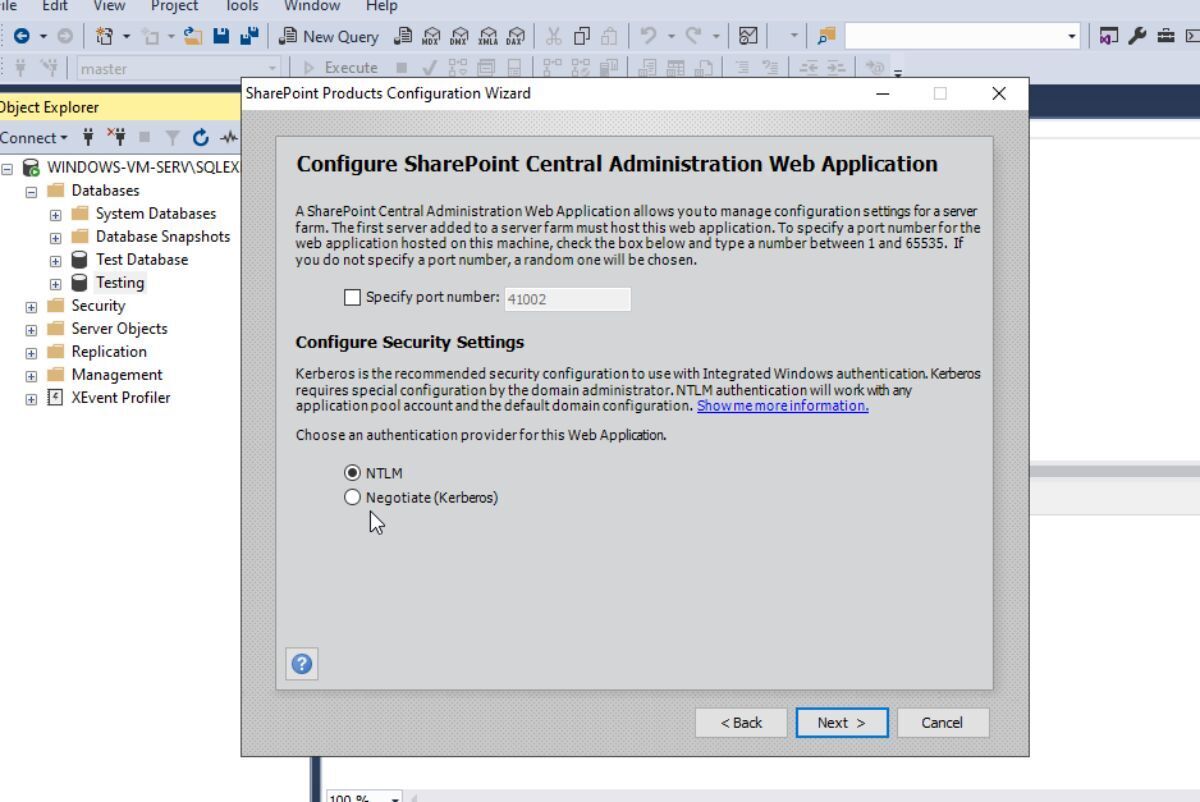
Upon setting up roles, the SharePoint Configuration Wizard will ask you to set up ports for the SharePoint web app. Enter a desired port, or leave it blank to assign one at random.
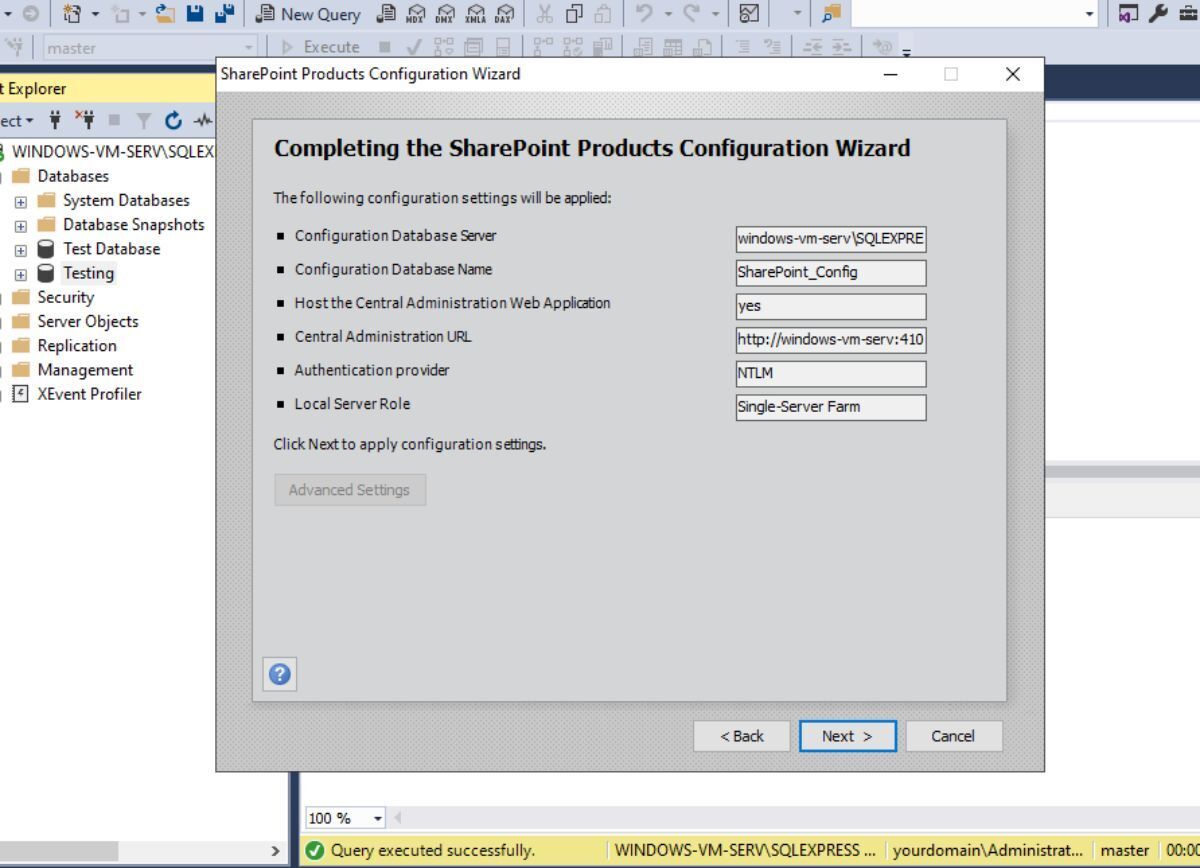
With the port configured, you’ll get an overview of what the SharePoints Products Configuration Wizard will do. Confirm that this is what the configuration tool should do. Then, click the “Next” button to apply the settings.
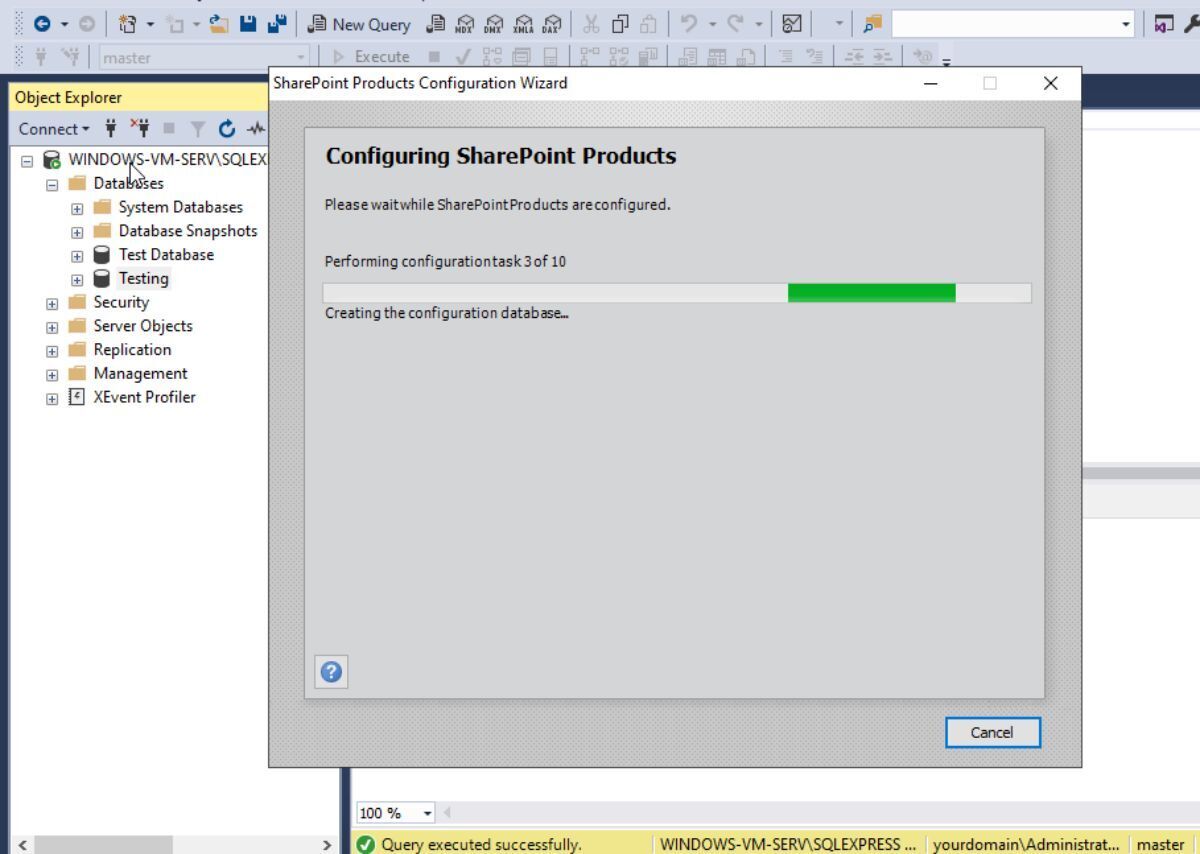
When you select the “Next” button, your SharePoints product will be configured, and the Microsoft SharePoint server will be installed. You’ll now be able to use Microsoft SharePoint Server on your Windows Server.
