Install Home Assistant on Windows Server
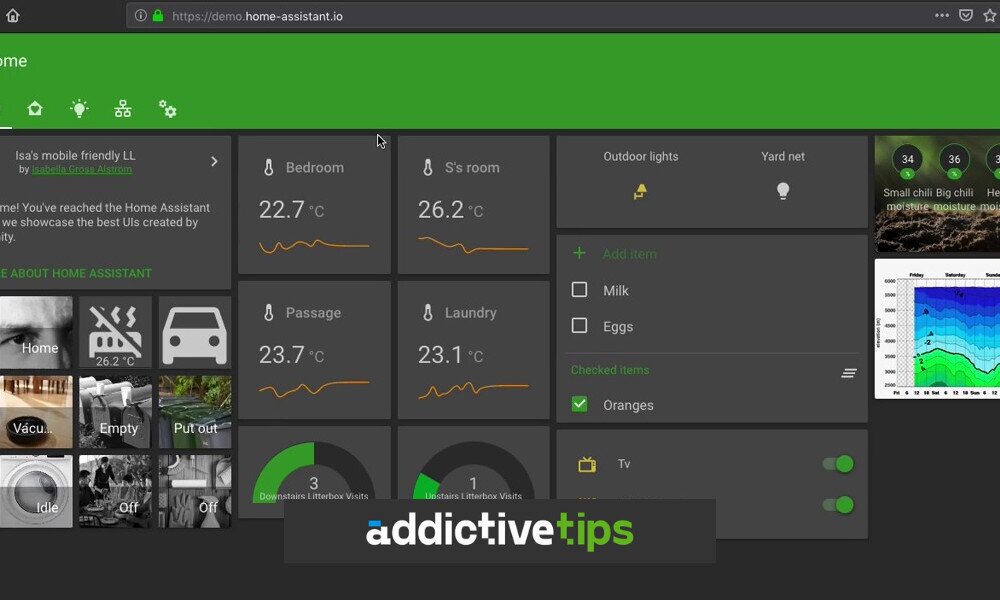
Home Assistant is an open-source home automation platform. It is known for its user-friendly interface, high level of customization, add-ons, customization, privacy, and more. In this guide, we’ll show you how you can get Home Assistant working on your Windows Server.
Setting up Hyper-V
Home Assistant is not native to Windows Server, and you will not be able to download an EXE application to get it working. Instead, if you want to deploy Home Assistant on your Windows Server, you must download a VM image.
The developers on the Home Assistant website provide an image for KVM, Hyper-V, VirtualBox, and VMware. In this guide, we’ll focus on Hyper-V, as it tends to have the best performance for Windows Server.
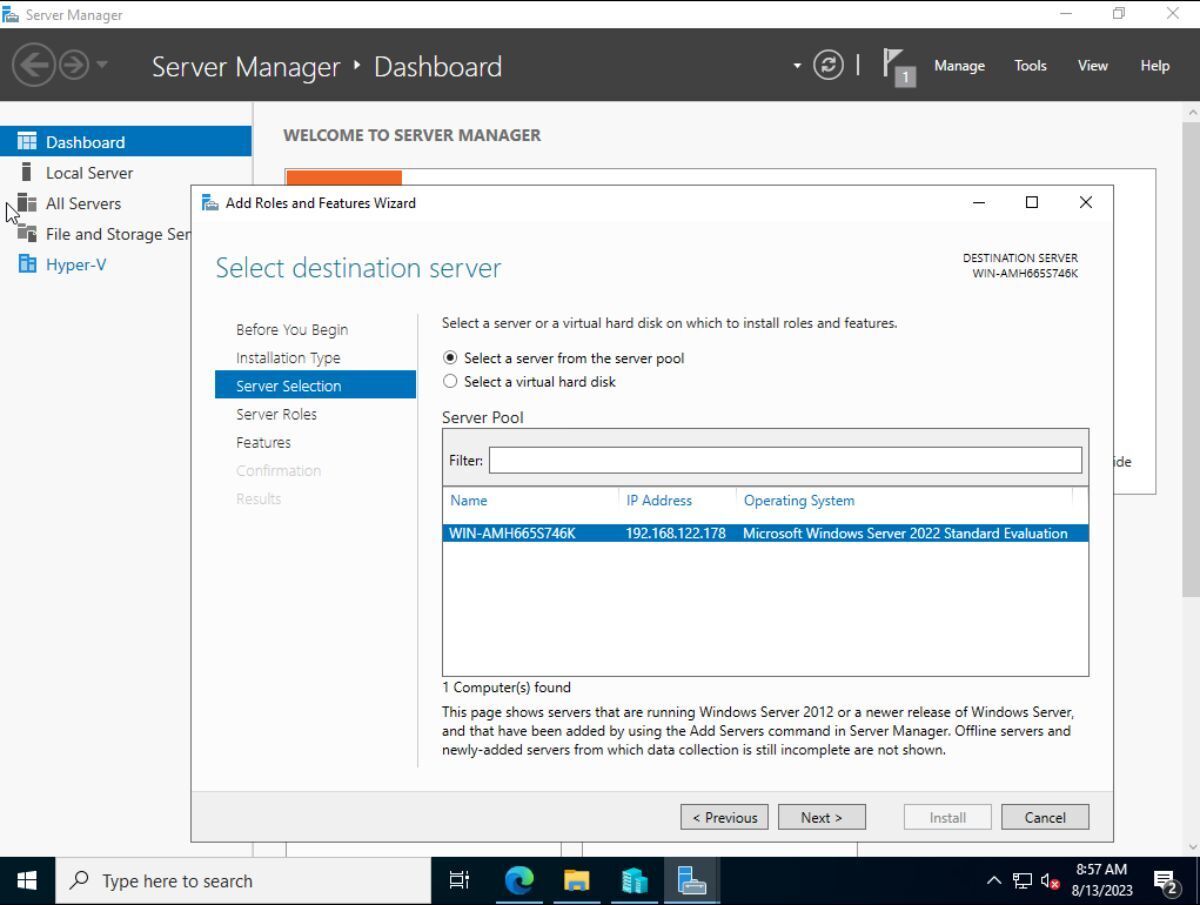
To get started, ensure you have Hyper-V enabled and set up on your Windows Server. If you do not have it set up, do the following. First, open up the Server Manager application. Once it is open, click on the “Add roles and features” option.
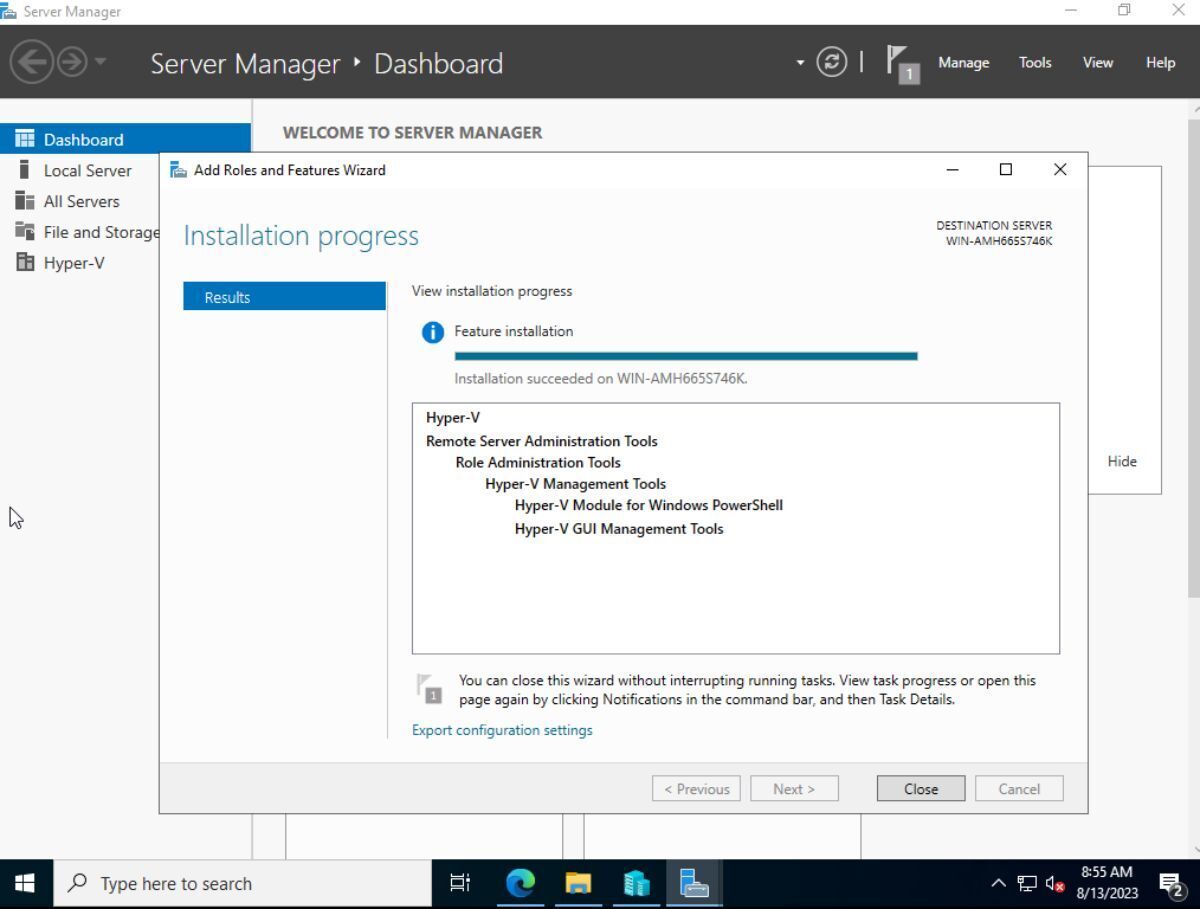
When you select “Add roles and features,” skip to “Server Selection.” Select your Windows server. After making your selection, move down to “Hyper-V,” and check the box next to it. Upon checking this box, Windows Server will guide you through setting up Hyper-V on your system.
How to download Home Assistant to your Windows Server
Now that you’ve got Hyper-V working on Windows Server, it is time to download the latest release of Home Assistant for Hyper-V. To download, head to the “Windows” section of the Home Assistant website. Once on the website, scroll down, and select the “Hyper-V” link. When you select this link, the Hyper-V vhdx file will download to your Windows Server.
Alternatively, if you wish to download a different version of the VM for VirtualBox, KVM, or Vmware Workstation, select one of the links. However, understand we will not be covering those virtualization solutions in this guide.
Setting up the Home Assistant VM in Hyper-V
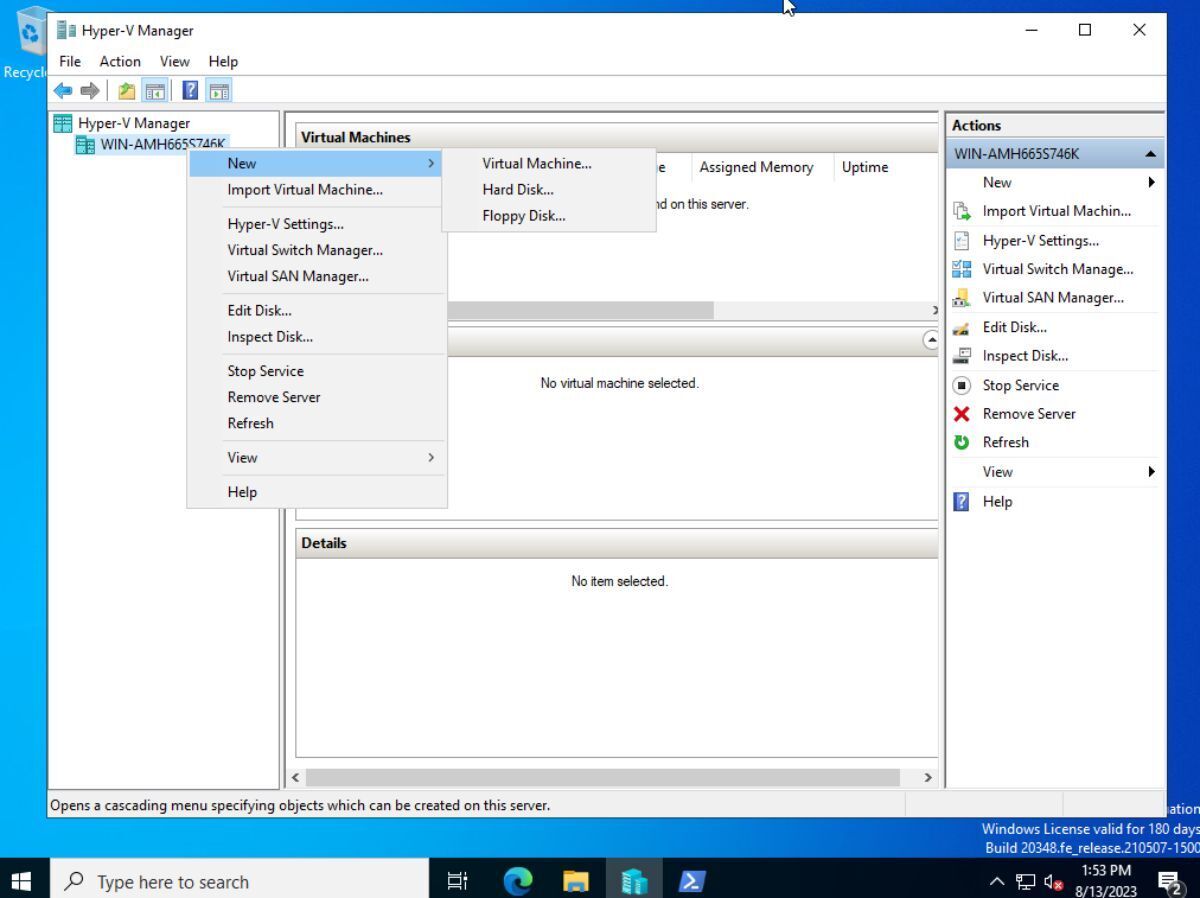
To start, open up Hyper-V in Windows Server. Once it is open, select your server below “Hyper-V Manager.” After selecting it, right-click on your server, and highlight “New.” Once “New” is highlighted, select “New,” followed by “Virtual Machine.”
When you start up a new VM, you’ll see the “New Virtual Machine Wizard” appear. Read the “Before You Begin” section, then, click the “Next” button to move to the next page.
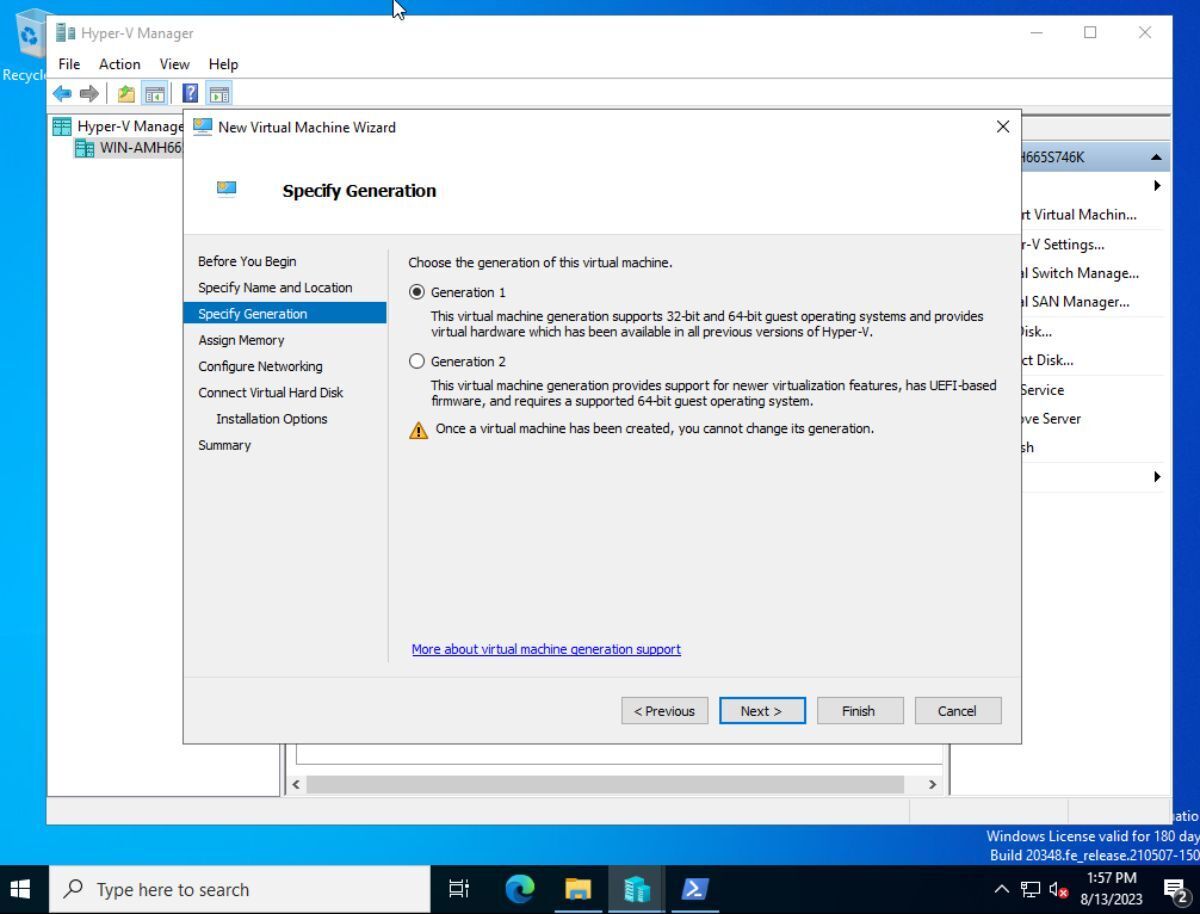
On the next page, you’ll need to name your VM. Enter “Home Assistant,” and click the “Next” button to continue. Following the name, you must choose a virtualization type. Choose generation 2, as you need UEFI support, and modern features to run Home Assistant correctly. You cannot change it once it is created. When done making your selection, click the “Finish” button to move to the next page.
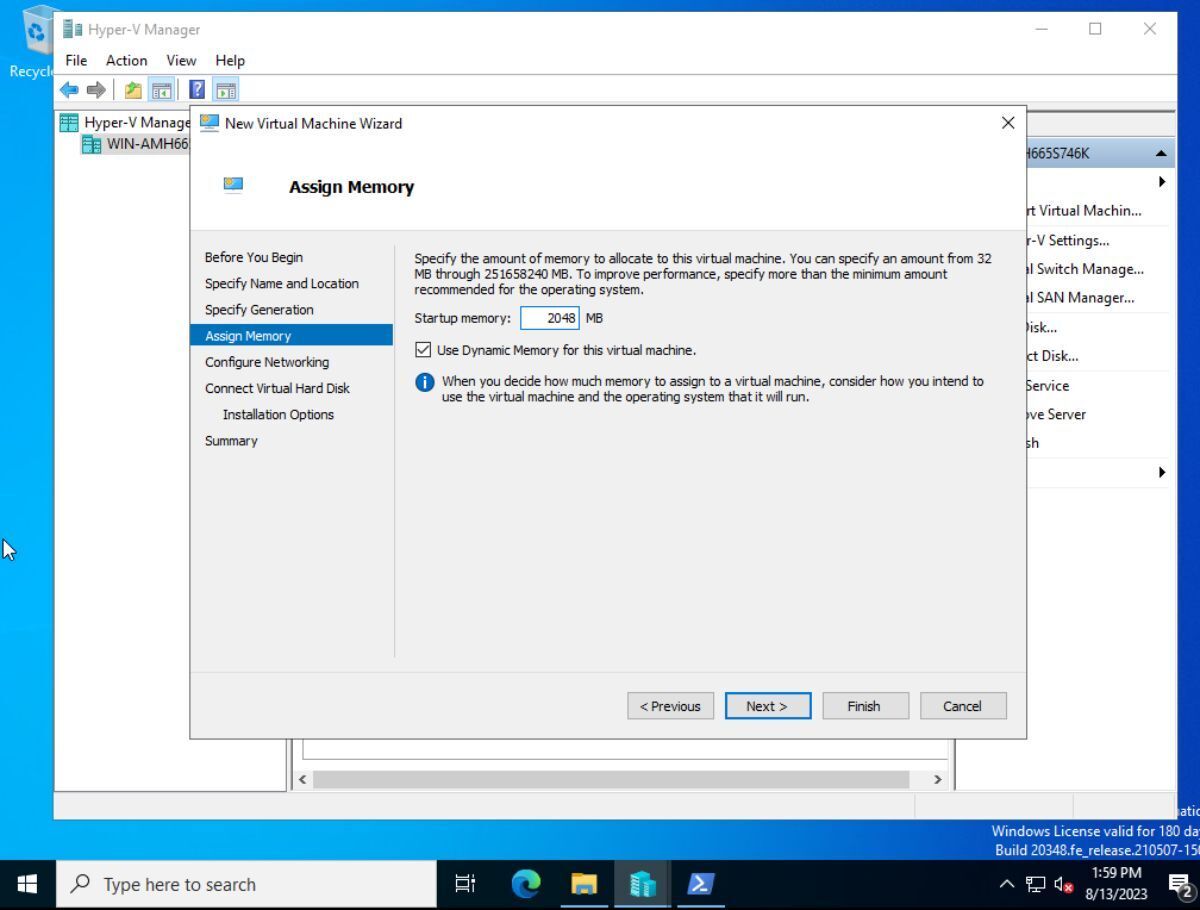
Following the generation choice, you must decide how much startup memory to allocate. Enter your desired amount. Then, if you wish, select “Use Dynamic Memory.” Click the “Next” button when done to move on.
After setting up your memory, you must configure your networking. Connect the new VM to your virtual switch, so that it can interact with networks. Then, click the “Next” button to continue to the next page.

With networking configured, you must add a hard disk. Find “Use an existing virtual hard disk.” Then, browse for the Home Assistant disk downloaded previously. When you’ve loaded up the disk, click the “Next” button to continue.
Once you’ve added the hard disk, you’ll see a brief summary of what the VM will be. You can read it. Then, click the “Finish” button to deploy Home Assistant into Hyper-V.
Secure boot
The Hyper-V Home Assistant VM must be set to “Secure Boot,” or it will not work. To set your Hyper-V VM to secure boot, do the following. First, find your VM in Hyper-V. Then, right-click on it and select “Settings.”
Inside the “Security” area of “Settings,” ensure that “Enable Secure Boot” is checked. If it is not, click on it to select it. When it’s enabled, everything should be ready to go.
Configuring Home Assistant in Windows Server
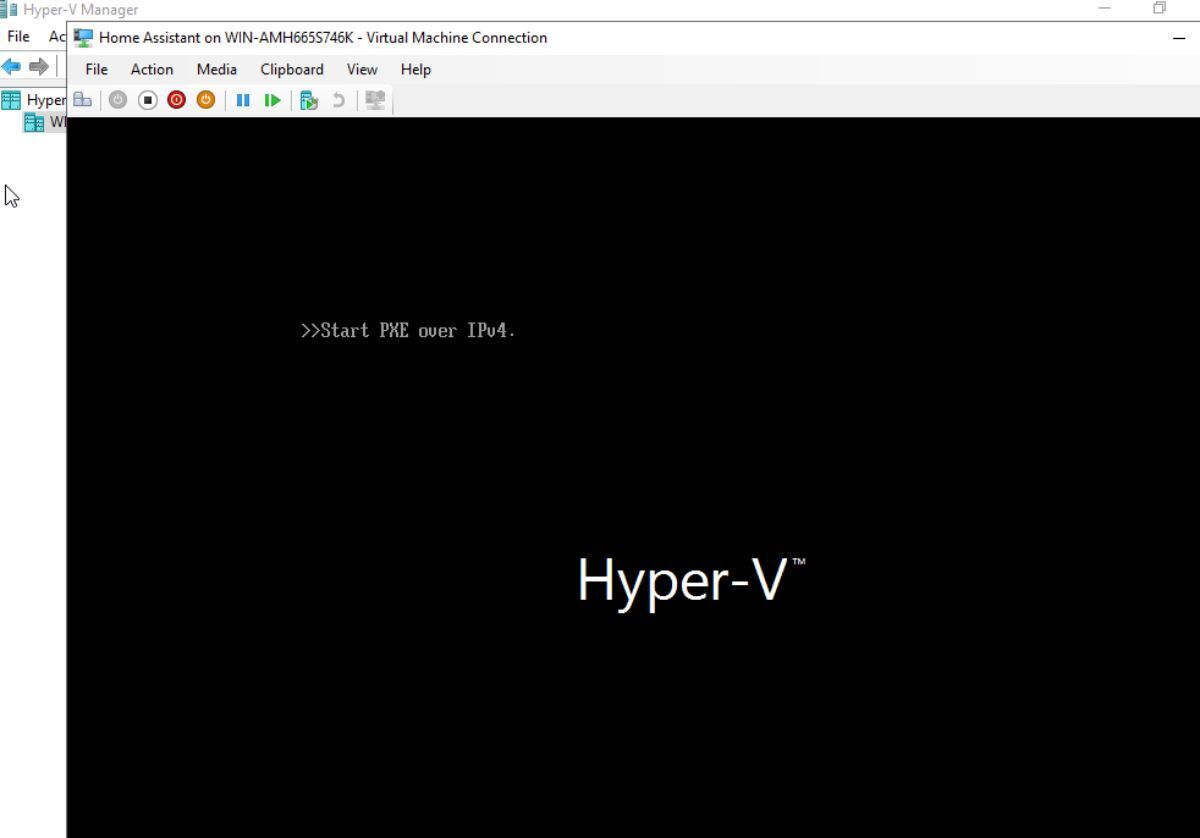
To configure your new Home Assistant installation, do the following. First, find the “Home Assistant” VM in Hyper-V. When you’ve located it, right-click on it with the mouse. You can then power it on.
When Home Assistant is Powered On, open up a browser on the Windows Server desktop. Then, visit the following URL.
http://homeassistant.local:8123
After loading up the URL, you can onboard yourself into Home Assistant. For information on how to onboard yourself, check out the official documentation.
