How To Take Screenshots Of A Video
Desktop operating systems come with built-in screenshot tools. Windows 10 has a basic screenshot tool whereas macOS has a better, more advanced one. What both have in common is that they are meant for capturing a still screen. You can use them to capture a moving screen e.g. a GIF or a video that is playing but the results may not be that great. If you often need to take a screenshot in a video, it best to use a dedicated tool for it. Here are two free apps that do the trick.
VLC Player
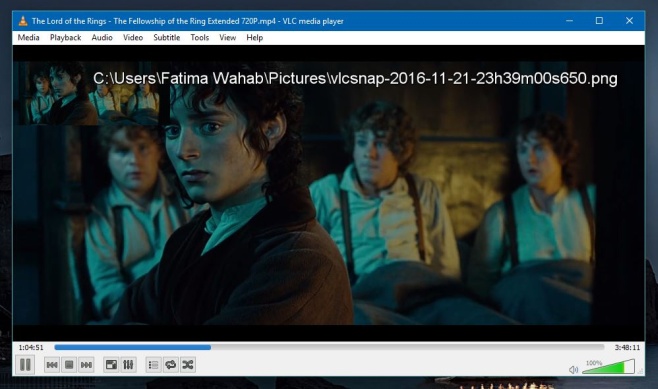
VLC player has a built-in screenshot tool. It’s simple with no controls for which format or what resolution the image should be captured and saved in.
To take a screenshot when a video is playing, simply hit the following shortcut;
Windows: Shift + S
macOS: Command + Alt + S

VLC saves the screenshots to your default Pictures library.
Video Screenshot
If you want better control over the screenshot, give Video Screenshot a try.
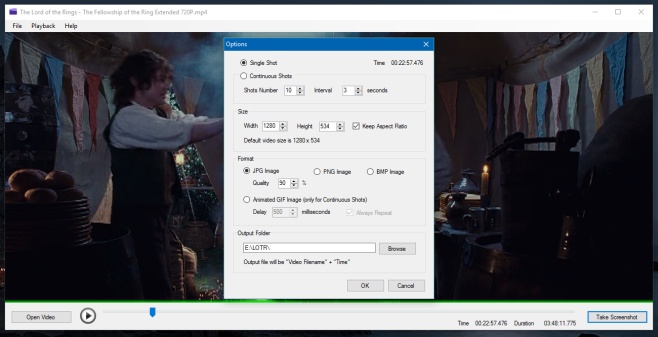
Install the app and launch it. Click ‘Open Video’ at the bottom left and select the video you want to capture a scene from. When you’re in the right position in the video, click the ‘Take Screenshot’ button at the bottom left.

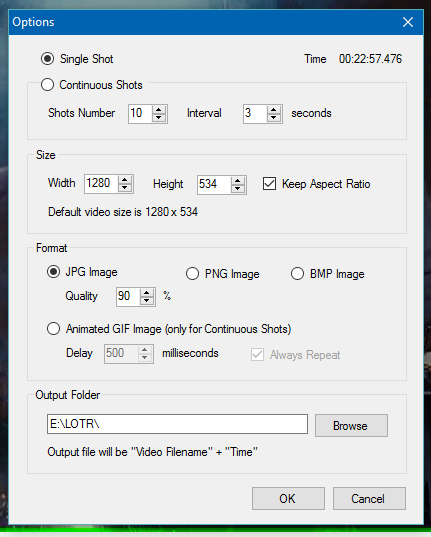
This will pause the video and open an Options window where you can set the screenshot’s resolution and format, among other things.
You can take a single shot or continuous shots. The app can save continuous screenshots as GIFs. You can also select the output folder where the screenshots will be saved. By default, Video Screenshot saves images to the same folder the video is in.

Last but not least, you can choose to compress the screenshot when it is captured. Compression is available for both JPEG and PNG files. Video Screenshot is not available for macOS.
