How to set up the Simplewall Firewall on Windows Server
Simplewall is a free and open-source firewall designed specifically for Windows operating systems. Its primary aim is to provide a user-friendly experience, making it easy to manage and control your firewall settings. In this guide, we will demonstrate how to effectively use Simplewall on a Windows Server environment.
How to download Simplewall for Windows Server
The Simplewall application is readily available for Windows, although it may not be explicitly labeled for Windows Server. Nevertheless, it functions seamlessly on this platform. To acquire it, start by visiting the official website.
Upon reaching the official Simplewall website, navigate down the page to locate the “Download” section. Once you have found this section, choose the Setup EXE version of Simplewall. This particular version enables you to perform a direct installation of the program onto your Windows system, rather than using it as a portable EXE.
Alternatively, if your preference is to use a portable EXE, proceed to download the “bin” ZIP archive instead. This ZIP archive encompasses all the essential components required for running Simplewall in a portable mode, as opposed to a direct installation onto the operating system.
How to download Microsoft Visual C++ Redistributable
The Simplewall application won’t run on Windows Server without the Microsoft Visual C++ Redistributable. Therefore, you need to install it before installing Simplewall. To install the Microsoft Visual C++ Redistributable, follow these steps.
Begin by going to the Microsoft Visual C++ Redistributable download page on Microsoft.com. Once you’re on the download page, select “Visual Studio 2015, 2017, 2019, and 2022” from the available links.
After choosing “Visual Studio 2015, 2017, 2019, and 2022,” you’ll be directed to a download section. Download the version that matches your CPU architecture. Currently, Microsoft supports ARM64, X86, and X64.
Once you’ve downloaded the Microsoft Visual C++ Redistributable installer, open Windows Explorer, locate the “Downloads” folder, and install the Microsoft Visual C++ Redistributable EXE on Windows Server.
How to install Simplewall on Windows Server
To install Simplewall on Windows Server, do the following. First, open Windows Explorer on the Windows Server desktop, and access the “Downloads” folder. Within the “Downloads” folder, double-click on the Simplewall EXE file to start the installation.
Proceed by following the on-screen instructions provided in the Simplewall installation wizard to configure everything on your Windows Server. Once the Simplewall application has been successfully installed, you’ll be able to launch it directly from the Start menu.
How to configure Simplewall on Windows Server
To get started, you’ll want to configure Simplewall for automatic startup. To do this, launch the Simplewall app from the Windows Server desktop. Once it’s open, locate the “Settings” menu and click on it using the mouse. From there, select the “Load on system startup” option, which will ensure that Simplewall launches when your user logs into the Windows Server.
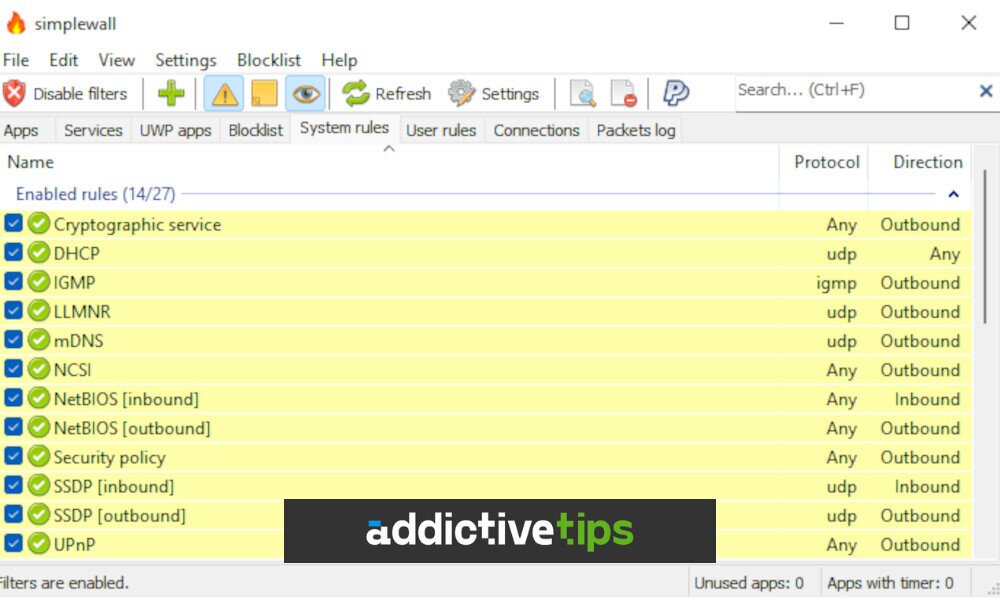
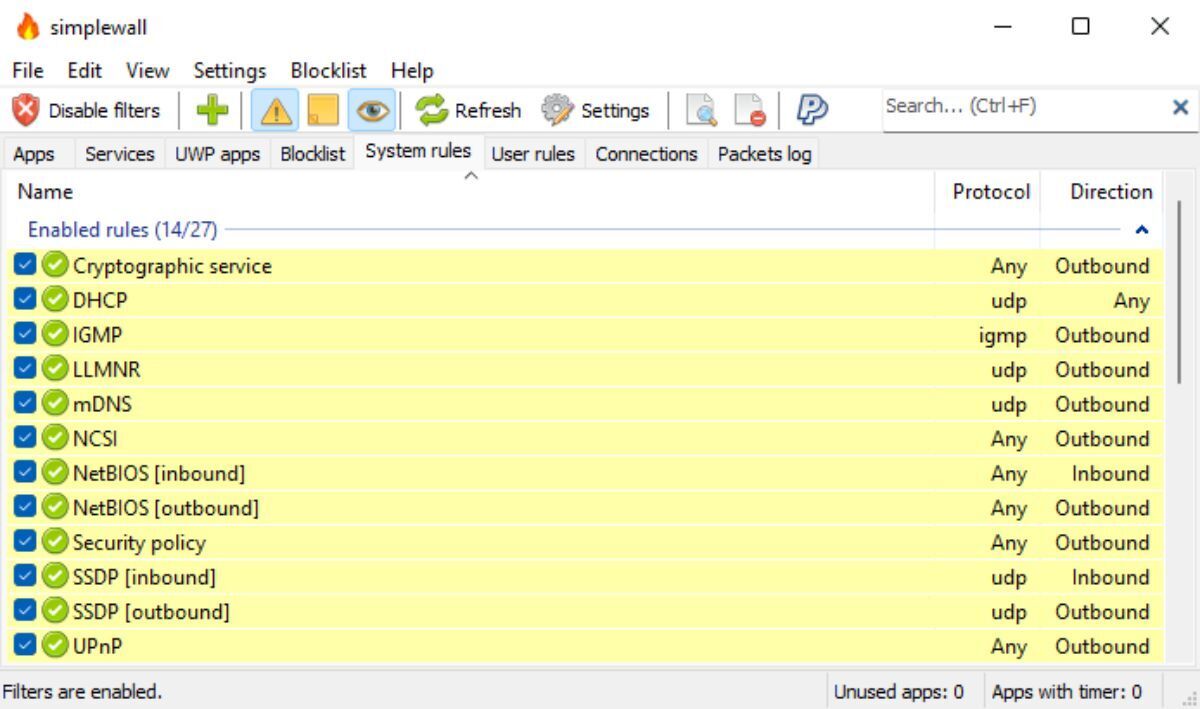
After you’ve configured Simplewall for system startup, the next step is to set up your application rules. By default, Simplewall employs a “block everything by default” approach, providing robust protection against malicious traffic. However, this also means you’ll need to whitelist specific applications to grant them internet access.
To whitelist an application, access the “File” menu and click on it using the mouse. Once you’ve selected the “File” menu, click on the “Add app” button and then browse for the desired application in the pop-up menu.
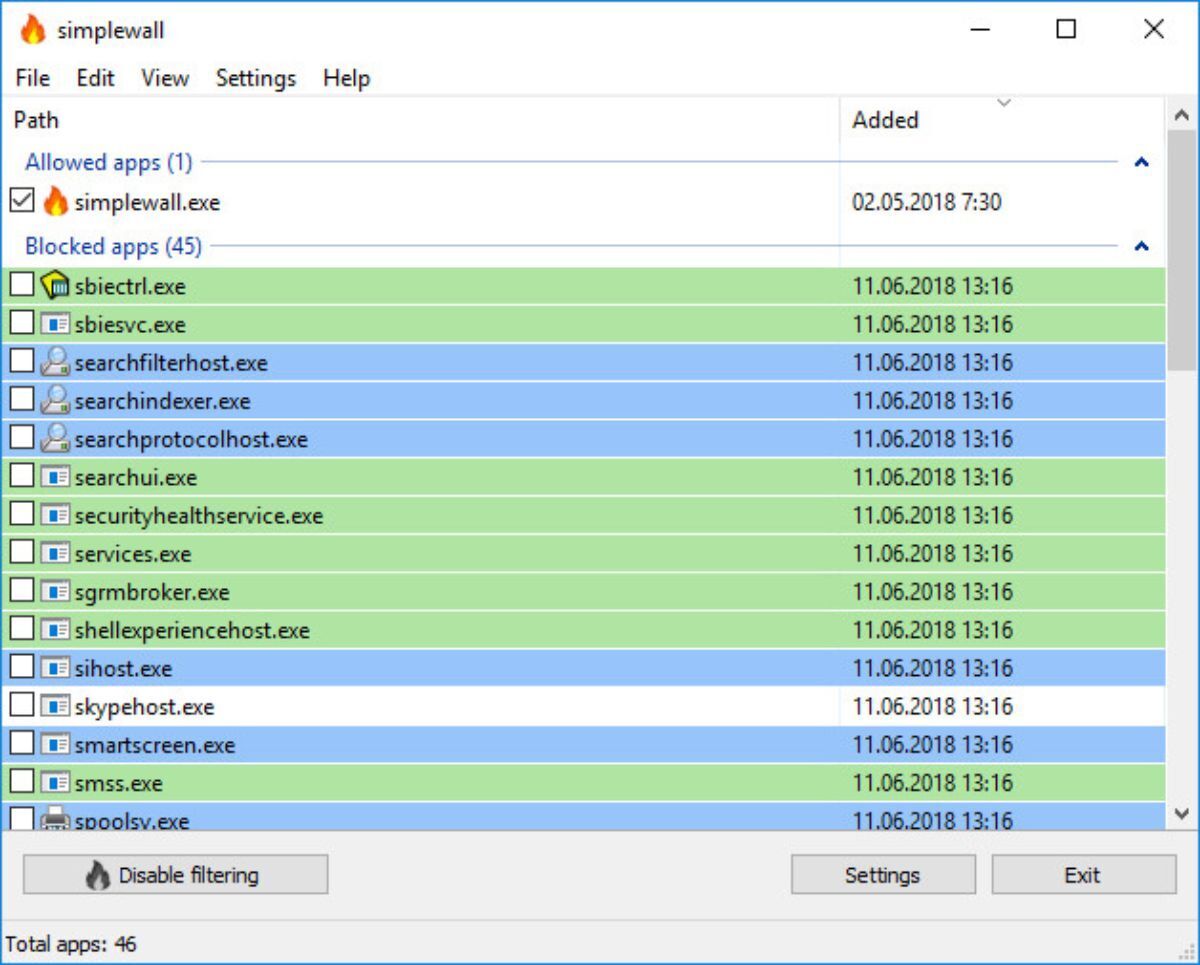
Once you’ve added your chosen app to Simplewall, it will be initially blocked and appear in the “Apps without Internet access” section. To permit the app through the Simplewall firewall, simply right-click on it and select the “Enable selected” option.
How to backup your Simplewall profile
If you plan to use the Simplewall firewall on more than just one machine running Windows Server (or even Windows Desktop,) it’s a good idea to create a backup of your Simplewall configuration for safekeeping. Here’s how to do it.
To create a backup with Simplewall, do the following. First, select the “File” menu with the mouse. After accessing the “File” menu, choose the “Export” button with the mouse. Then, use the pop-up window to export your current Simplewall configuration to an XML file. When your configuration file is exported to XML, be sure to put it somewhere safe.
How to restore your Simplewall profile
To restore a backed-up Simplewall profile, do the following. First, select the “File” menu. After clicking on this menu, find the “Import” button, and click on it with the mouse. Browse Windows Server for your Simplewall XML file to import your profile.
