How to set up OpenHAB on Windows Server
OpenHAB (also known as Open Home Automation Bus) is an open-source home automation platform. It can help users easily control and monitor home automation devices. It’s well known for its excellent device support, user interface, and add-ons. Here’s how to get it working on your Windows Server system.
Downloading and installing Java on Windows Server
If you want to run OpenHAB on your Windows Server, you first must install Java. OpenHAB specifies that you have three different ways of getting Java working. You can install Azul Zulu, which is ope-source, and optimized for ARM. Alternatively, OpenHAB also supports Oracle Java and AdoptOpenJDK.
In this guide, we’ll be focusing on AdoptOpenJDK. However, you can use any of the available Java platforms to deploy OpenHAB on your Windows Server system. Keep in mind though, OpenHAB doesn’t support anything further than version 17.
To download AdoptOpenJDK, head over to the official website. Once you’re on the official website, find the “Latest LTS Release,” and click on it with the mouse. When you select this link, you’ll download JDK 17, which you need to run OpenHAB.
With the latest LTS downloaded on Windows Server, it’s time to install it. To start, launch the Windows Explorer application. Then, on the Windows Server desktop, find “Downloads,” and select it with the mouse to access the “Downloads” folder.
Inside the “Downloads” folder, double-click on the OpenJDK MSI installer to launch it. When it’s open, you’ll see a welcome message. Read the message. Then, click the “Next” button to move to the next page in the installer.
On the next page, you’ll see “Custom Setup”. In this area, find “Set JAVA_HOME variable” and enable it. Enabling this in the installer makes things easier later on. Ensure “Add to PATH” and “Associate .jar” is also enabled. When all three are enabled, click the “Next” button to move on.
On the next page, find the “Install” button, and click on it with the mouse. When you select this button, the installation process will begin. This process shouldn’t take too long. After the installation process is complete, find the “Finish” button, and click on it with the mouse to close the installer.
Downloading OpenHAB
To download OpenHAB for your Windows Server, head over to the download page. Once there, select your operating system. Upon selecting your operating system, scroll down to “Manual Installation,” and choose the download button next to “Download openHAB 4.0.1 Stable Runtime.”
The download should be quick. When it is complete, open up the Windows Explorer app and select the “Downloads” folder. Inside the downloads folder, you’ll see the OpenHAB 4.0.1.zip archive. Right-click on the archive, and select the “Extract All…” button.
After choosing the “Extract All…” button, a pop-up window will appear. Find the “Extract” button, and click on it to extract the contents of the ZIP archive. It will extract to the “openhab-4.0.1” folder.
How to install OpenHAB on Windows Server
To install OpenHAB on Windows Server, start by moving the extracted “openhab-4.0.1” folder from the “Downloads” directory into a more permanent place. Once OpenHAB is moved to this new location, open up the “openhab-4.0.1” folder, and locate the “start.bat” file.
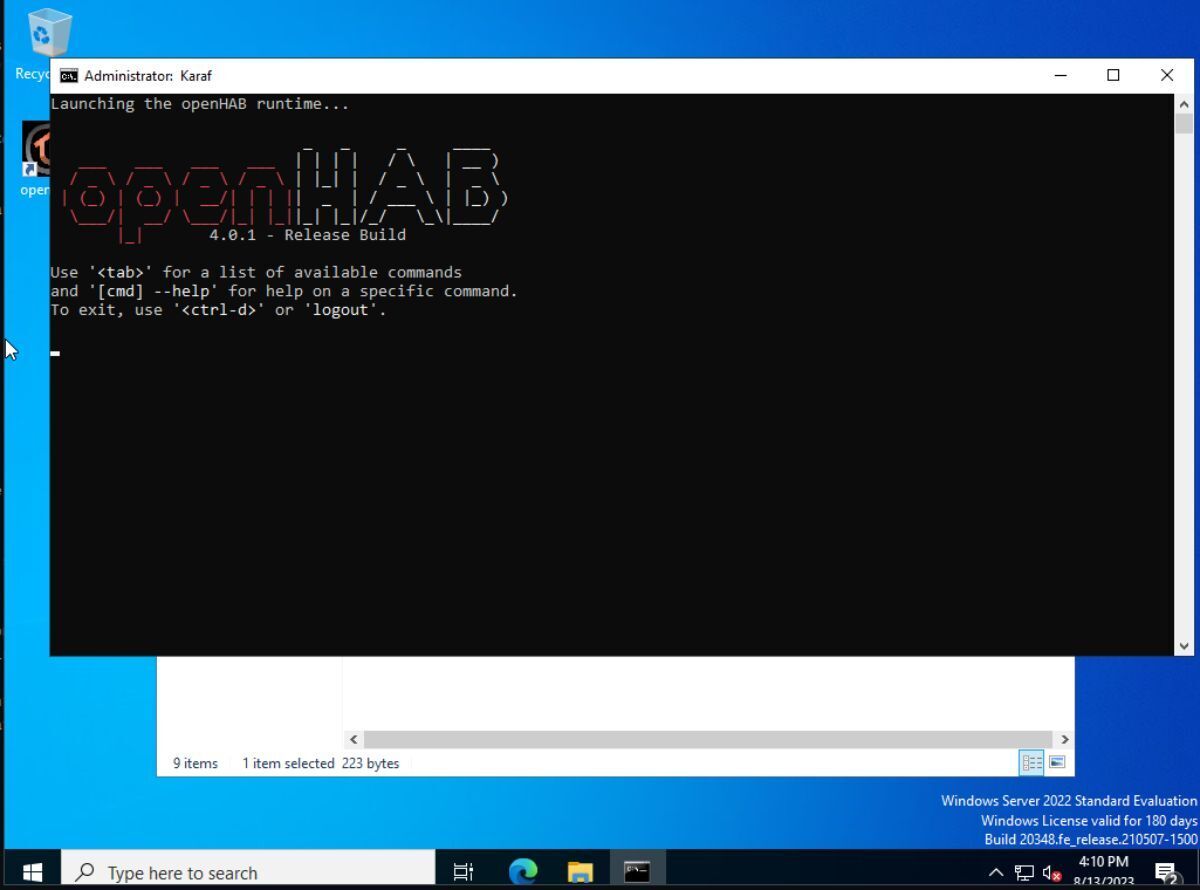
Double-click on the “start.bat” file to start up the OpenHAB runtime. When you double-click on the runtime, OpenHAB will launch itself in an interactive command-line window. You’ll then need to run the info command to find your OpenHAB information.
info
Look through the OpenHAB info for your URL. It should be http://localhost:8080, or http://windows-server-ip:8080.
Configuring OpenHAB
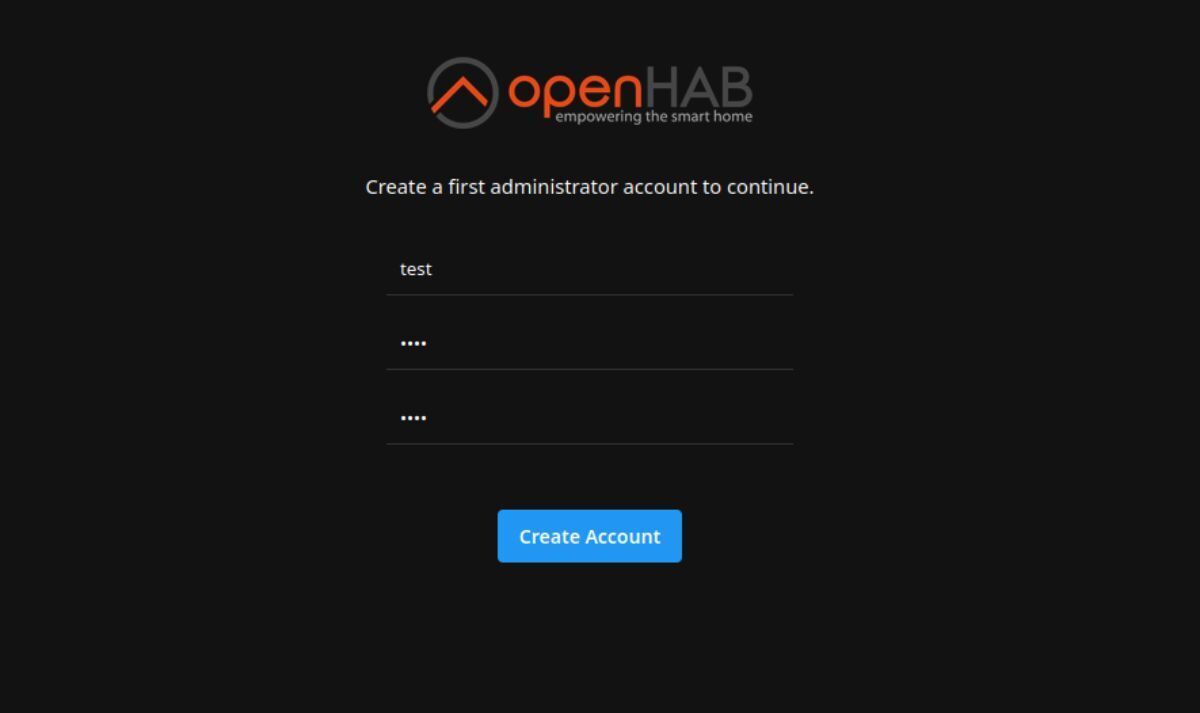
Now that OpenHAB is up and running, it’s time to configure it on your system. To start, create your username and password. Then, click the “Create Account” button to move to the next page in the installer.
After setting up your user account, you will need to choose your language, region, and time zone. This information should be detected automatically. Find the “Begin Setup” button to continue to the next page.
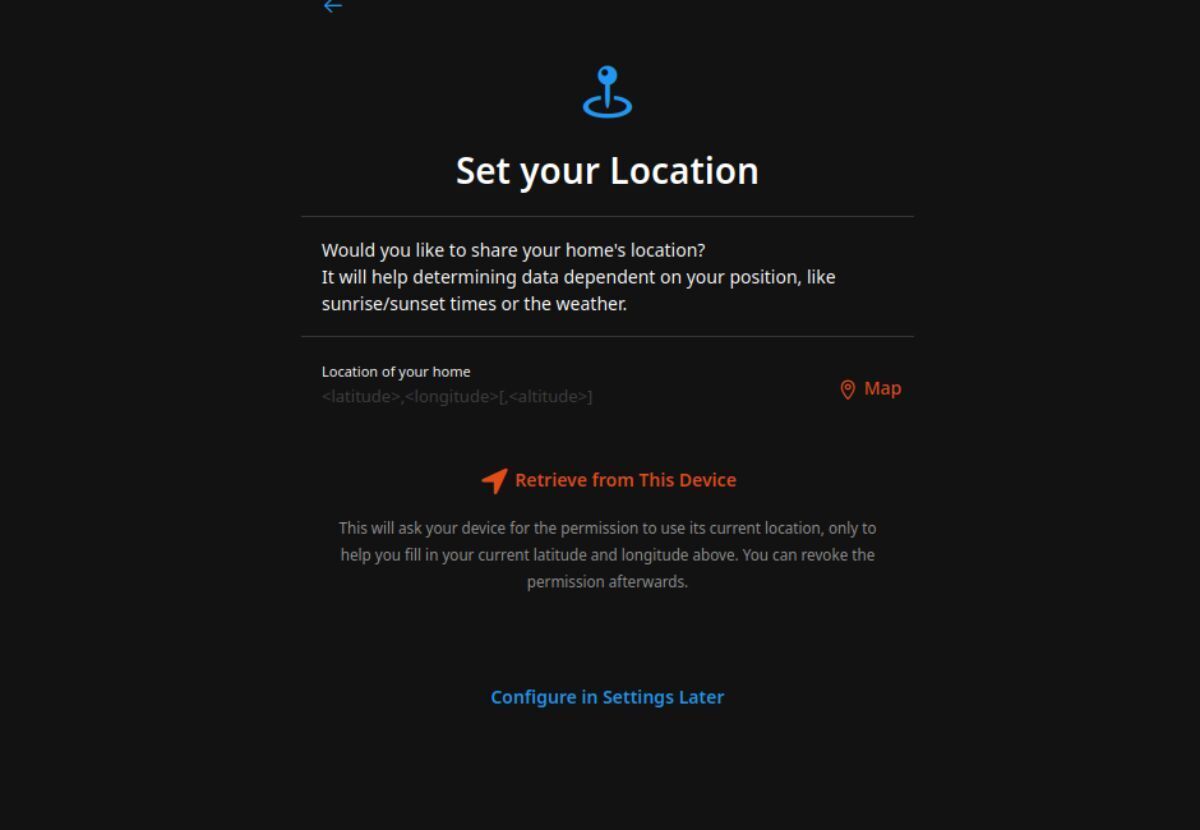
On the next page, you’ll need to allow OpenHAB to grab your location. You can do this by clicking the ”Retrieve from This Device” button. Alternatively, click “Configure in Settings Later.”
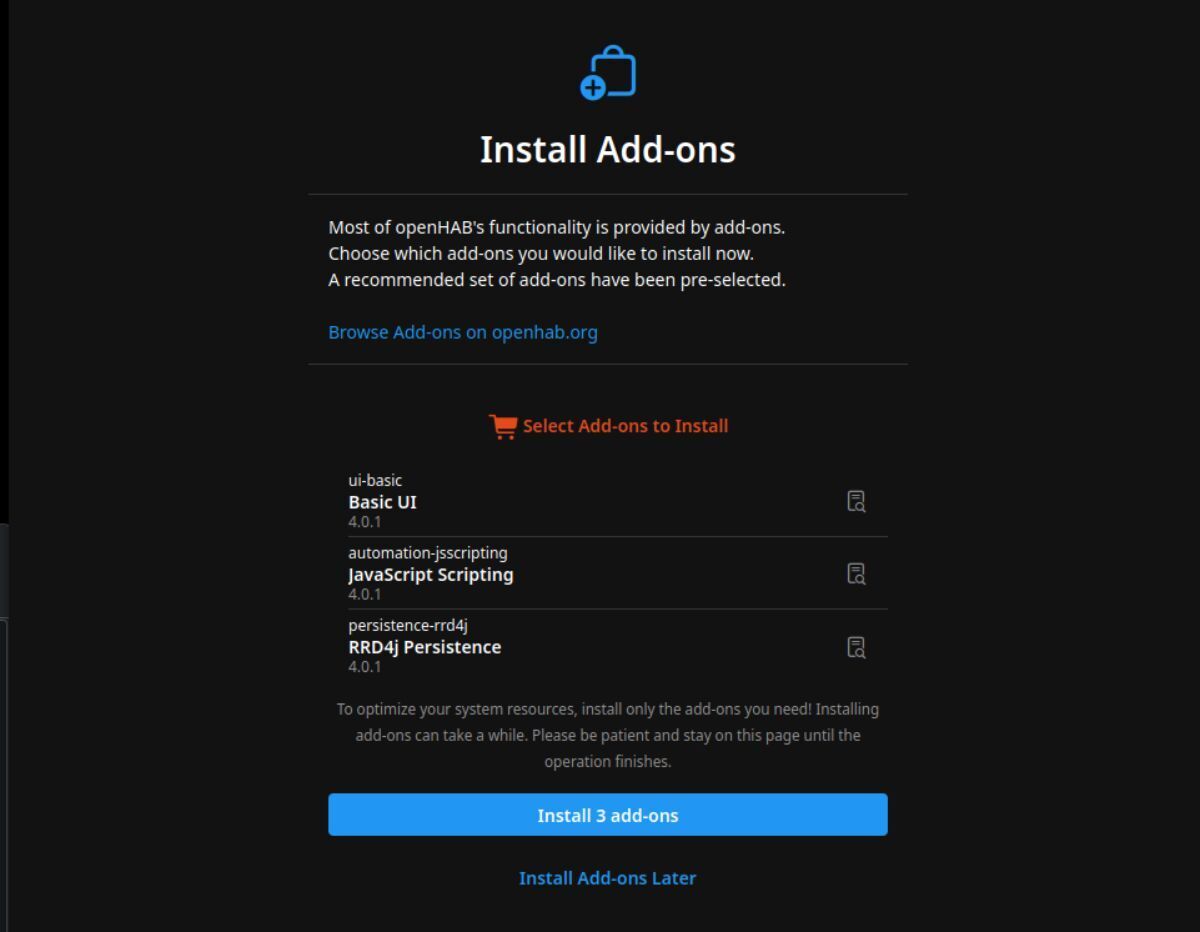
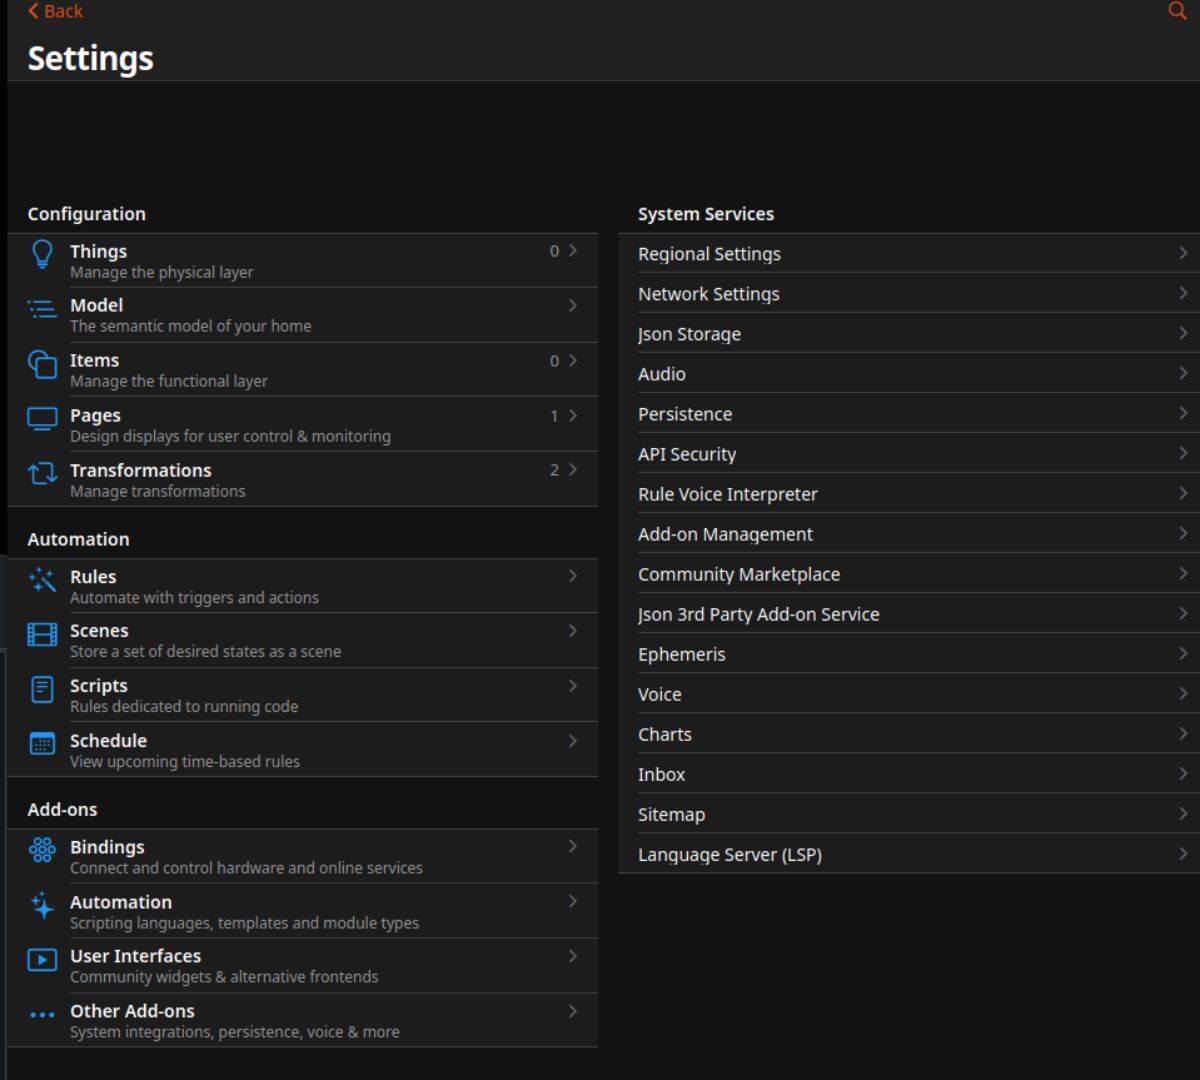
After choosing your location, you can select add-ons to install. Look through the available add-ons, and click the install button. Or, select “Install add-ons later.” When you select the “Install” button will set it all up. You’ll then see the “Welcome to OpenHAB” message. Click “Get Started” to log in so you can begin adding your devices!