How to set up a GitLab Server on Windows Server
GitLab is a self-hosted alternative to source control websites like GitHub. Like GitHub, it allows teams to collaborate on developing projects using the Git version control system.
Hosting your own GitLab server on Windows Server is easier than it sounds. This guide will show you how to install and set up GitLab. However, ensure you have administrative access to your Windows Server before we begin.
How to install a Linux virtual machine
Running GitLab on Windows Server requires a Linux virtual machine. The reason for this is that the developers of GitLab have no plans to directly support Microsoft Windows. Additionally, GitLab is Linux software, and they do not plan to port it.
There are a few ways to run VMs on Windows Server. In this guide, we’ll be using Hyper-V. Why? Hyper-V has native Windows integration, supports performance and scalability, as well as great compatibility with Windows Server.
To get started, ensure you have Hyper-V installed and configured on your Windows Server. If you do not have Hyper-V configured, do the following. First, open up the Windows Server Manager tool.
When you’ve loaded up the Windows Server Manager app, locate the “add roles and features” option, and click on it. Look for the “Hyper-V” option, and check the box next to it to enable it. You must reboot your Windows Server once you enable Hyper-V to use it.
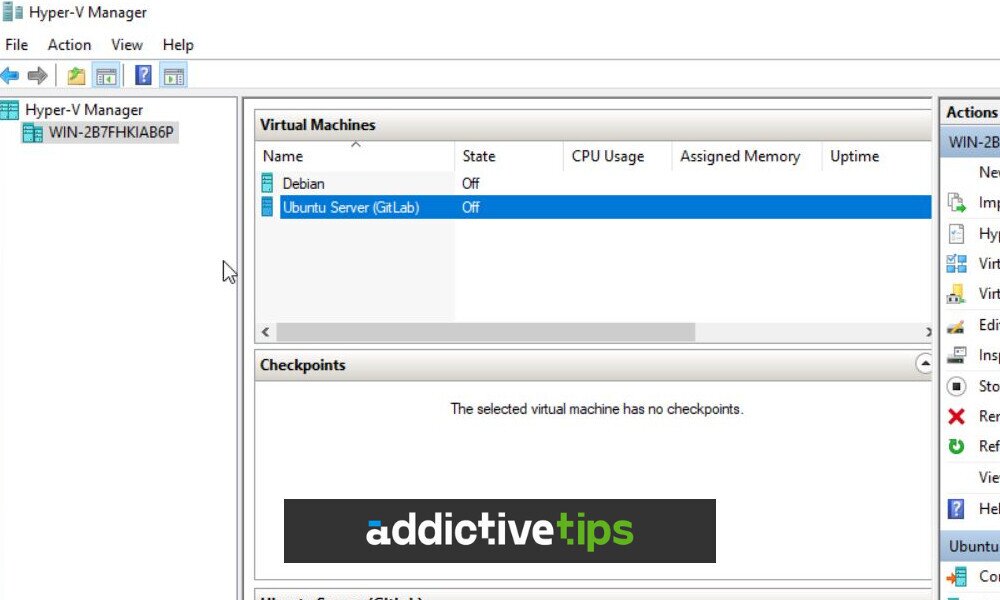
With Hyper-V up and running, download the latest version of Ubuntu Server from the official website. Once you’ve downloaded the latest version of Ubuntu Server to your Windows Server, launch the Hyper-V Manager app on Windows Server.
Once it is open, right-click on your server in the sidebar. Then, after right-clicking on your server, select “New” in the menu. Finally, inside the “New” menu, locate “Virtual Machine” and click on it to create a new VM.
When you click on the “Virtual Machine” button, a wizard will appear. Read the “Before you Begin” message. Once you’ve finished reading, click the “Next” button to move to the next page.

On the next page, you’ll need to choose your VM’s name. Enter “Ubuntu Server (GitLab).” Then, choose where Hyper-V should save the VM if you wish to store it in a different location than the default settings. When done, click the “Next” button.
After naming your VM, you’ll need to choose what generation of VM Hyper-V will use. Generation 1 supports 32 and 64-bit, but not UEFI. Generation 2 does support UEFI. When you’ve made your choice, click the “Next” button to move to the next page.

After specifying the generation, set your VM’s memory allocation. Ideally, Ubuntu Server should have at least 4 GB of available RAM to function best. Click the “Next” button when done.
With the memory configured, networking must be set up. Connect the new VM to your Hyper-V virtual switch. Then, click the “Next” button to continue.
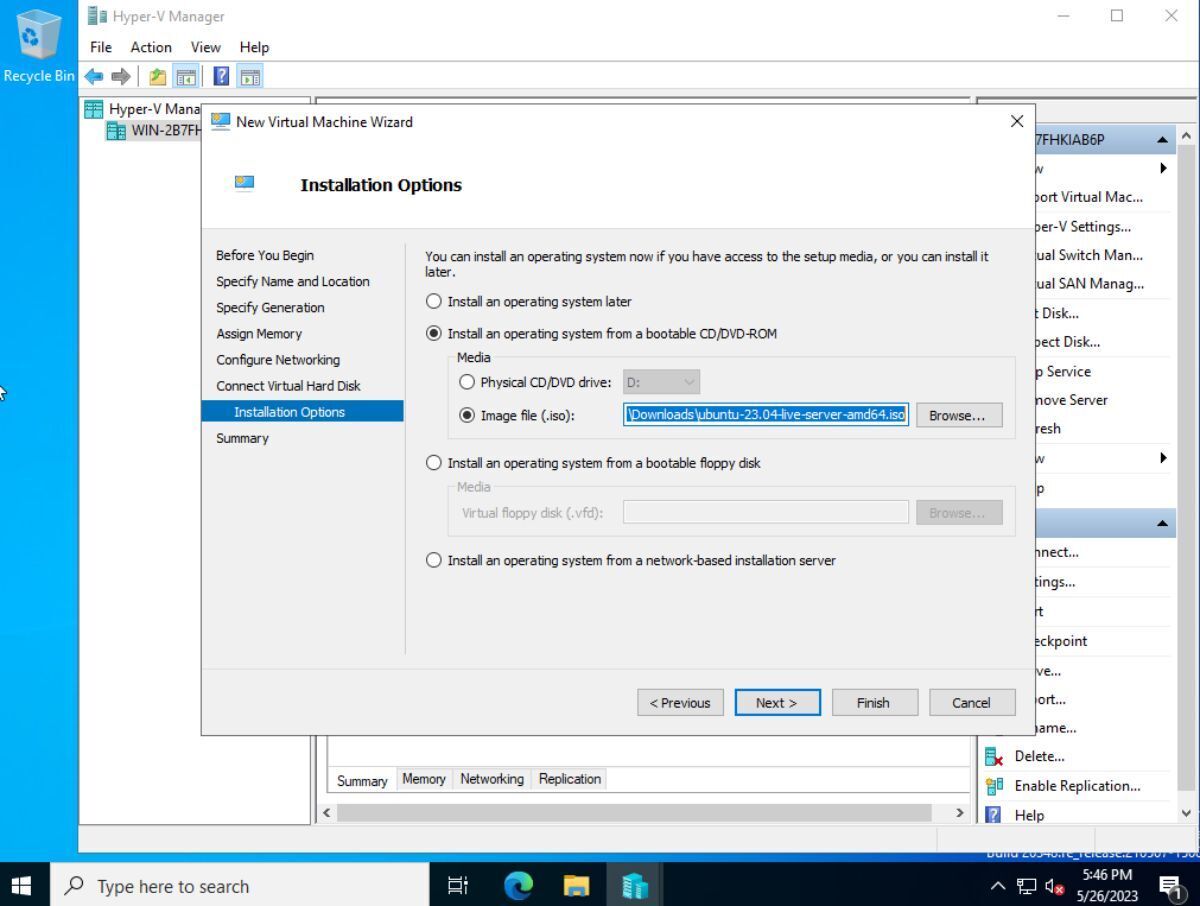
You must now install Ubuntu Server in the VM. To do this, select “Install an operating system from a bootable CD/DVD-ROM” and choose the Ubuntu Server ISO file. After loading up the Ubuntu Server ISO, click “Finish”.
Upon clicking the “Finish” button, you’ll need to go through the process of installing the Ubuntu Server to the VM. Once Ubuntu is installed, reboot it to use Ubuntu Server in Hyper-V.

How to deploy GitLab in the Ubuntu VM on Windows Server
Deploying GitLab on the Ubuntu VM is a pretty involved process with a lot of steps. As a result, we have a dedicated article on how you can deploy GitLab on Ubuntu Server. These instructions are perfect for Ubuntu virtual machines, as well as Ubuntu containers, and bare-metal deployments of Ubuntu.
Once you’ve installed GitLab in your Ubuntu VM, all users will be able to interact with your self-hosted Git repo for programming collaborations and source control. There are many ways to interact with the repo, including the GitKraken tool, TortiseGit, GitHub Desktop, GitExtensions, and SourceTree.
Accessing GitLab via the web
Source control applications are great as they simplify the use of Git, and can be a great asset when interacting with your GitLab instance on Windows Server. However, you can also interact with GitLab directly with the website.

To access your GitLab instance, simply point your favorite browser to the GitLab URL and log in. For more information on accessing GitLab hosted on your Ubuntu VM in Windows Server, view our Gitlab installation guide.
