How to run Chrome OS on any laptop
While it’s possible to buy a Chromebook from the store to run Chrome OS, you can also install Chrome OS Flex on your existing laptop or desktop. Chrome OS Flex is an x86 port of Chrome OS developed by Google. Here’s how to get it working on your system.
How to download and install Google Chrome on Windows
To create a Chrome OS Flex USB installer, the Google Chrome browser must be downloaded and installed on your computer. Thankfully, setting up Google Chrome on a Windows PC is relatively easy.
Head over to Google.com/chrome. Once you’ve loaded the page, find the blue “Download” button, and select it with the mouse. When you choose the “Download” button, a page that says “Thanks for downloading! Just a few steps left” will appear. Allow the Chrome EXE to download, then double-click on it and launch it.
Once the EXE launches, approve it within the Windows UAC pop-up. When you do, the Chrome installer will download and install it to your computer. The installation process will not take long. When it is complete, Google Chrome will launch automatically.
With the Chrome app open, you must sign in to Chrome Sync. Doing this will allow you to keep track of your bookmarks, passwords, etc. To sign in, click on the profile icon in the Chrome browser.
How to install the Chromebook Recovery Utility
The only official way to create a Chrome OS Flex installer USB is via the Chromebook Recovery Utility Chrome App. To install it, head over to the Chrome Web Store. Once there, find the search box and click on it.
After selecting the search box, type in “Chromebook Recovery Utility” and press the Enter key to view the search results. Next, locate it in the search results. Then, click the “Add to Chrome” button to install it on your PC.
How to create a Chrome OS Flex installer with the Chromebook Recovery Utility
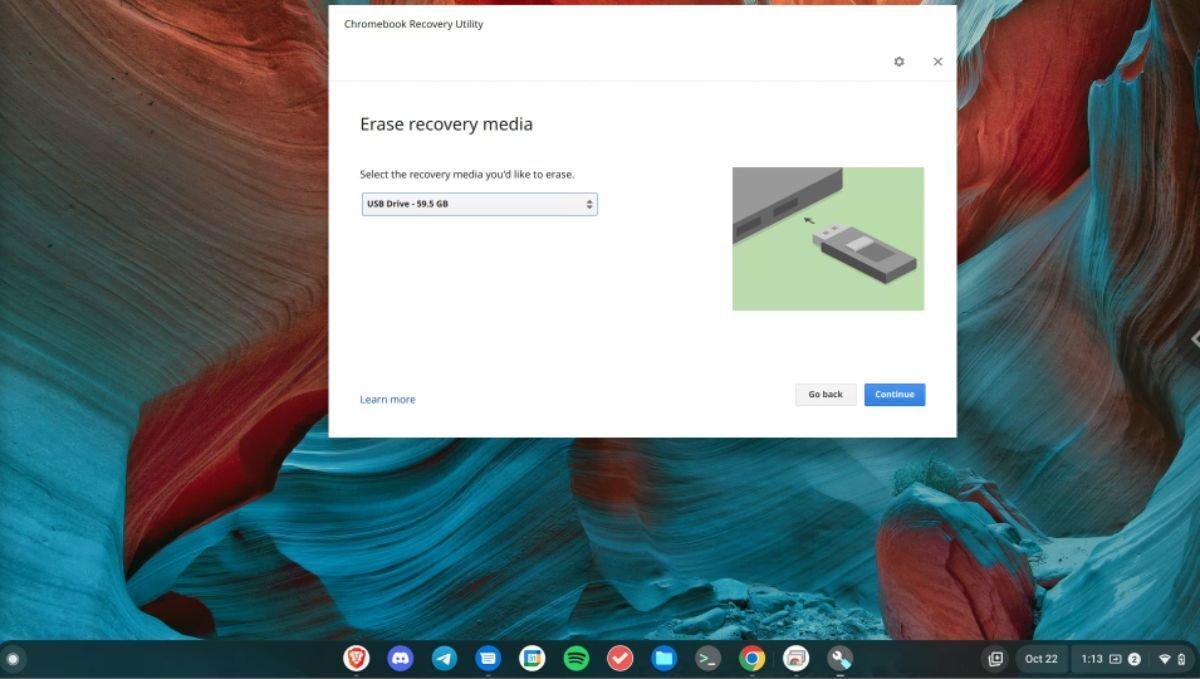
Now that the Chromebook Recovery Utility app is installed on your PC, you can create a Chrome OS Flex installer. To start, launch the Chromebook Recovery Utility app via your app menu. Or, navigate to chrome://apps via the browser.
Once the Chromebook Recovery Utility app is open, plug in a USB flash drive. Then, click the “Select a model from a list” option. Next, find the “Select a manufacturer, and choose “Chrome OS Flex.” After selecting “ChromeOS Flex” for the model, choose “Select a product” and select “ChromeOS Flex.”
On the next page, select your USB flash drive. Then, select the “Create now” button. Selecting the “Create now” button will begin the creation process. This process will take quite a bit to complete, so be patient.
When the process is finished, reboot your computer into the BIOS, and configure it to boot from USB. You’ll then be able to start the Chrome OS Flex installer.
How to create a Chrome OS Flex installer without the Chromebook Recovery Utility
If you use Linux or cannot install Chrome OS Flex via the Chromebook Recovery Utility, you will need to install Chrome OS Flex the unofficial way. To start, download the Flex firmware (https://dl.google.com/dl/edgedl/chromeos/recovery/chromeos_15054.115.0_reven_recovery_stable-channel_mp-v2.bin.zip) from Google.
Note: the version of Chrome OS Flex linked here is outdated compared to what you can get via the Chromebook Recovery Utility. Only use this method if it is your only option.
After downloading the ZIP file, do not extract it. Instead, install the Etcher application, and launch it. If you cannot get it to launch on Linux, do the following in a terminal.
cd ~/Downloads
chmod +x balenaEtcher-1.7.9-x64.AppImage

./balenaEtcher-1.7.9-x64.AppImage --disable-gpu-sandbox
Once the Etcher application is installed, select “Flash from file” and select “chromeos_15054.115.0_reven_recovery_stable-channel_mp-v2.bin.zip” Then, insert your USB flash drive, select “Select target,” and choose your USB flash drive.
After selecting your USB flash drive, find the “Flash!” button, and select it with the mouse to flash the Chrome OS Flex BIN file to your computer. This process will take a while, as the BIN file is 6 GB. Be patient, and allow Etcher to flash.
When done, reboot the computer, load up the BIOS and boot it from USB to install Chrome OS Flex.
How to get started with Chrome OS Flex
To install Chrome OS Flex on your device, follow the step-by-step instructions below.
- On the “Welcome to ChromeOS Flex” screen, select the “Get started” button to start the installation process.
- On the “Start using ChromeOS Flex” screen, find the “Install ChromeOS Flex” button and select it with the mouse to start the installation.
- Once the installation is complete, reboot your ChromeOS Flex device. Enter your Google account information to log in when it powers back on.

