How To Remove The Item Check Box In Windows 10
When you hover the mouse cursor over an item in Windows 10, whether it’s an icon on your desktop or a file you’re looking at inside File Explorer you see a check box appear over it. Clicking the item once selects it and a check mark appears inside the check box to indicate the same. The icon is also highlighted like it used to be in Windows 7 to indicate a selected icon. Windows 10 basically has two different ways to indicate a selected item. If you find the check boxes are redundant or confusing you can disable them. Here’s how.
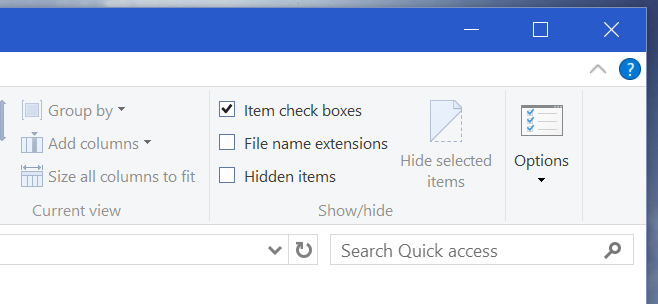
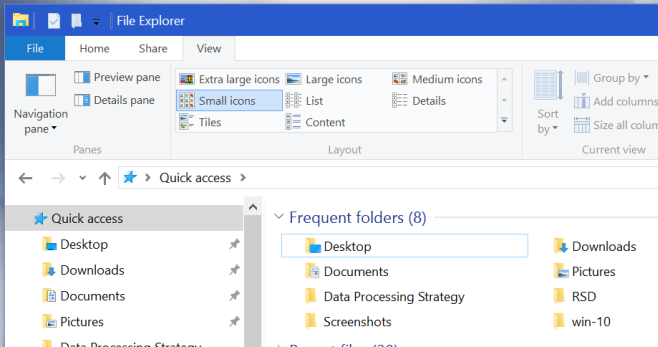
Open File Explorer and select the ‘View’ tab from the ribbon. In the Show/hide set of options at the far right, there’s an ‘Item check boxes’ option that will be checked. Uncheck it and the check boxes will disappear.

The boxes will stop appearing on both desktop icons when you select them as well as on files and folders you view inside File Explorer.

I personally do not like these check boxes. They remind of how web apps and even some desktop apps indicate an ‘editing’ mode for selecting and performing any sort of action on multiple files at once. When you select multiple files and/or folders, check box appears on all of them. Perhaps this is meant to make selection easier on touch screens and tablets but on an ordinary laptop or desktop the feature is more or less redundant. The highlight that appears on a selected icon is more than enough to indicate that it’s been selected.

wonderful,thanks