How to install Meteor on Windows Server
Meteor is an open-source JavaScript platform that developers use to build modern web applications and mobile web apps. It has a lot of exciting features that Windows Server users looking to build these types of applications. In this guide, we’ll show you how you can get Meteor working on Windows Server.
Installing Chocolatey on Windows Server
The easiest way to get Meteor working on Windows Server is with Chocolatey. This is a package management tool for Windows, and it makes installing complex programs much easier. To install Chocolately, open up a PowerShell window.
Once the PowerShell window is open and ready to use, execute the following command. This command will download and set up the Chocolatey package manager for Windows Server.
Set-ExecutionPolicy Bypass -Scope Process -Force; [System.Net.ServicePointManager]::SecurityProtocol = [System.Net.ServicePointManager]::SecurityProtocol -bor 3072; iex ((New-Object System.Net.WebClient).DownloadString('https://chocolatey.org/install.ps1'))
The Chocolatey package manager should be installed once the command above is finished running. However, you must close your PowerShell window and re-open it to start using it. Once the PowerShell window is re-opened, run the choco --help command to confirm it works.
How to install Meteor on Windows Server with Chocolatey
The Meteor app is pretty easy to get working once the Chocolatey package manager is up and running. To get Meteor set up on your Windows Server, simply run the choco install command below in a PowerShell window.
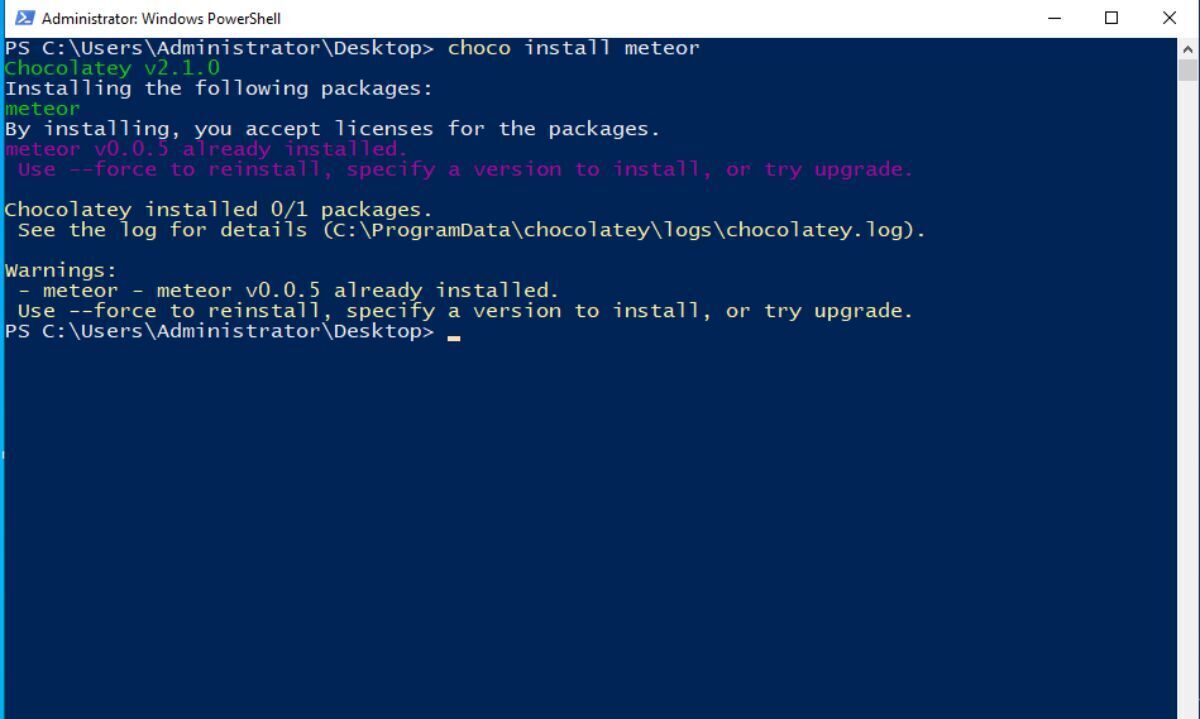
choco install meteor
When you write the command above in PowerShell and submit it, you’ll see a message appear on the screen. This message says “meteor package files install completed. Performing other installation steps. The package meteor wants to run chocolateyinstall.ps1 Note: If you don’t run this script, the installation will fail. Note: To confirm automatically next time, use y or consider: choco Feature enable -n allowGlobalConfirmation Do you want to run the script?” Press “A” to continue.
When you press the “A” key, Chocolatey will begin performing post-installation tasks, such as configuring the Windows Registry, etc. This process will take a bit of time to complete, so be patient. Do not close the PowerShell window until everything is complete.
Once Chocolatey is finished installing Meteor, close the PowerShell window and re-open it. You’ll need to do this to gain access to Meteor from the PowerShell command line. It will not work if you do not restart it.
Getting started with Meteor on Windows Server
Now that Meteor is installed on Windows Server, you can start using it. First, you’ll need to create a project. In this guide, we’ll create an example project. Open up a PowerShell window, and enter the following command to create your new folder.
New-Item -ItemType Directory -Name "my-meteor-app"
Once you’ve created your new “my-meteor-app” folder, you need to enter it. First, run the ls command to view the contents of the directory you’re in.
ls
After taking a look inside of the current directory, confirm that “my-meteor-app” folder is there. Then, use the cd command to enter it. You’ll need to enter this folder to create your Meteor project, app, and everything else.
cd my-meteor-app
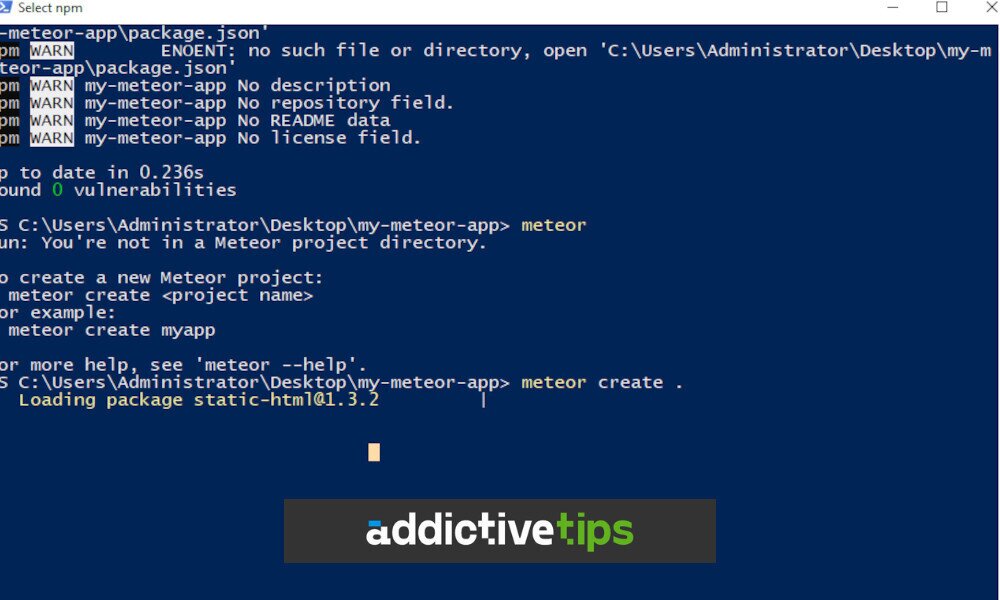
When you’ve accessed the “my-meteor-app” folder, you need to use the meteor command to create a new project in this directory. In the PowerShell window, run the command below. The “.” will ensure that Meteor creates the new project in the directory you’re currently in, and not elsewhere.
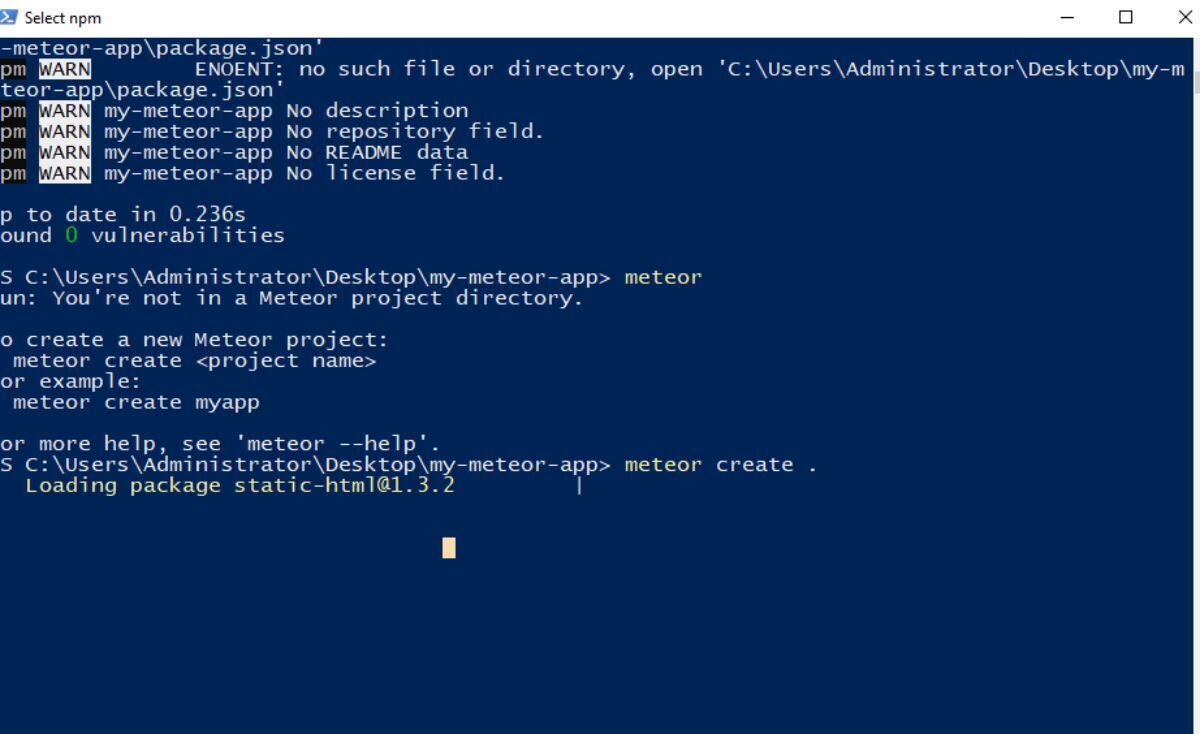
meteor create .
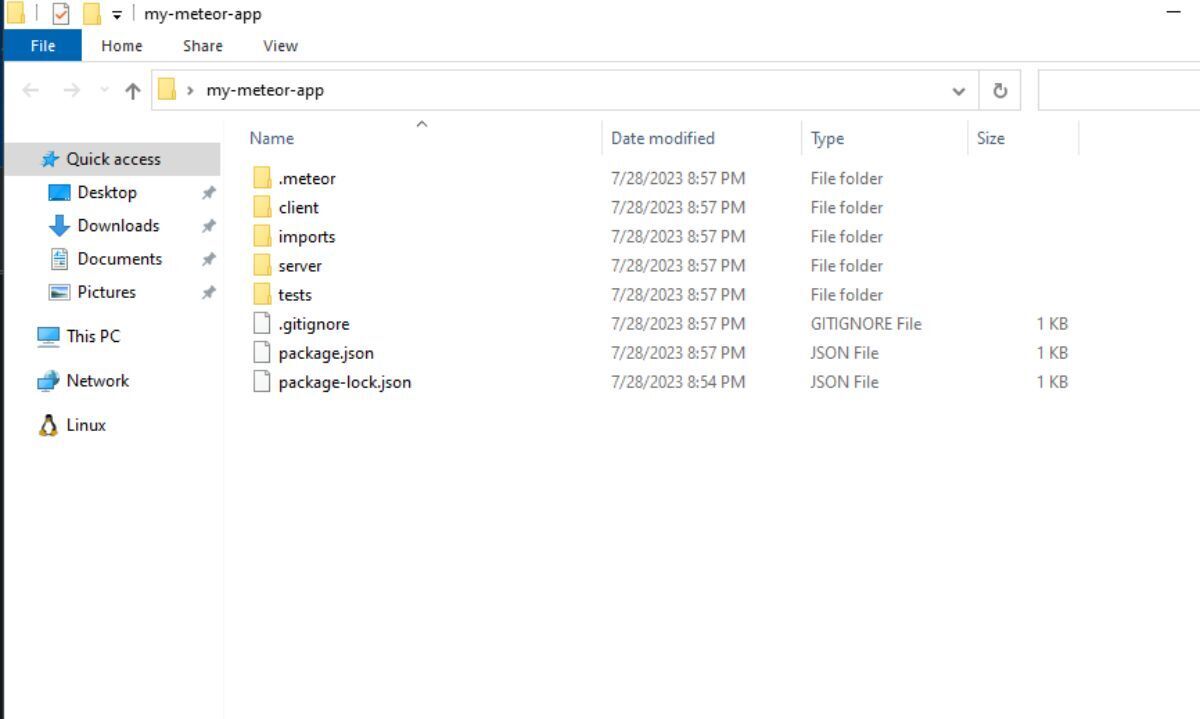
With the command above run, Meteor will select package versions, and download various templates, and packages for you to build your Meteor app. This process may take a few minutes to complete, so be patient.
When Meteor is finished creating your new project, you can start up Meteor on your Windows Server. To do this, execute the meteor command. Running this command will start up your newly created Meteor project on the Windows server port 3000. It should be accessible to anyone who is connected to your Windows Server via LAN.
http://windows-server-ip-or-hostname:3000
How to stop the Meteor server
If you need to stop your Meteor project server from running on Windows Server for any reason, you can do it by pressing Ctrl + C in the PowerShell window. Pressing this keyboard combination will cause an interruption, which will end the process. Alternatively, you can close the PowerShell window to close the Meteor server.
