How to install MariaDB on Windows Server
MariaDB is an open-source alternative to database solutions like MySQL or Windows SQL Server. It offers incredible performance and scalability. In this guide, we’ll show you how to get MariaDB set up on your Windows Server.

Download MariaDB Community Server for Windows Server
Before setting up MariaDB on your Windows Server, you’ll need to download the installer from the official website. Head over to MariaDB.com/download to get started.
Once you’ve reached the download page, locate “MariaDB Community” and select it with your mouse. Then, find “Version” and choose the version of MariaDB you wish to download.
After selecting your desired version, find the “OS” drop-down menu. Choose “MS Windows (64-bit)” from the available options.
When you’ve made your selection in the “OS” drop-down menu, the MariaDB website will generate a download link. Simply click on the “Download” button to download the latest installation MSI for MariaDB Community Server.
The download process is quick, and once it’s complete, you can proceed with the installation.
Installing MariaDB Community Server
To install MariaDB Community Server on your Windows Server, begin by launching the Windows Explorer app on your desktop. Once it is open, locate the “Downloads” folder and select it with your mouse to access the downloaded MariaDB MSI installer.
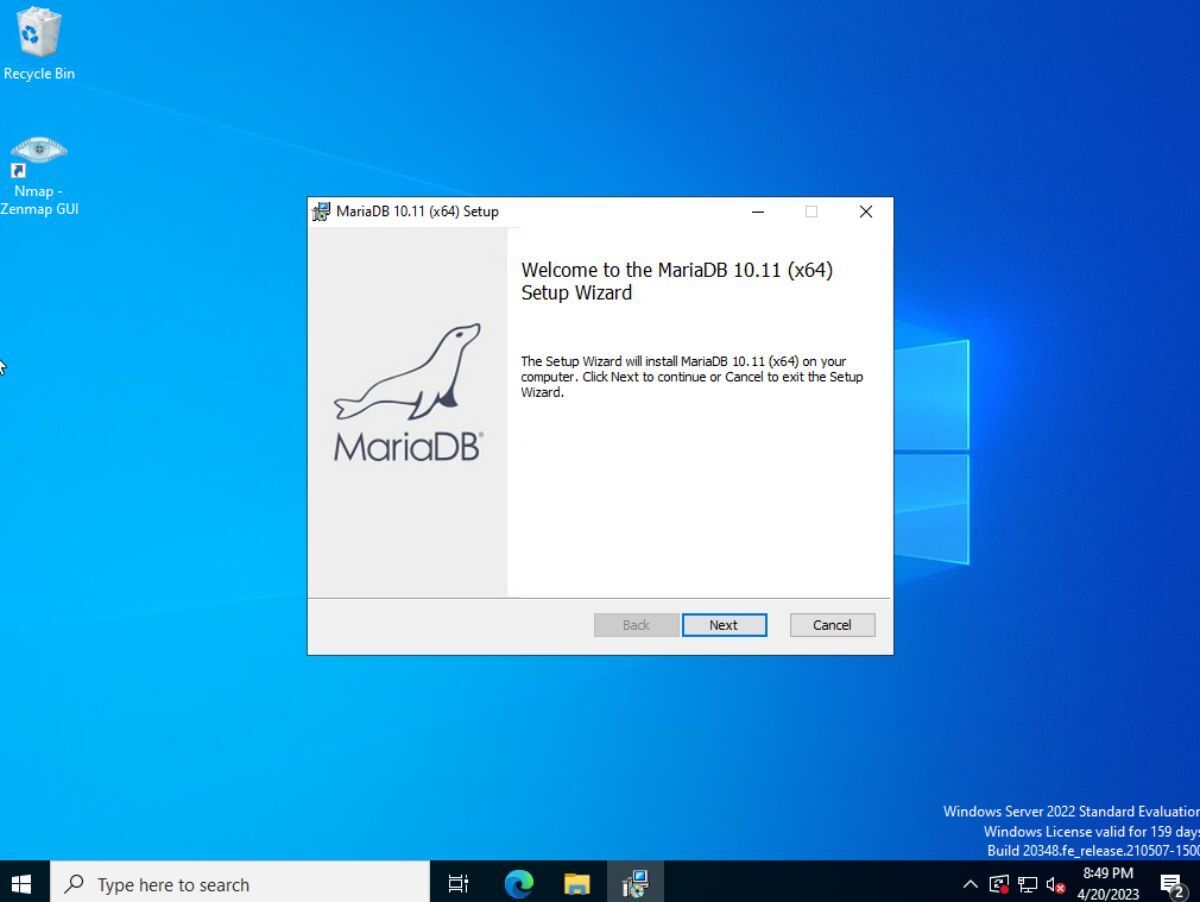
Double-click on the MariaDB MSI file. Upon double-clicking, a welcome message will appear stating “Welcome to the MariaDB 10.X (x64) Setup Wizard.” Find the “Next” button and click it with your mouse to proceed to the next page in the installer.
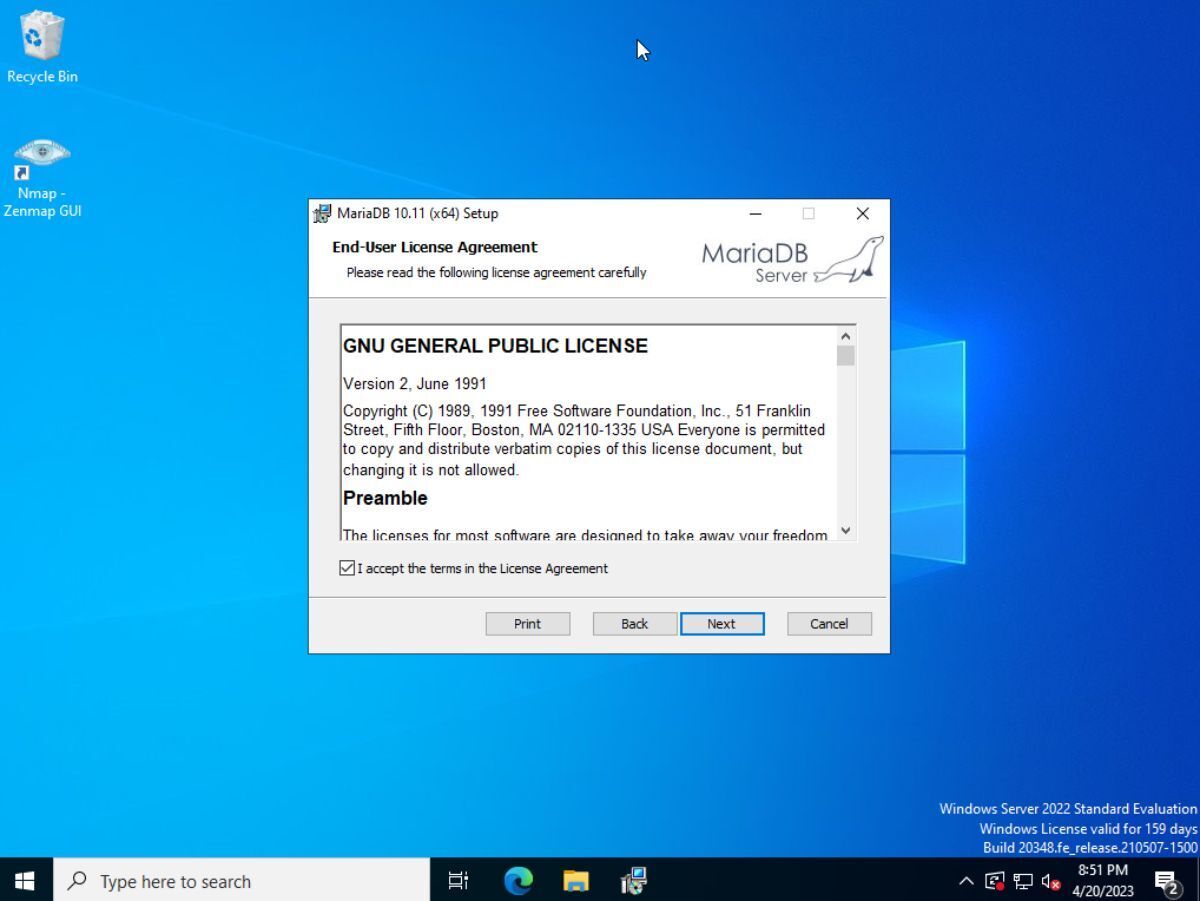
After the welcome message in the MariaDB Community Server installer, you will see the MariaDB End-User License Agreement, followed by the GNU General Public License. Read the license, check the “I accept the terms in the License Agreement” button, and click “Next” to continue.
After agreeing to the EULA, you’ll see an overview of what will be installed on the Windows Server. By default, everything is selected, and this is suitable for most installations. If you wish to deselect certain features, you can do so in this window. Click “Next” to continue when you have made your selections.

You need to choose a new root password for the “root” user in MariaDB. This step is critical because you cannot access MariaDB on Windows Server, import existing databases, etc., without this password.
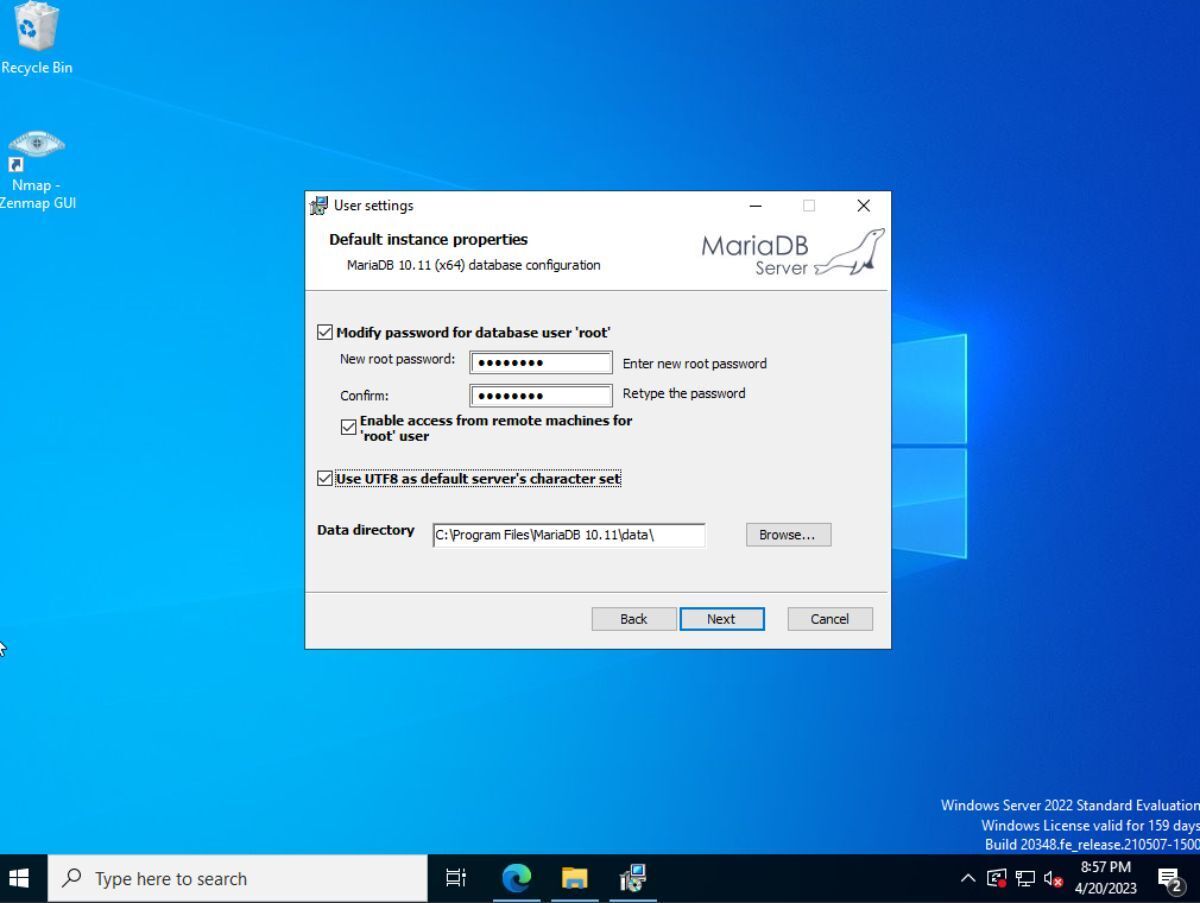
To set the root password, begin by generating a secure password using the Bitwarden password generator. Then, enter it into the installer. Ensure that you check “Enable access from remote machines for the ‘root’ user” if you require this feature. Click “Next” when done to move to the next page of the installer.
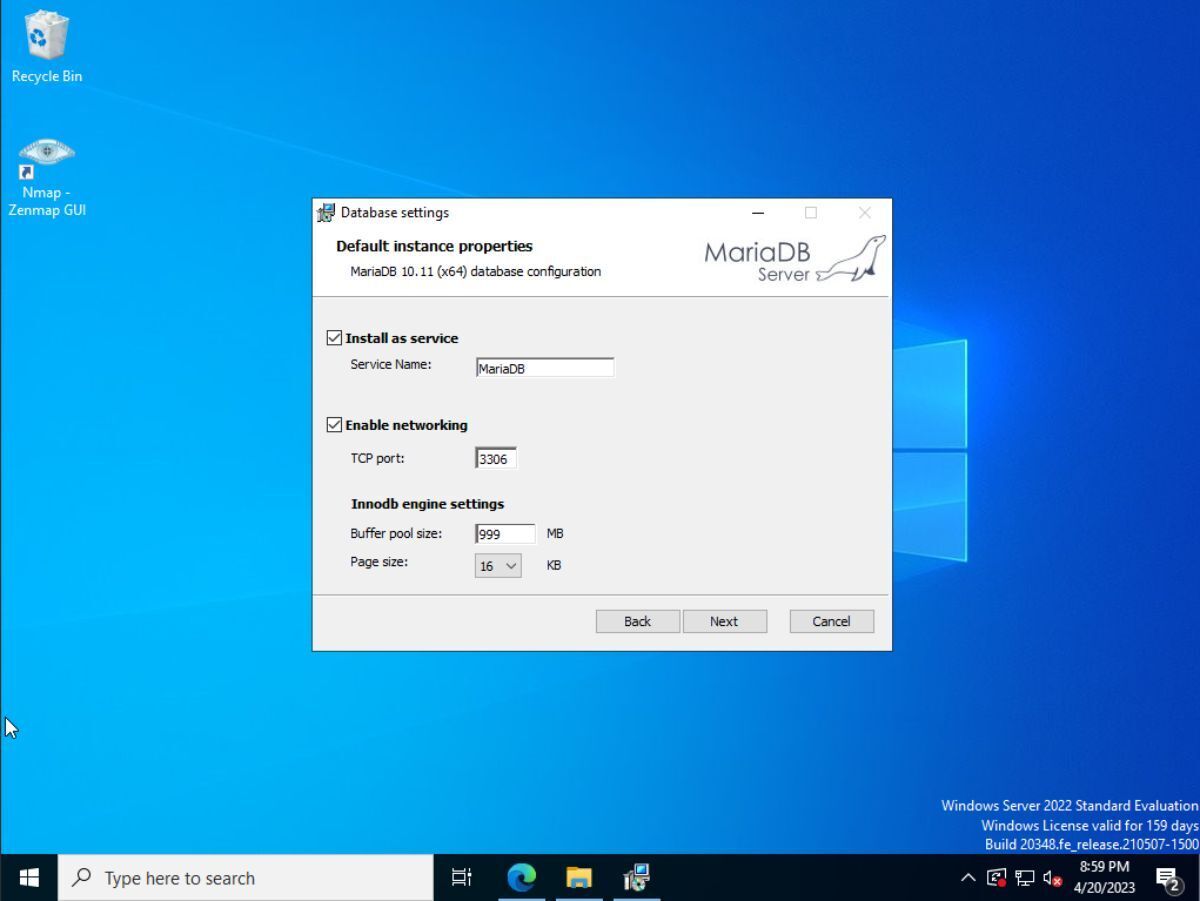
You must now configure MariaDB as a service on Windows Server. Use the installer to set up the service on your system. When you have configured everything, click the “Next” button to proceed to the next page of the installer.
Once MariaDB Community Server is set up as a service, click the “Install” button in the installer to install the server software on your Windows Server system. When the installation is complete, click the “Finish” button.
Importing existing SQL databases on Windows Server
To import an existing SQL database into MariaDB, follow these steps. First, copy the database SQL file to your Windows Server. Once the file has been exported and uploaded to the server, launch HeidiSQL, an easy-to-use GUI tool that was installed with MariaDB on your Windows Server.
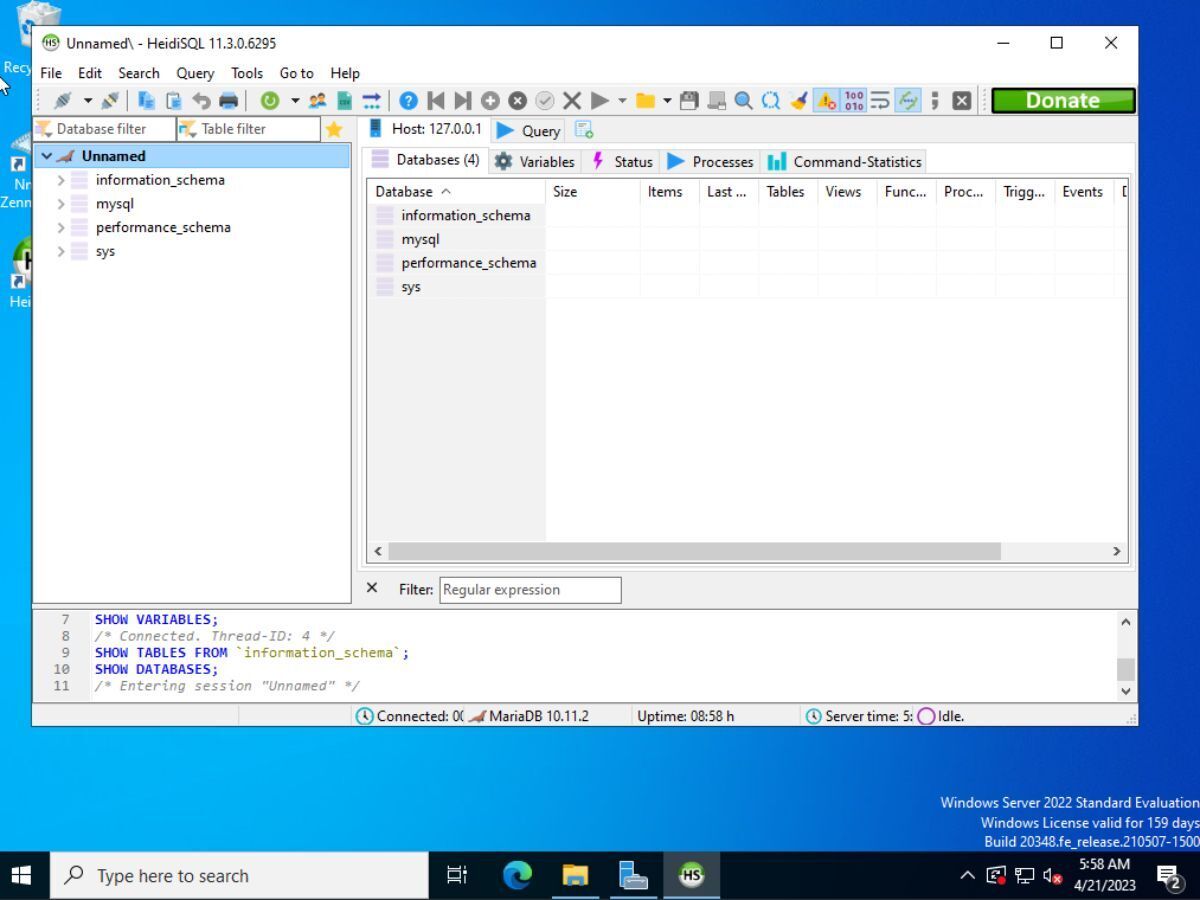
Once you open HeidiSQL, enter the MariaDB root password you set during the installation process in the session manager, and click the “Open” button to load up MariaDB on Windows Server. After connecting to MariaDB with HeidiSQL, select the “File” menu and click “Load SQL file”. Browse for the SQL file you copied to your Windows Server, and load it into HeidiSQL.
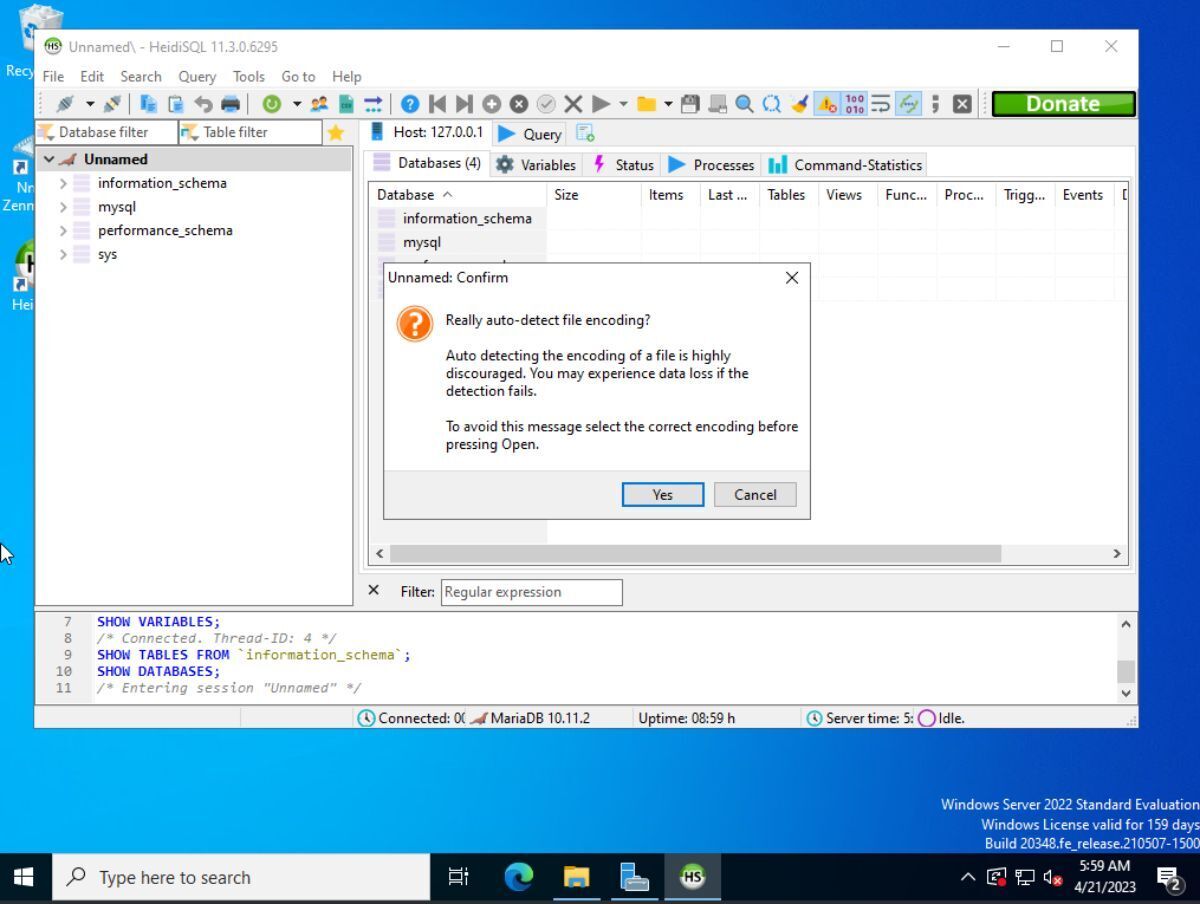
Press the F9 key on the keyboard to run the SQL file. The exported database will be imported into MariaDB in Windows Server once the SQL file is executed.
Creating new databases in MariaDB on Windows Server
To create a new database in MariaDB using HeidiSQL, start by opening the application and finding the left-hand sidebar. Next, right-click on an empty space and select “Create new.” From the dropdown menu, select “database” to create a new database.
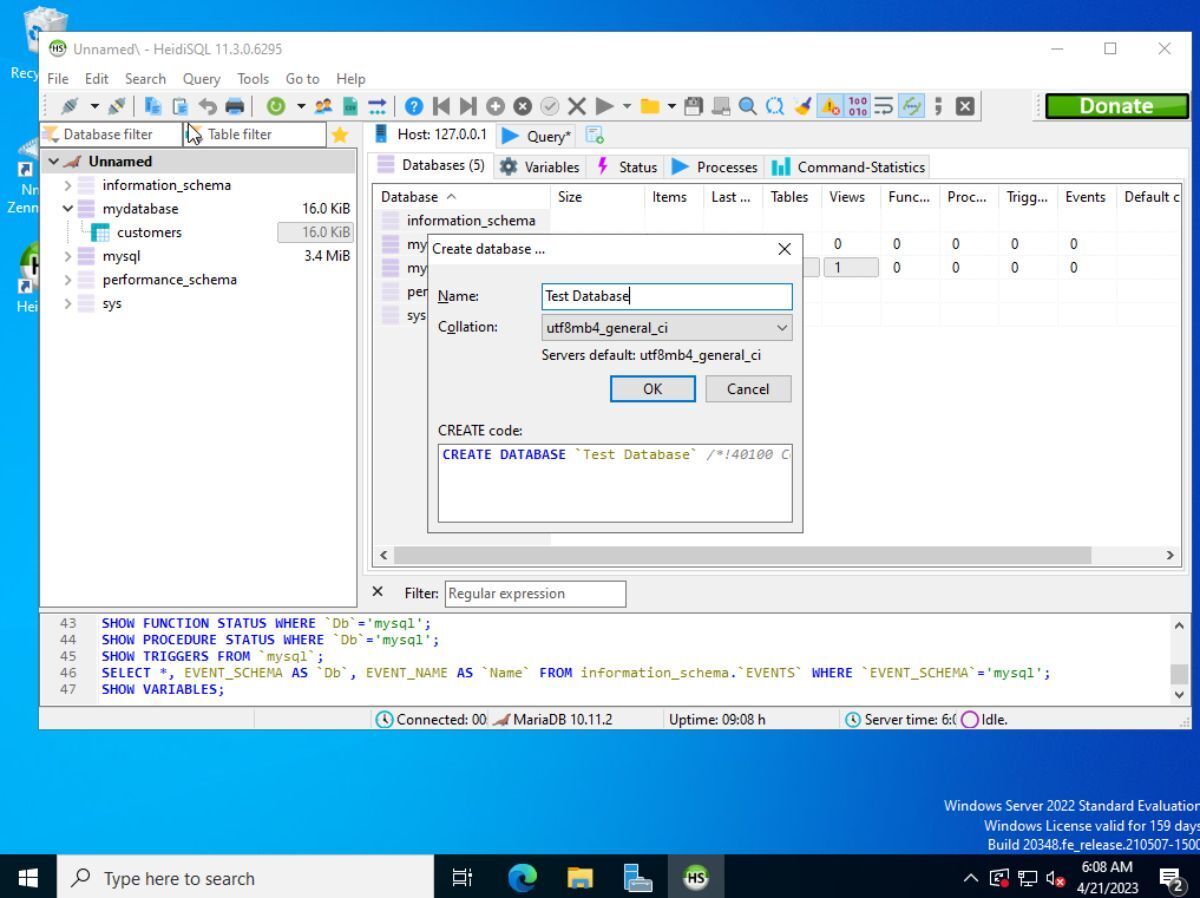
After selecting “database” in the “Create new” menu, you will be prompted to name your new database. Enter the desired name, then click the “OK” button. Once you have created the new database, you can start manipulating and adding data to it using HeidiSQL.
