How to host a Syncthing server on Windows Server
Syncthing is a decentralized syncing tool for Linux, Windows, and other platforms. It’s useful for keeping files in sync, especially on a local LAN. In this guide, we’ll show you how you can set up a Syncthing server on Windows Server.
How to download Syncthing server on Windows Server
To get your hands on Syncthing server for Windows Server, do the following. First, head over to the official Syncthing website. Once there, find the “Download” button, and click on it with the mouse.
Upon selecting the “Download” button, scroll down and locate “Base Syncthing,” and download the Windows version. This is the barebones, server-only version. This is the one we need to host Syncthing on your Windows Server.
Once you’ve downloaded the latest Windows version of Syncthing to your Windows Server, launch the Windows Explorer application, and select the “Downloads” folder. Then, extract the ZIP archive’s contents.
After extracting everything, enter the extracted folder. Once in the extracted folder, move the folder inside of the extracted folder from the “Downloads” directory to another, safer location. Additionally, rename this folder to “syncthing”. In this example, we’ll place the folder in C:/.
Creating a Syncthing service
Syncthing is now extracted and in C:/. You now need to create your own Syncthing service, so that the server will automatically run at boot. To start, press Win + R on the keyboard. Then, type tasksched.msc and press the Enter key on the keyboard to open up the Task Scheduler.
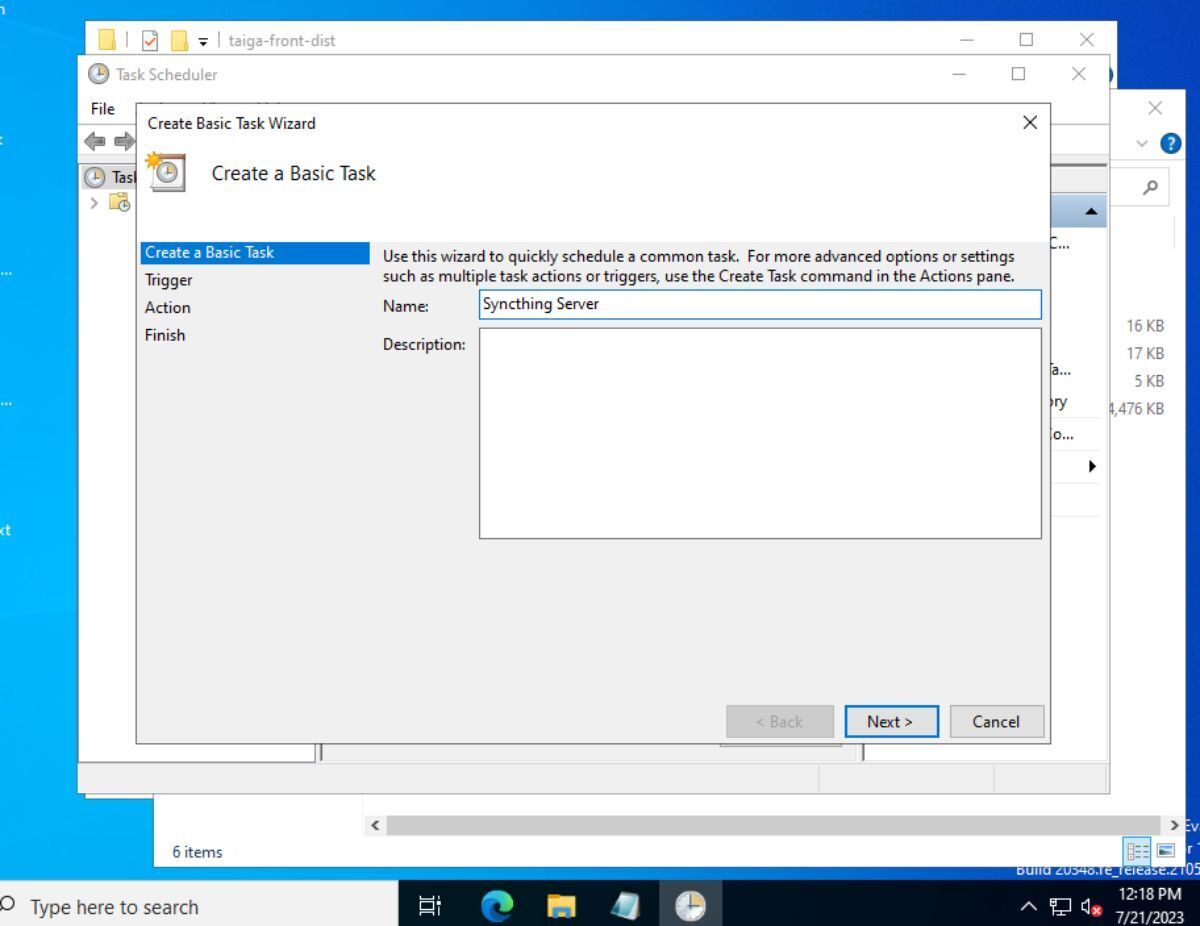
Once inside of the Task Scheduler app, find the “Action” menu, and select it with the mouse. Then, choose “Create Basic Task.” In the “Create Basic Task Wizard” folder, find “Name,” and enter “Syncthing Server,” in the box. Be sure to also add a “Description.” Click “Next” to move to the next page.
On the next page, you must choose the trigger for your task. Set it to “When the computer starts.” This will ensure that Syncthing starts up when your Administrator user logs into the server, so your Syncthing server will always be accessible. Click “Next” when done.
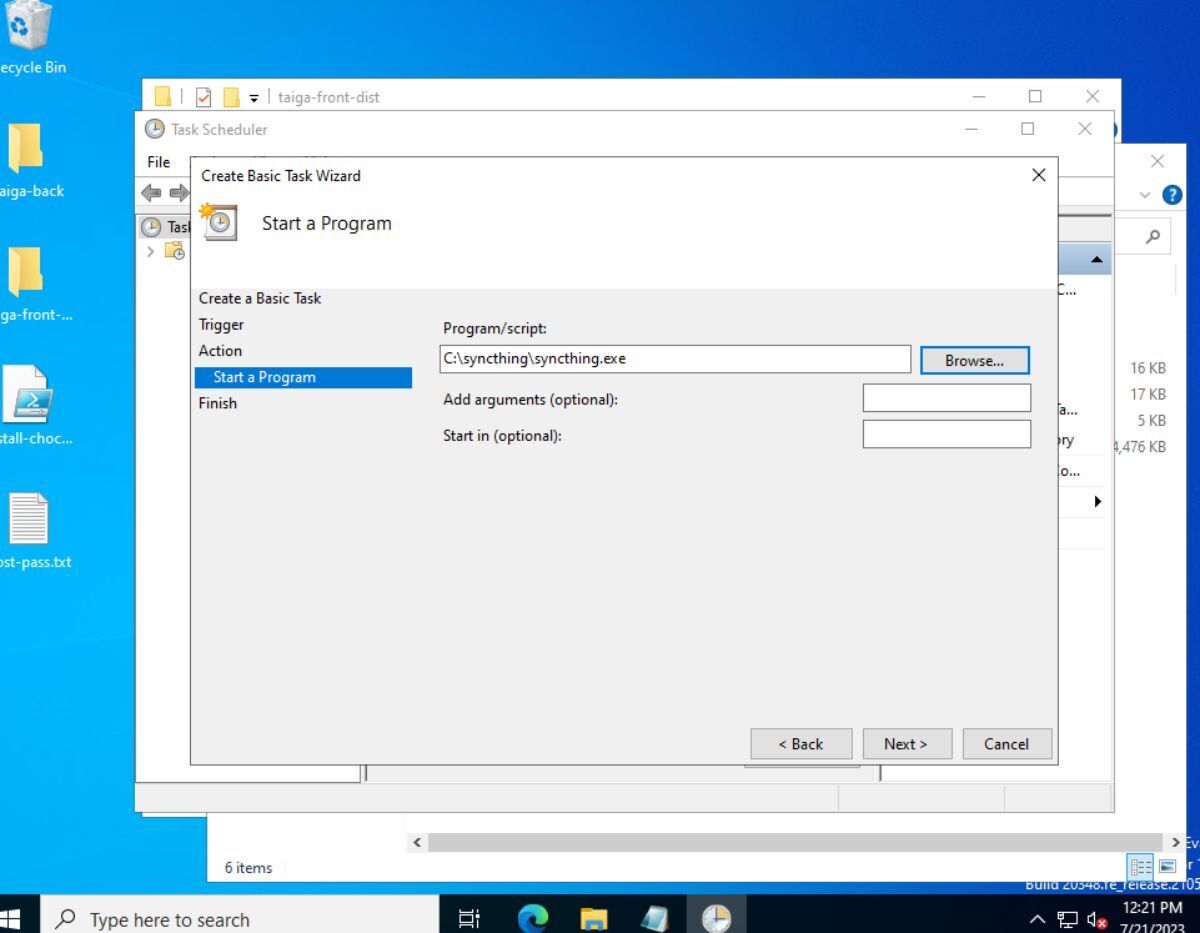
On the next page, you need to choose your action. Select the “Start a program” action, and click the “Next” button to move to the next page. On the next page, navigate to C:/syncthing and choose syncthing.exe.
Configuring Syncthing server on Windows Server
Configuring Syncthing is done through the GUI. This GUI is accessible via the following URL:
http://localhost:8384
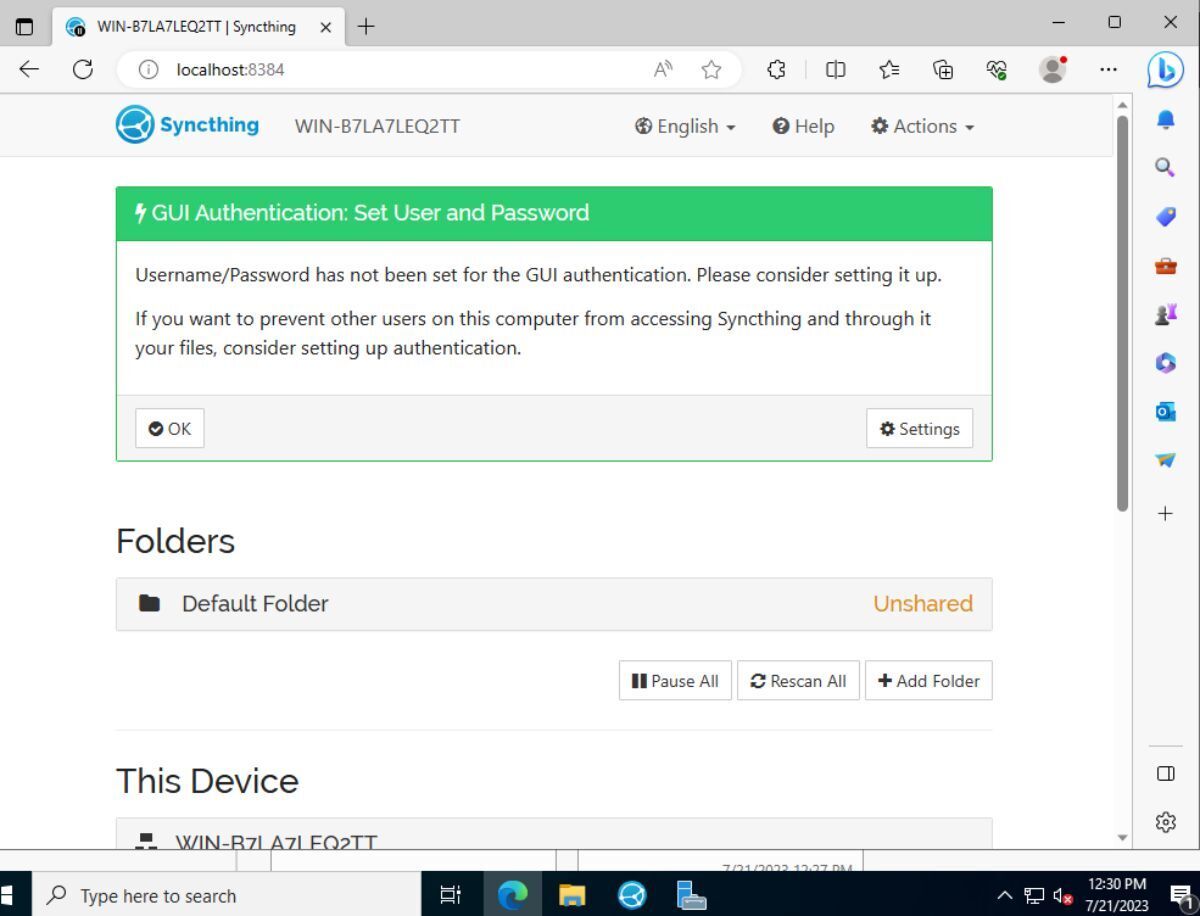
When you access the URL above, you will see a message at the top of the page. This message says “Username/Password has not been set for the GUI authentication. Please consider setting it up. If you want to prevent other users on this computer from accessing Syncthing and through it your files, consider setting up authentication.” Click the “Settings” button to access the Syncthing settings area.
In the Syncthing settings area, find the “GUI” tab, and click on it with the mouse. After that, find “GUI Authentication User,” and enter a user account for the web interface. Then, find “GUI Authentication Password,” and enter a secure, memorable password. When everything is configured, select the “Save” button to save your settings.
Sharing files with Syncthing server on Windows Server
To share files from your Syncthing server to other devices (and vice versa), you must add remote devices to your server. To start, ensure that the Syncthing mobile app, or Syncthing desktop app is installed on the remote devices. Once they are installed, launch them, and find the your device ID. You can find your device ID by selecting “Actions” and then “Show ID.”
Once you’ve located the remote device’s ID, return to your Windows Server running Syncthing, and select the “Add Remote Device” button with the mouse. After you select this button, you can add your remote devices to the server.
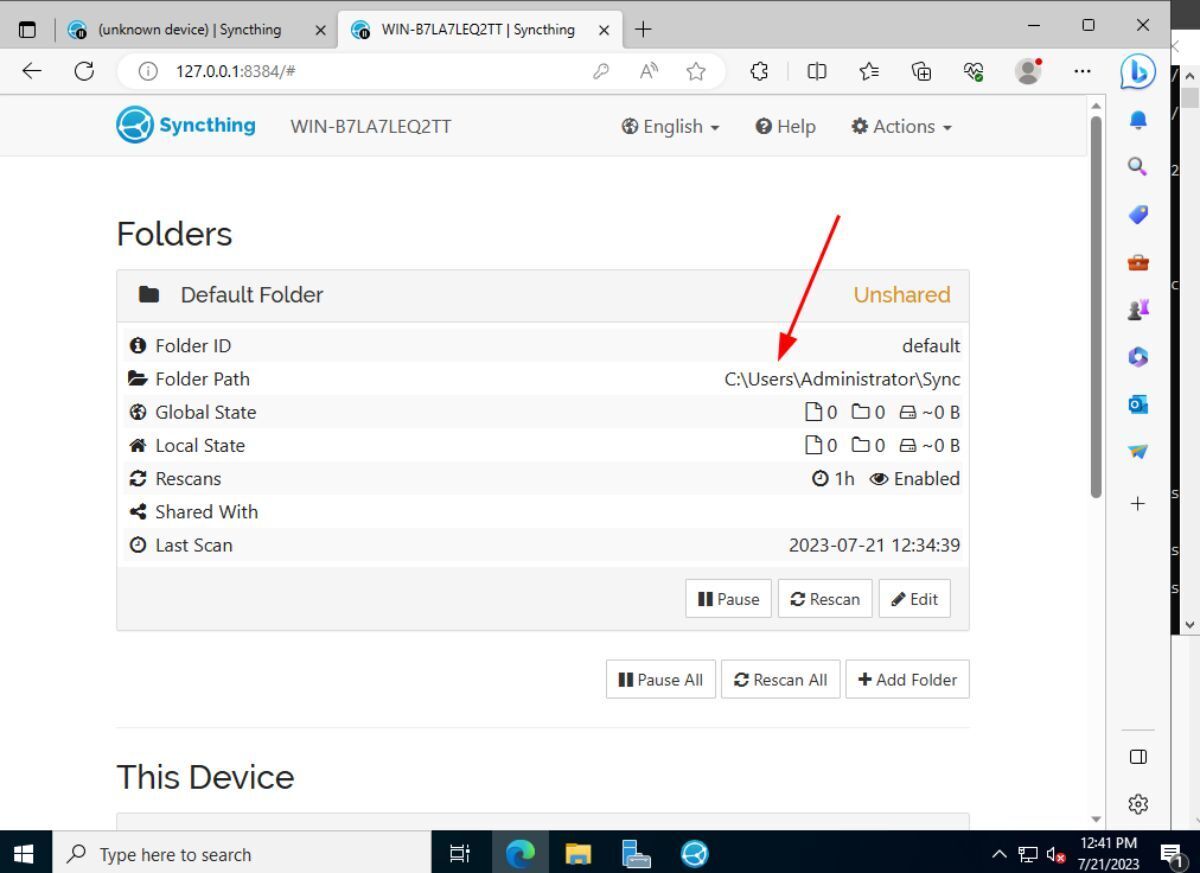
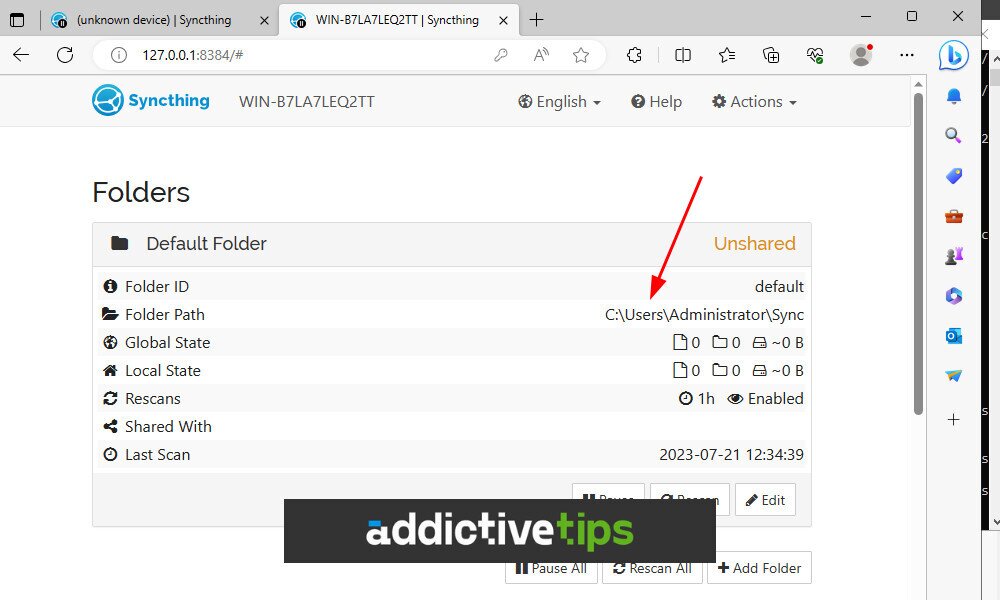
When you’ve successfully added remote devices to Syncthing running on Windows Server, move to “Folders” in the Syncthing web UI. Select the “Edit” button to open up the settings for the shared folder.
When you’ve loaded up the Syncthing folder settings, find “Folder Path” and choose a different location for where your files will be stored. Then, access “Sharing,” and add the remote devices you wish to share to. Once everything is configured, click the “Save” button to save your settings.
After configuring your Syncthing Server on Windows Server, add files to the folder you specified in the shared folder settings. It’ll then begin sharing with connected devices. Or, use other devices to add files to the folder.
