How to host a Jellyfin server on Windows Server
Jellyfin is an open-source alternative to Plex Media Server. It does all the same things as Plex but doesn’t require a “Plex Pass” or any proprietary add-ons. This guide will show you how to run the Jellyfin media server on your Windows server system.
How to download Jellyfin to Windows Server
Jellyfin Server for Windows is available on the official repo website. Go to the repo page to get your hands on the latest server release for your Windows Server. Once there, find “jellyfin_10.8.5_windows-x64.exe” and download it.
Portable Jellyfin Server
Alternatively, if you want a portable server for the Jellyfin server on your computer, you can download the Jellyfin Server portable ZIP archive. To download the file, locate the “Jellyfin-server_10.8.5.portable.zip” EXE file and select it.
In addition to the portable Jellyfin server files, you will need to download the custom Jellyfin FFMPEG files. These FFMPEG files are required, as, without them, you will not be able to enjoy a lot of the Jellyfin Server’s advanced features. Download FFMPEG by selecting “jellyfin-ffmpeg.zip” (or the 64-bit one).
How to install Jellyfin on Windows Server
After downloading the Jellyfin installer EXE, open up Windows Explorer and double-click on the “Downloads” folder on Windows Server. Then, double-click on the Jellyfin installer EXE.
Once you open up the Jellyfin EXE installer, you will see “Welcome to the Jellyfin Server (64 bit) Setup”. Find the “Next” button, and click on it with the mouse to move to the next page of the installer.
After the welcome page, Jellyfin will ask you to read the Jellyfin License Agreement. It is the GNU General Public License. To read it, press the Page Down button on the keyboard. When done, select the “I Agree” button to agree to the license.
Following the user license, Jellyfin will ask you to configure how you would like to install the server software. The “Basic Install (Recommended)” option is default selected. Alternatively, if you’re an advanced Windows Server user, you can select “Install as a Service”; however, we do not recommend it.
Once you’ve specified the type of installation you want the Jellyfin Server to be, you must specify where the server installation will go on your Windows Server system. By default, it will install in program files on the C:/ drive. However, if you wish to change this, you can select the “Browse” button.
Now that the install location is set, you will have to set the Jellyfin program data folder for the server. By default, it is C:/ProgramData\Jellyfin\Server. We suggest keeping it here. Although, if you are an expert, feel free to click browse to choose a different folder. Click “Next” when done to continue.
Now that the Jellyfin program data folder is configured allow Jellyfin to install on your Windows Server. You can access Jellyfin at the following address when the installation is complete.
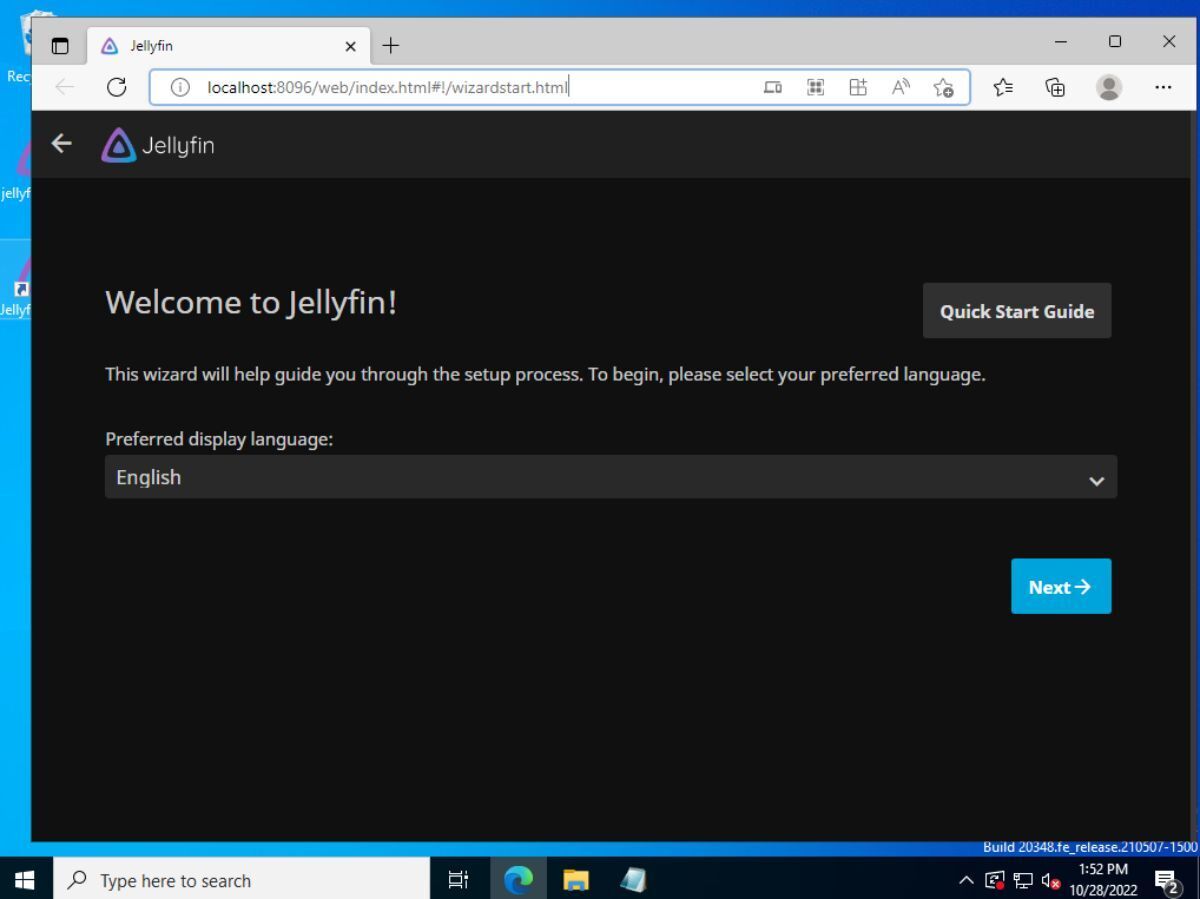
http://localhost:8096/web/index.html#!/wizardstart.html
Or from a remote computer on the network:
http://windows-server-ip-adress:8096/web/index.html#!/wizardstart.html
How to configure Jellyfin on Windows Server
To configure Jellyfin on Windows Server, follow the steps below.
- Find the system tray in Windows Server and right-click on the Jellyfin icon. Then, select “Open Jellyfin.” This option will open up the Jellyfin web UI on Windows Server for setup.
- Once you select “Open Jellyfin,” the web UI will launch in the installation wizard. First, read the “Welcome to Jellyfin!” message. Then, select the “Next” button to move to the next page.

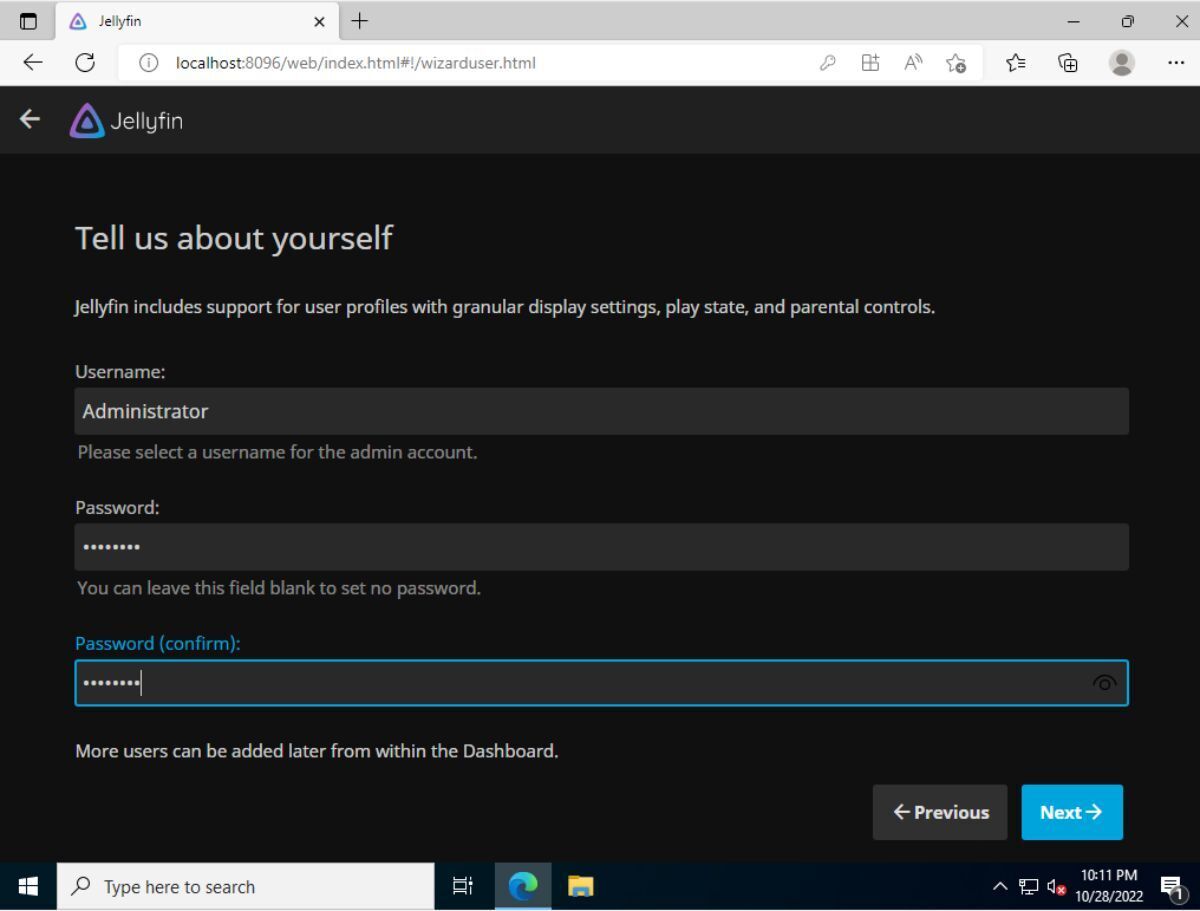
- You must configure the Administrator account. Under “Password,” enter a secure, memorable password. Alternatively, leave it blank if you do not wish to add a password to the Jellyfin Administrator account. When done, select “Next.”

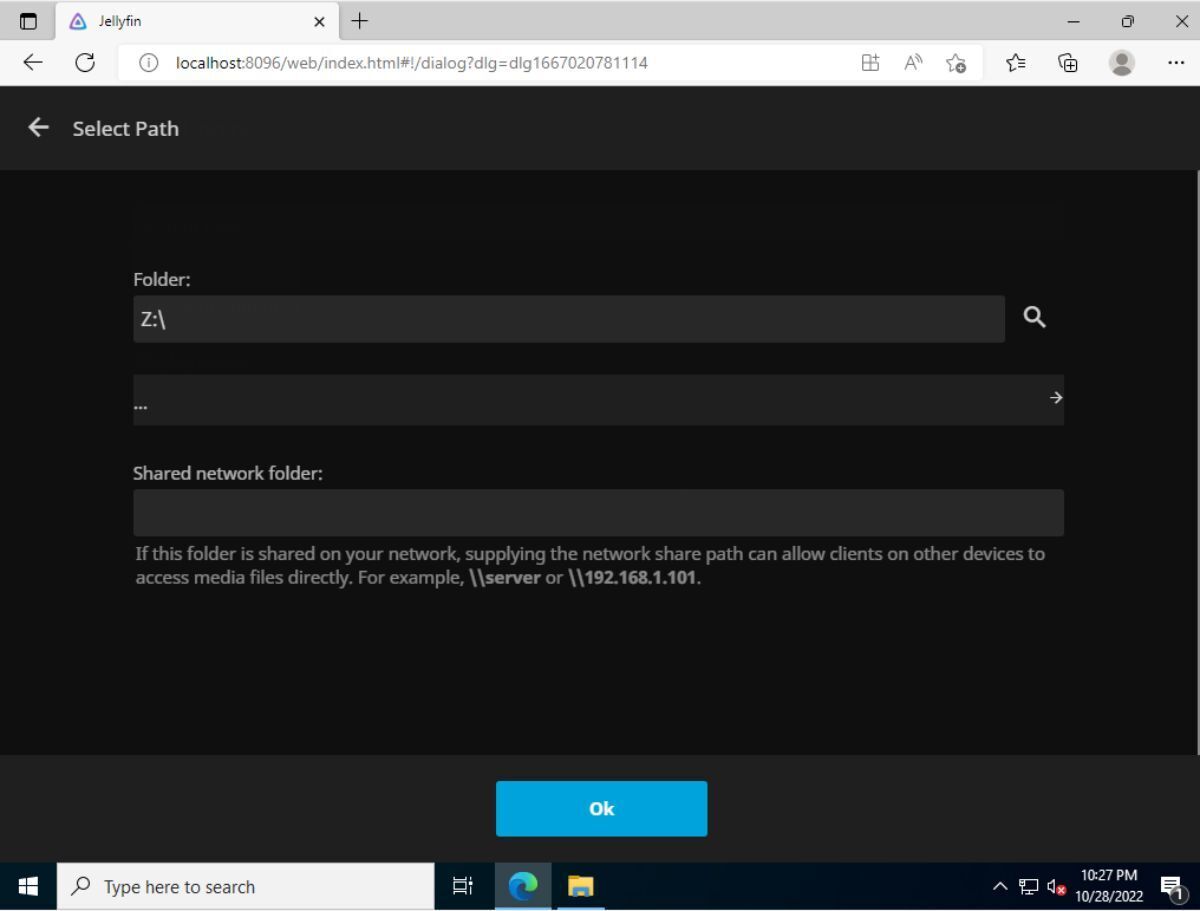
- You must now configure your media library for Jellyfin. First, find “Add Media Library” and select it with the mouse. Then, specify the content in “Content type.” After specifying the content type, choose the folder where your media is located.

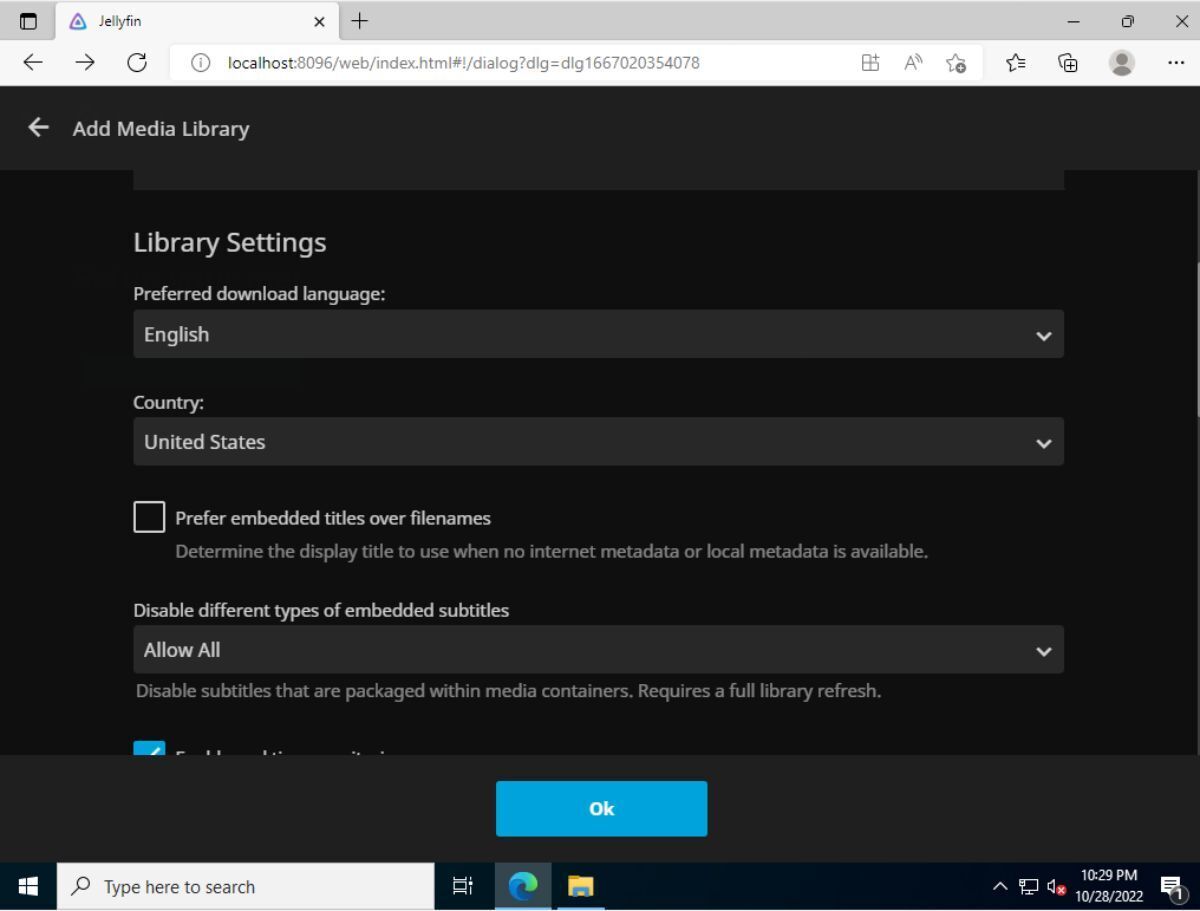
- Scroll down and find “Preferred download language. Then, search for the language you speak. You should also set your country and any other settings for this media you add to Jellyfin. Click “OK” when you’re ready to add the files.

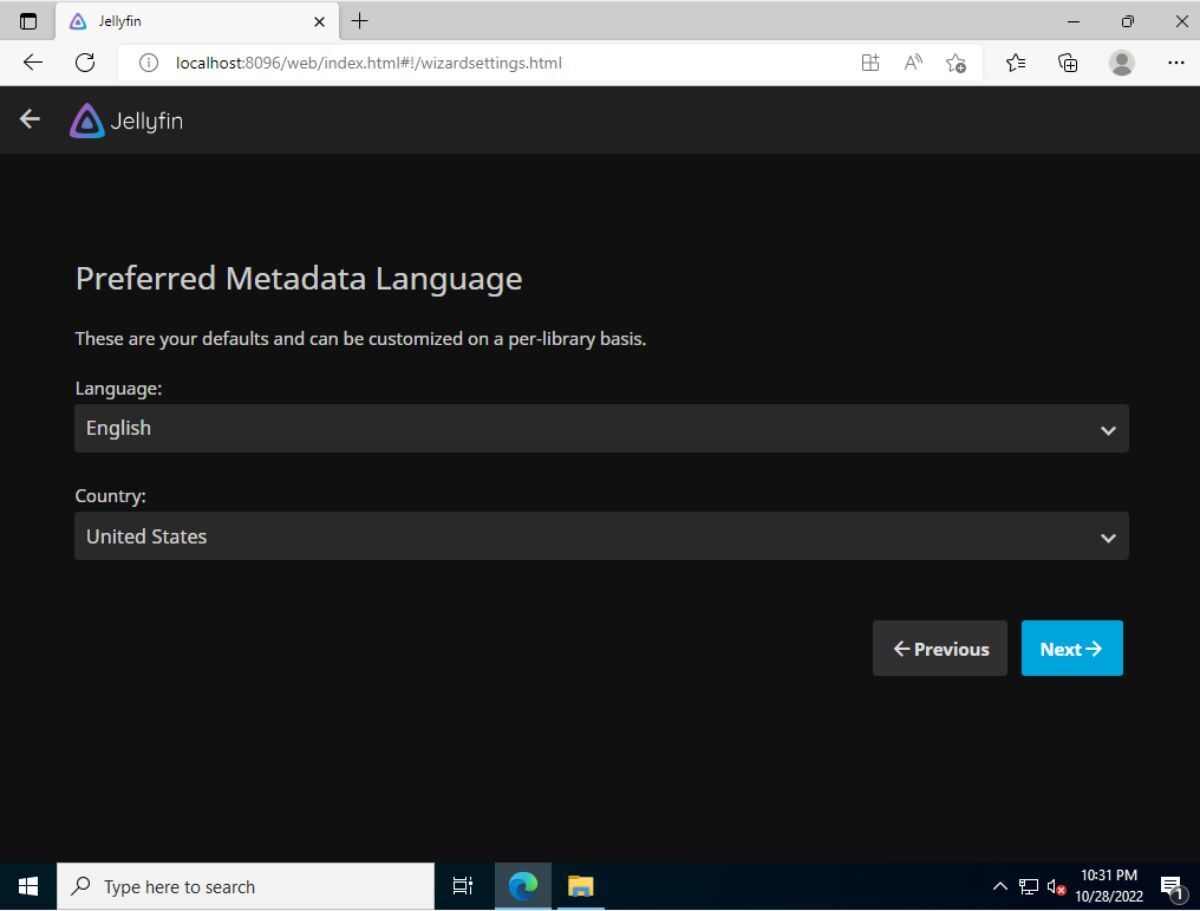
- After adding media to Jellyfin, find the “Next” button, and click on it with the mouse to move to the next page in the installer. On the next page, you must choose your “Preferred Metadata Language.” Choose your language and country if it is not already detected.

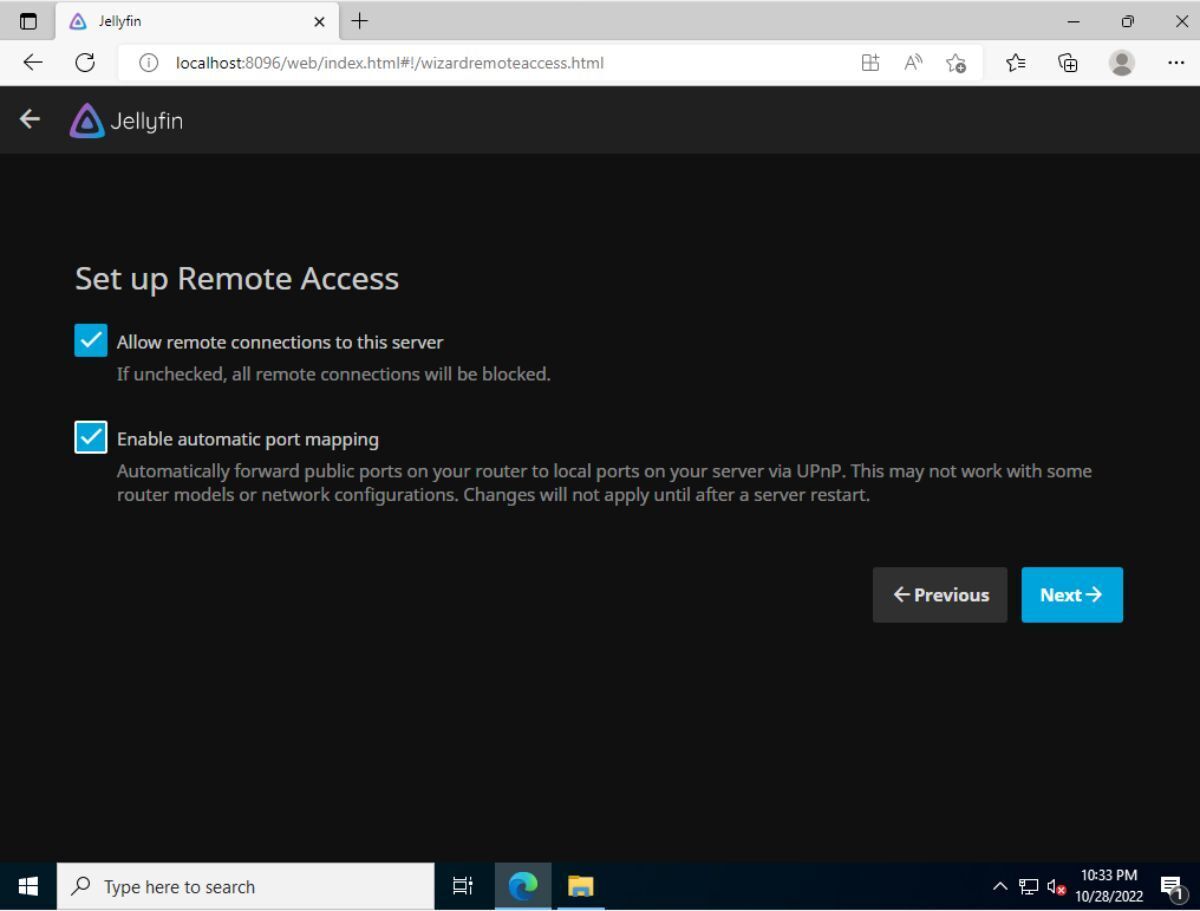
- You must now configure remote access for Jellyfin. Select the box next to “Allow remote connections to this server.” Also, select “Enable automatic port mapping.” Click “Next” when done.

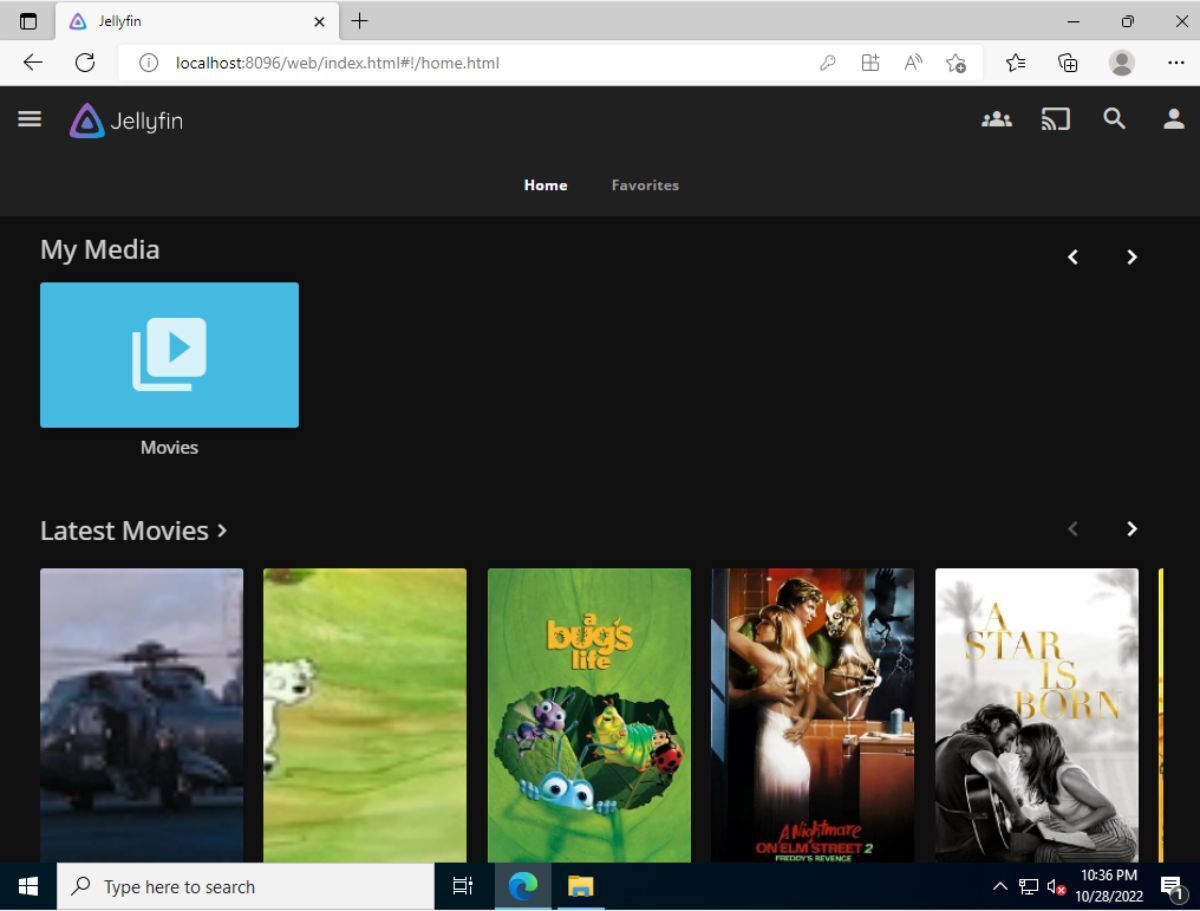
Once remote access is configured, Jellyfin will say, “You’re Done!” You can log into your Admin account and create users to use your Jellyfin server. The server is accessible on any computer on your network via this address:
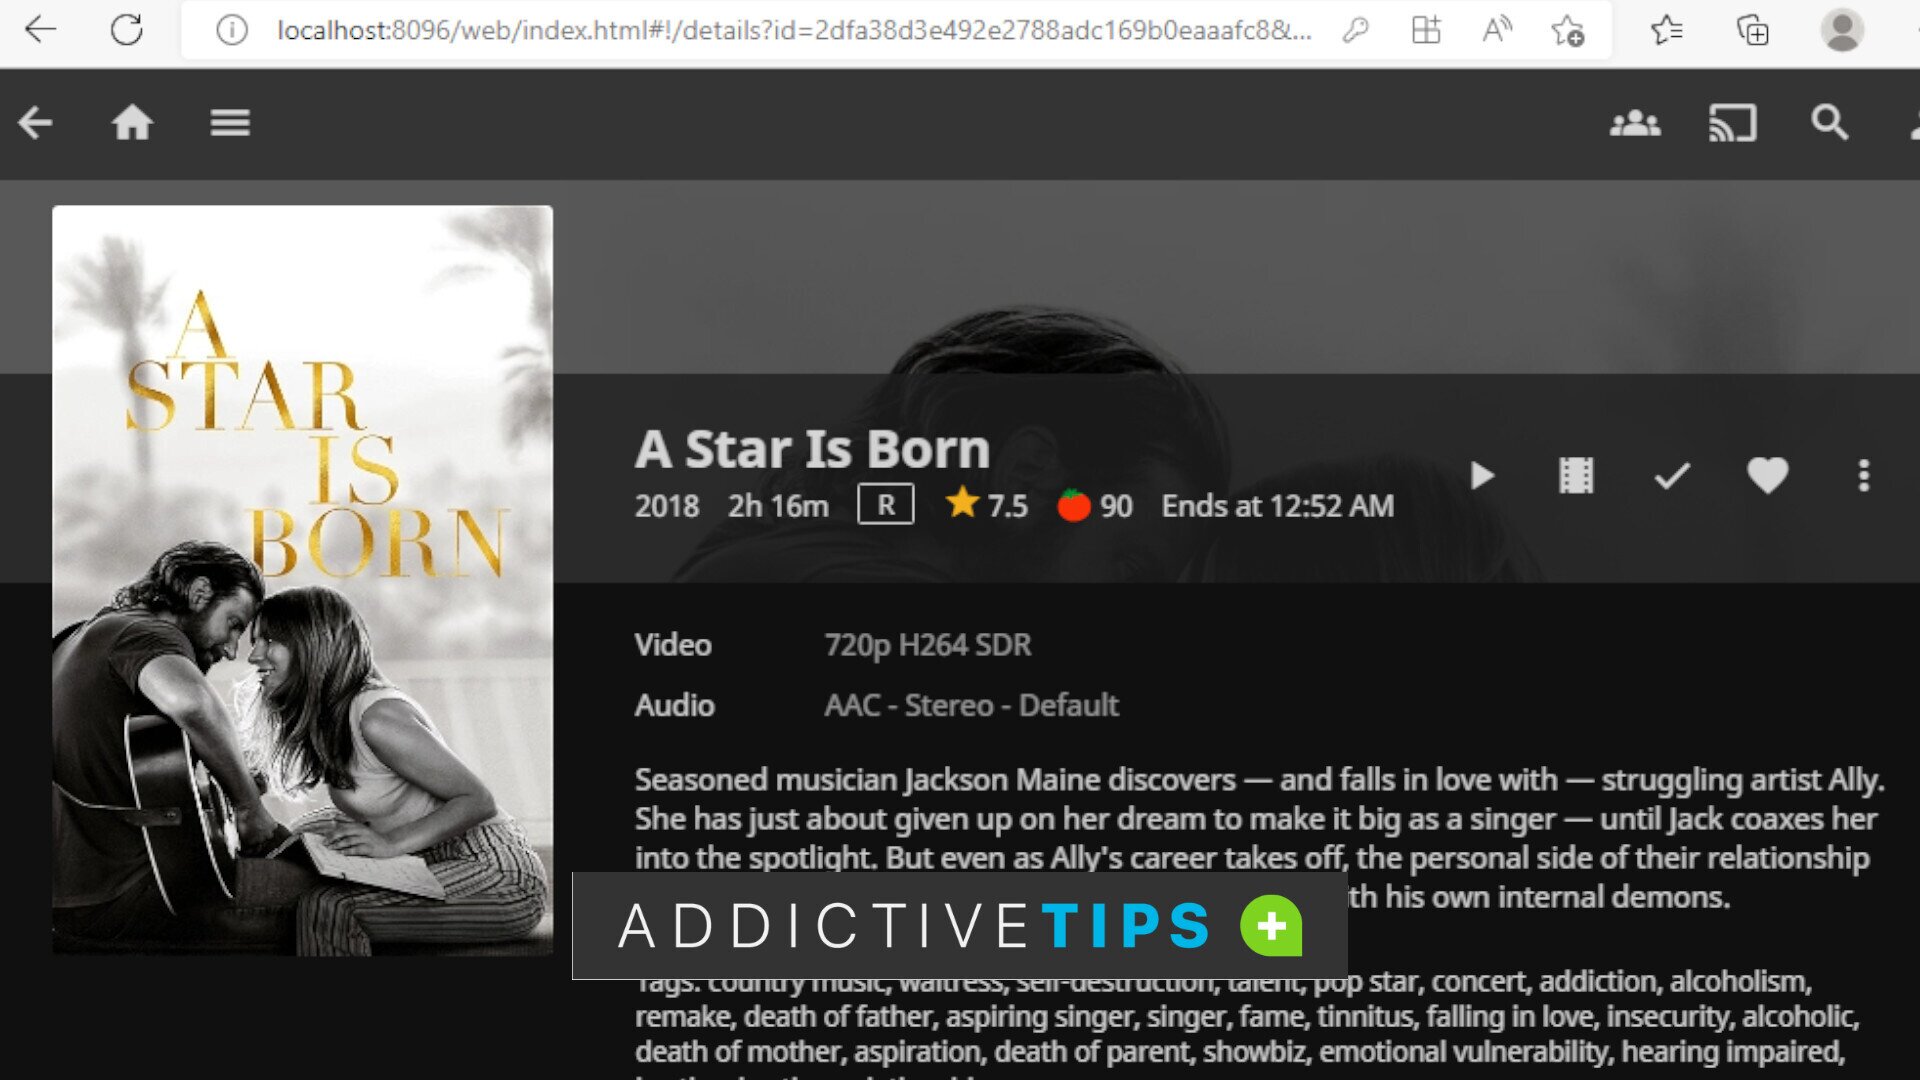
http://localhost:8096/web/index.html
Alternatively, download Jellyfin apps via the website.
