How To Group Tiles On The Start Menu In Windows 10
The next major Windows 10 update is called the Creators Update and it is expected to drop in April 2017. This update comes with awesome features for the Surface Studio and Surface Books. The update also has lots of minor improvements and features geared towards the PC users. Of these feature, one noteworthy feature is the ability to group tiles on the Start Menu. The app tiles on the Start menu are a neat way to launch an app and now you can group as many tiles as you want. They can be named to whatever you like. Here’s how you can group tiles on the Start menu in Windows 10.
This feature will arrive on the stable channel around March 2017 with the Creators Update. If you want to check it out now, you can join the Insider program. It is available on the Windows 10 Preview Build 15007.
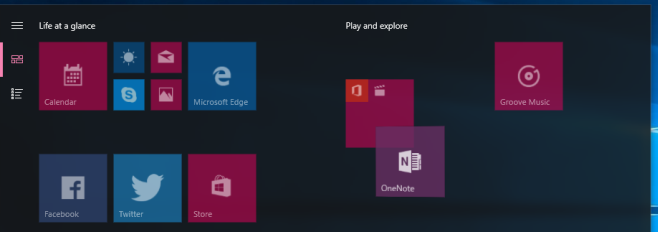
Open the Start menu and click and drag an app tile on top of the one that you want to group together. It’s only this part that’s a little tricky because you have to be careful you don’t end up interchanging the position of the two tiles. To get it right, position the tile exactly on top of the other to create the group and release it.
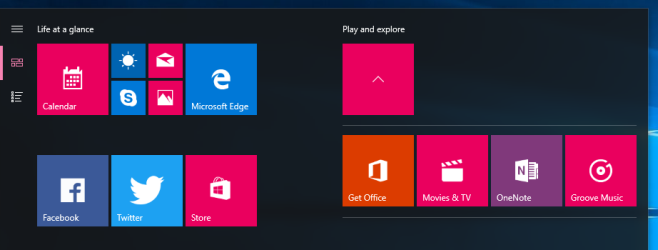
Once the group has been created, you can add more tiles to it. To do add more app tiles, drag & drop them on to the group. The group will open automatically when you drop a new tile.

Tile groups appear collapsed by default. The tile of a group shows smaller tiles of the apps inside it. When you click a group, it expands to show all tiles in it.

The Creators Update also comes with a switch to hide the app list in the Start menu in Windows 10. This was a popular feature requested by Windows 10 users. With the app list hidden, and the ability to group tiles on the Start menu, it is going to be awesome to use and much better to look at.
