How to Customize Windows Server DNS
Have you ever wanted to customize the DNS on your Windows Server, but don’t know how? If so, this guide is for you. Follow along as we review how to customize your Windows Server’s DNS settings.
How to set up a DNS server in Windows Server
Before you can configure your DNS server, you need to set one up in Windows Server. To start, launch the Windows Server “Server Manager” app. Once it is open, find the “Manage” button, and select the “Add roles and features” button.
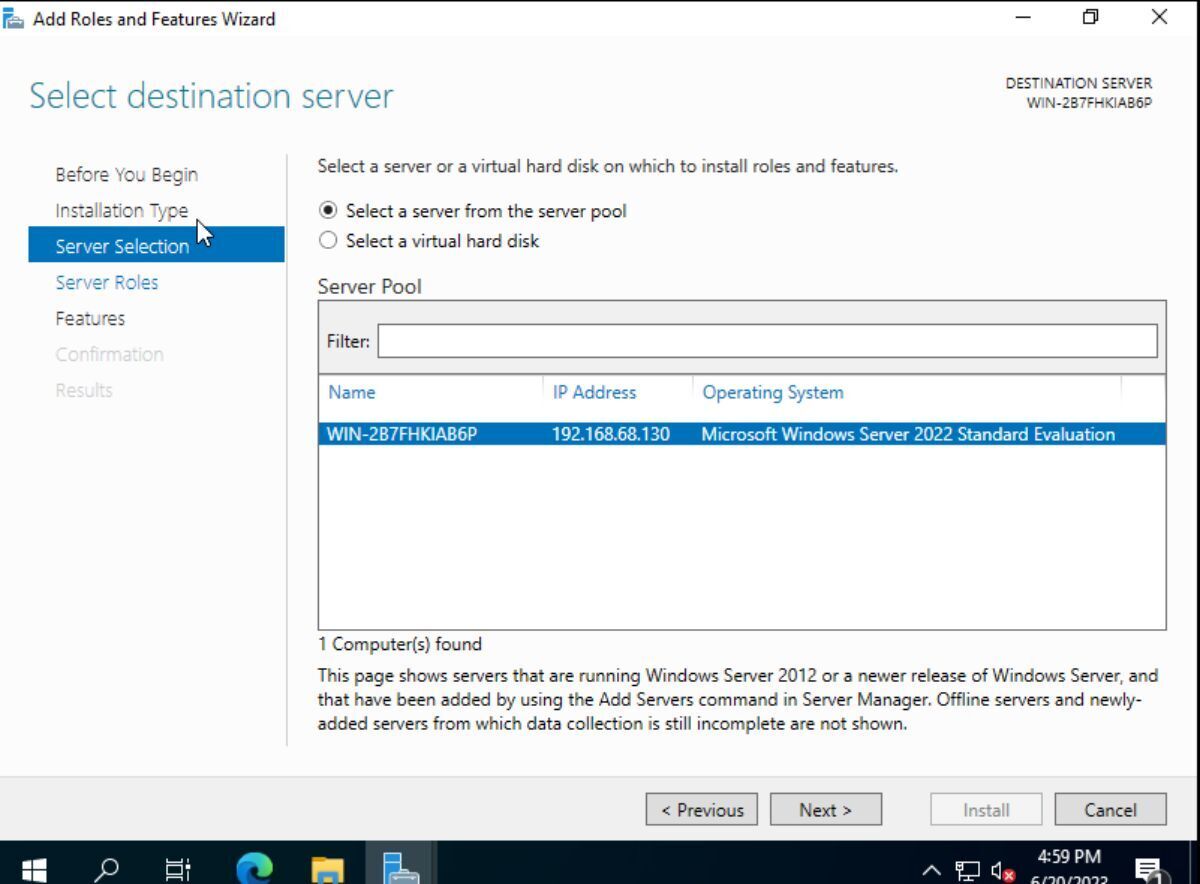
When you select the “Add roles and features” button, the “Add Roles and Features Wizard” will appear. In this Wizard, click through until you arrive at “Server Selection,” then, choose your Windows Server in the Wizard.
After accessing “Server Selection,” choose your server, and click the “Next” button. Then, look through “Server Roles”, and locate the “DNS Server” box. Check this box to tell Windows Server you wish to set up a DNS Server.
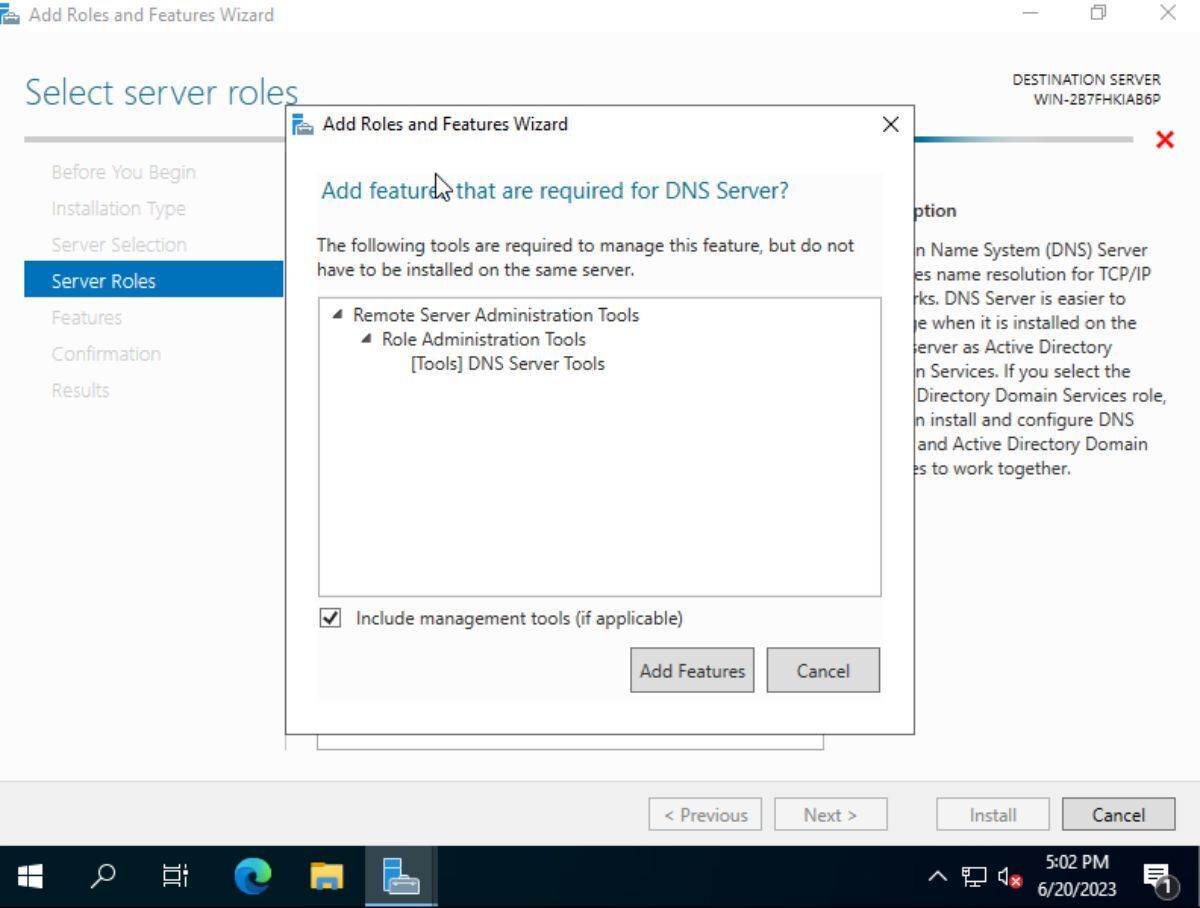
When you check the box next to “DNS Server,” you’ll see a pop-up. This pop-up says “Add features that are required for DNS Server?” Select the “Add Features” button. Selecting this button will automatically prepare your system for the DNS Server.
After selecting the “Add Features” button, you’ll be back at the “Server Roles” page. Select the “Next” button to move to the next page in the wizard. On the next page, you’ll see the “Select features” page. Click the “Next” button to skip past this page.
Once you’ve passed the “Select features” page, you’ll see the “DNS Server” page. On this page, Windows Server will outline some things to note about DNS Server. Read it, and click the “Next” button when done to continue.
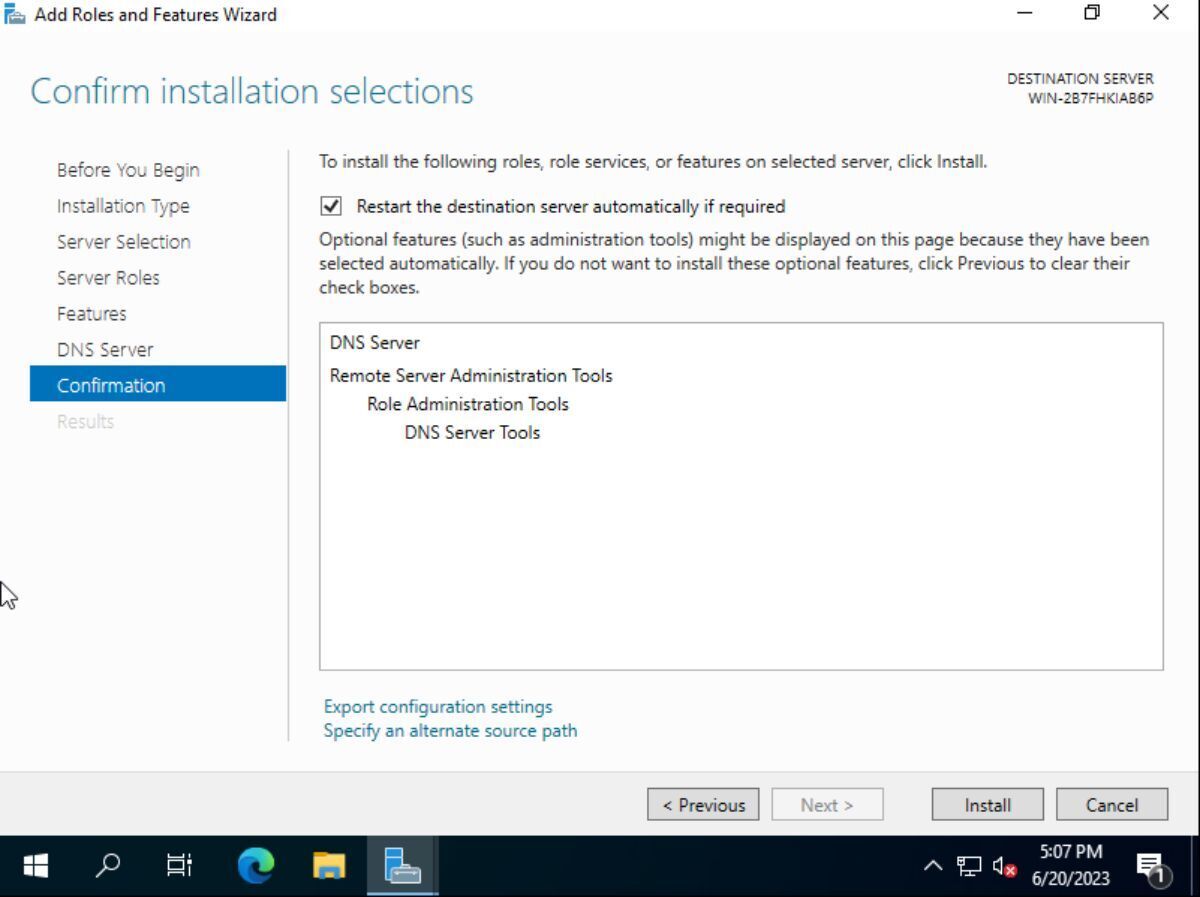
After you pass the “DNS Server” page, you will make it to the “Confirmation page”. Check the box that says “Restart the destination server automatically if required. Then, select the “Install” button to install DNS Server on Windows Server.
How to configure your DNS Server
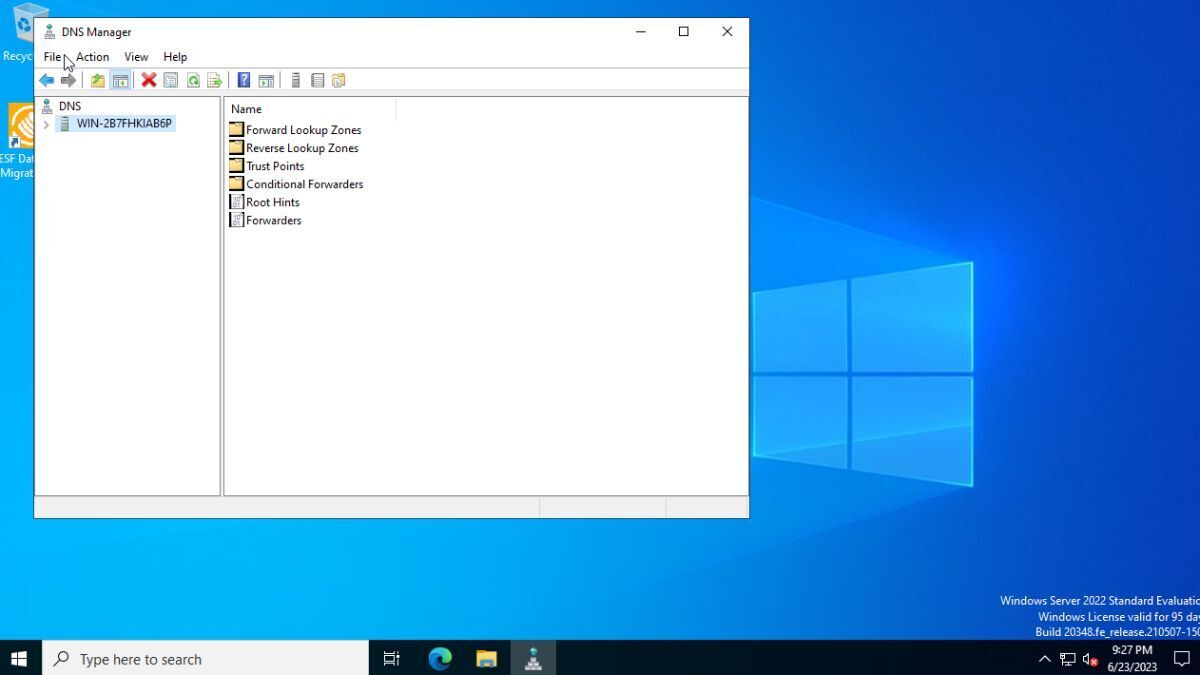
Once your DNS Server is set up on Windows Server, you need to configure it. Configuring the DNS Server on Windows Server is done with the DNS Manager. To quickly open up this program on the Windows Server desktop, start by pressing Win + R. Then, type in dnsmgmt.msc in the command box, followed by Enter to launch the program.
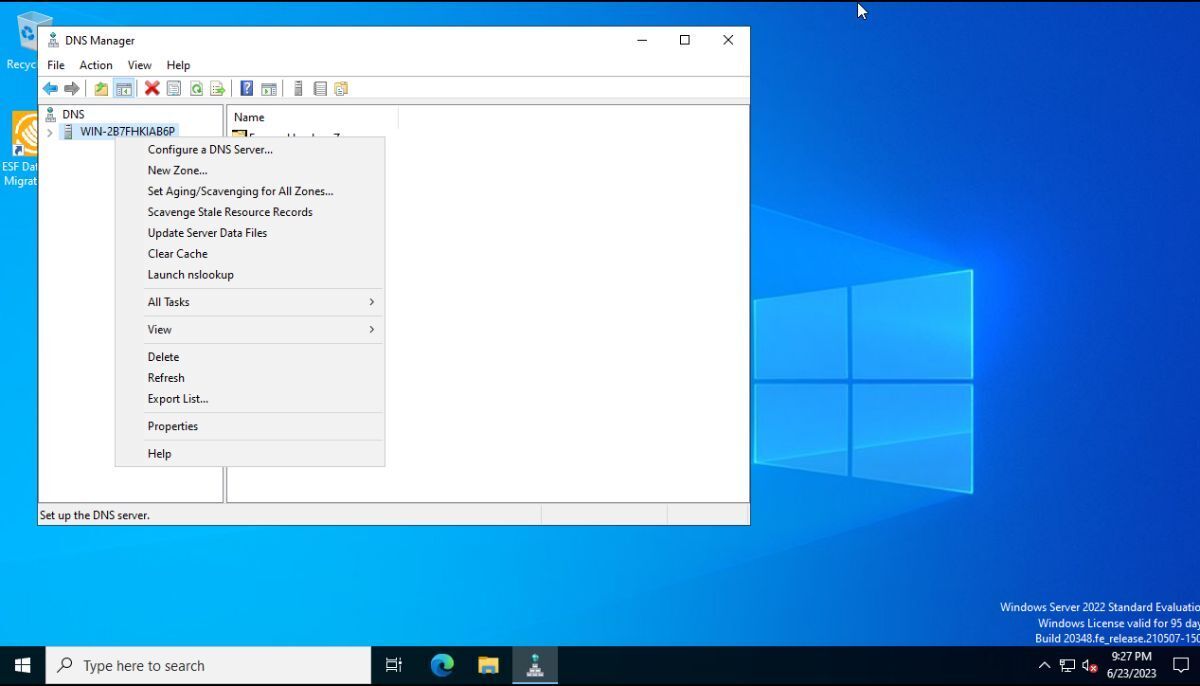
Once the DNS Manager app is open on the Windows Server desktop, right-click on your server in the left-hand sidebar. Then, inside the right-click menu, select the option that says “Configure a DNS Server.”
When you select the “Configure a DNS Server” button, a wizard will appear. Use this wizard to configure DNS Server to your needs. For more information on configuring your DNS Server on Windows Server, refer to Microsoft’s official documentation.
How to add DNS records
To add a DNS record to your DNS Server on Windows Server, do the following. First, you must launch the DNS manager app on your system. You can open it up by first pressing Win + R on the keyboard. Then, type in dnsmgmt.msc and press the Enter key to continue.
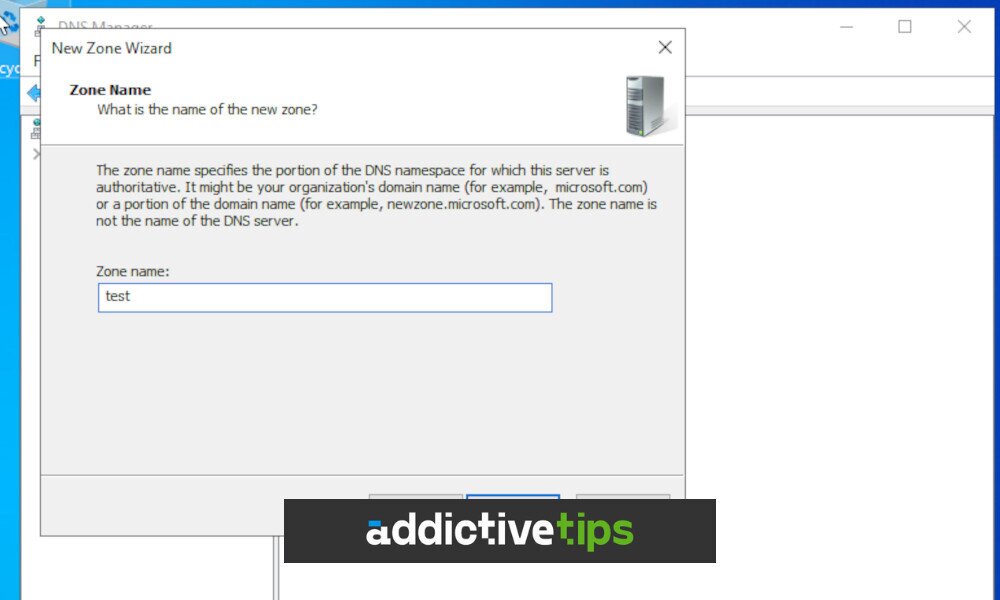
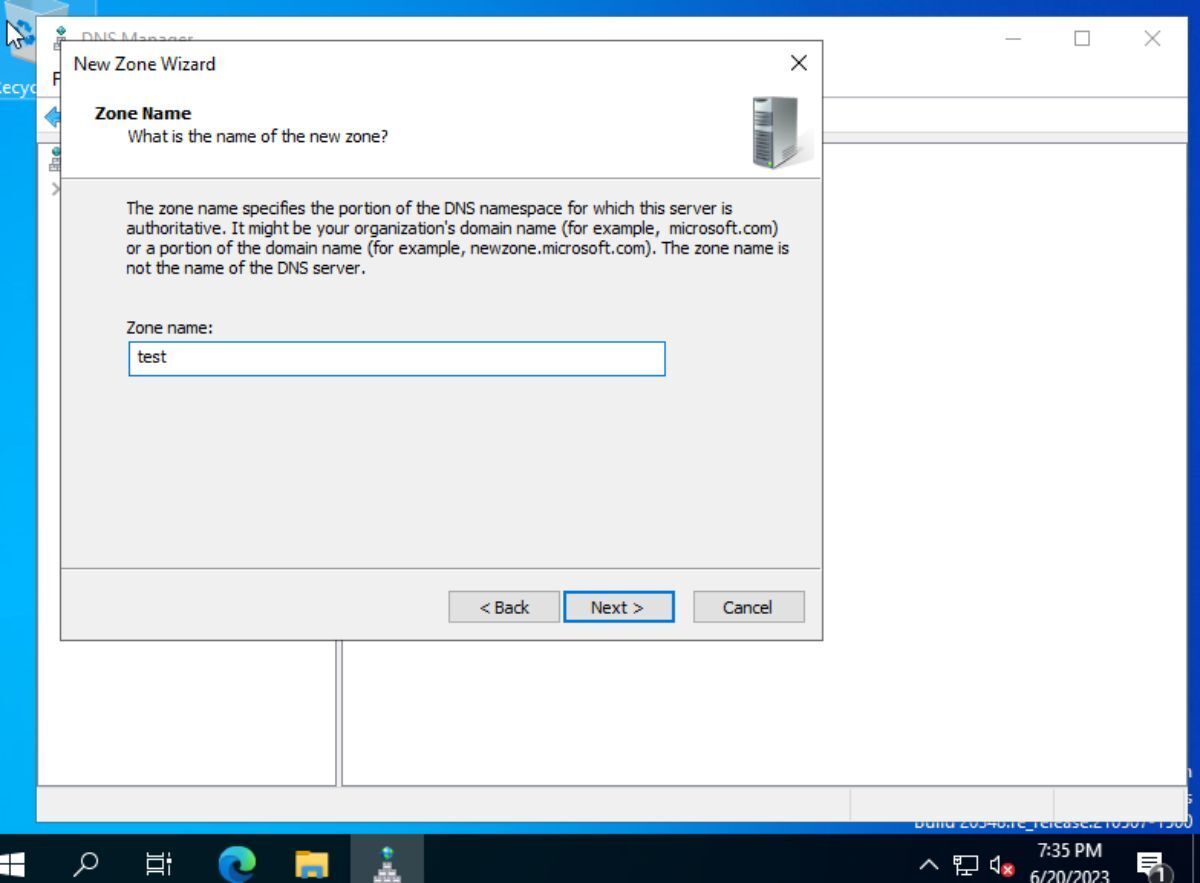
With the DNS manager tool open, click on your server, then, select “Forward Lookup Zones.” Once you’ve located the “Forward Lookup Zones,” right-click on your domain, and select “New Host (A or AAAA)” for A records, or “New Alias (CNAME)” for a CNAME record.
Enter your record details. If entering an A record, you must input the name and IP address. For CNAME records, the alias name and fully qualified domain name (FQDN) for the target.
When you’ve entered your DNS record information (A record or CNAME), click the “OK ” button. By selecting the “OK” button, your record will be added to your Windows DNS Server. Repeat this process to add as many records as you need.
How to set up DNS forwarding
To set up DNS forwarding, start by opening up the DNS manager app by pressing Win + R on the keyboard. Then, type in dnsmgmt.msc and press the Enter key to continue. Once you’ve accessed the DNS manager, right-click on your server and select “Properties.”
After selecting “Properties,” locate “Forwarders,” and select it with the mouse. You can then select “Add” and enter the IP address of the DNS server you wish to forward to. When finished, click the “OK” button. Selecting “OK” will save your changes.
