How To Connect A PC or Mac To Windows Home Server 2011
Windows Home Server 2011 is fairly easy to install (provided your computer meets the minimum system requirements). However, the tricky part for a lay user is to connect a client PC or Mac to the Home Server. In this post we will tell you how to connect a client operating system to the Windows Home Server 2011 (codename Vail).
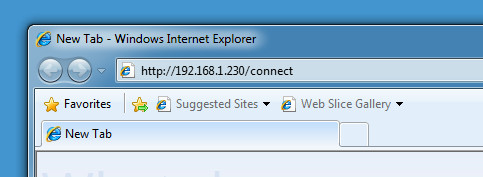
To connect your computer to the server, log in to the computer that you wish to link to the home server, open an Internet browser, type https://(servername or IP)/Connect in the address bar and hit Enter. Alternatively you can go to Start –> Networks and double click on the server name.
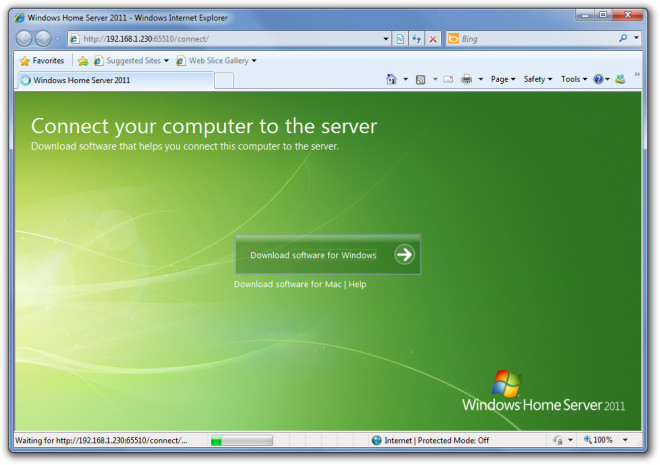
This will take you to a page where you will be prompted to download software to connect to the server. Windows users should choose “Download Software for Windows”, whereas Mac users should click on “Download Software for Mac”. After downloading the software, run the setup to start the connectivity wizard.
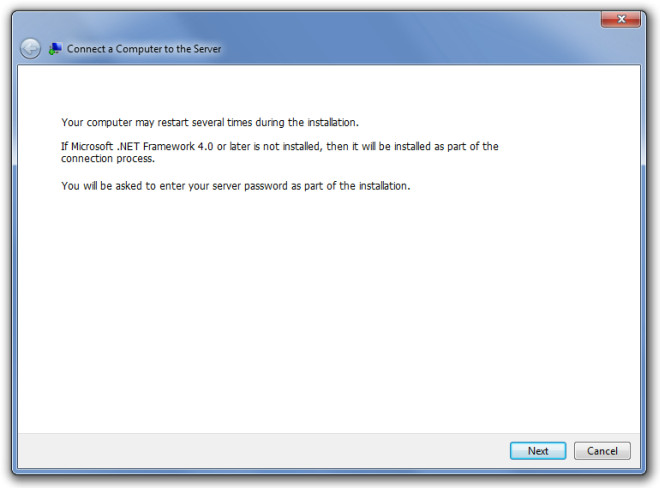
The first part of the wizard merely tells you the benefits of connecting to a Windows Home Server, click Next. In the next step, some general instructions are passed onto the user. This part of the wizard explains that in case .Net framework 4.0 is not installed on the client system (which is a pre-requisite to connect to the home server), it will be automatically installed. Hit Next to continue.
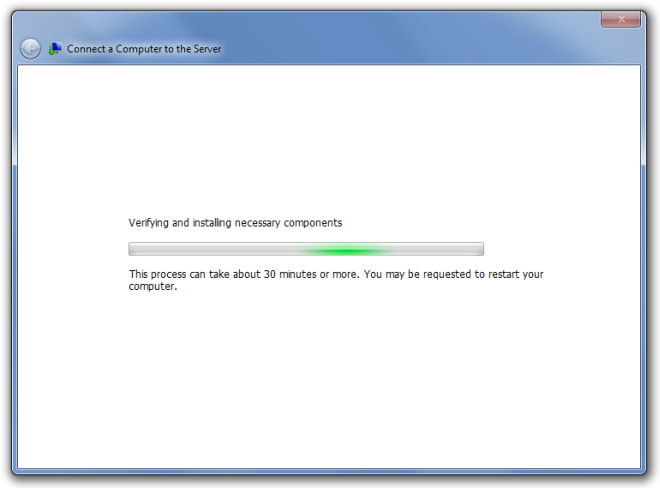
This process can take up to 30 minutes , specially if .Net Framework 4.0 needs to be installed. Since the system we performed testing on, already fulfilled the pre-requisites to connect to the home server, therefore, it only took the wizard a few seconds to continue.
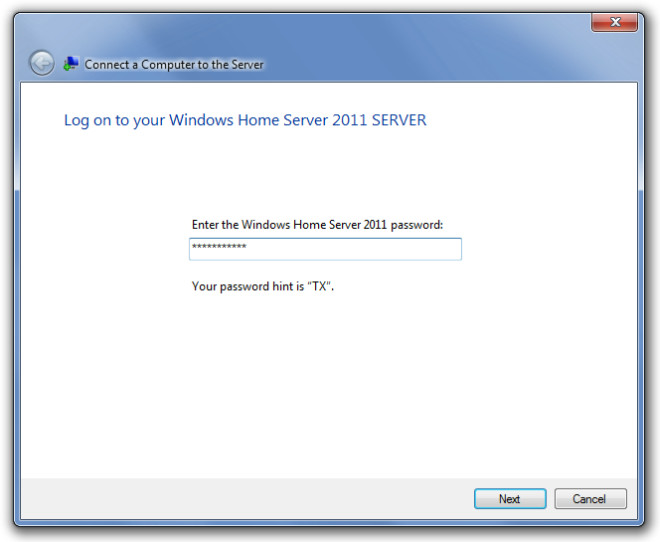
In the next step, the Server password needs to be entered in order to continue with the connectivity wizard. Enter the password and hit Next.
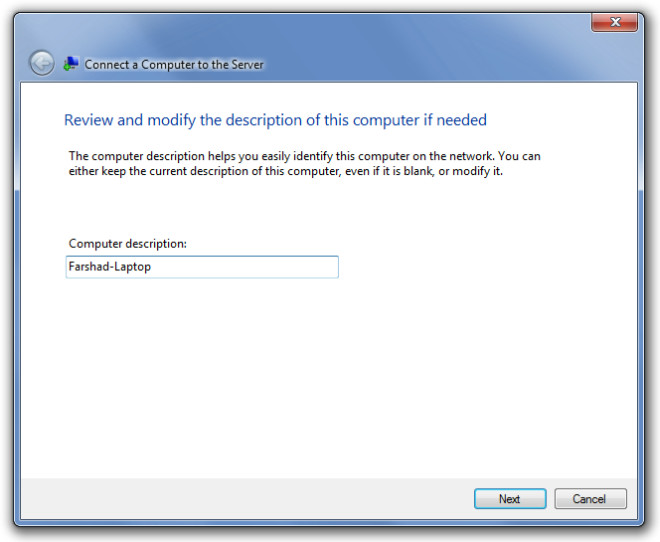
Add a description for easy identification of your system over the network and hit Next.
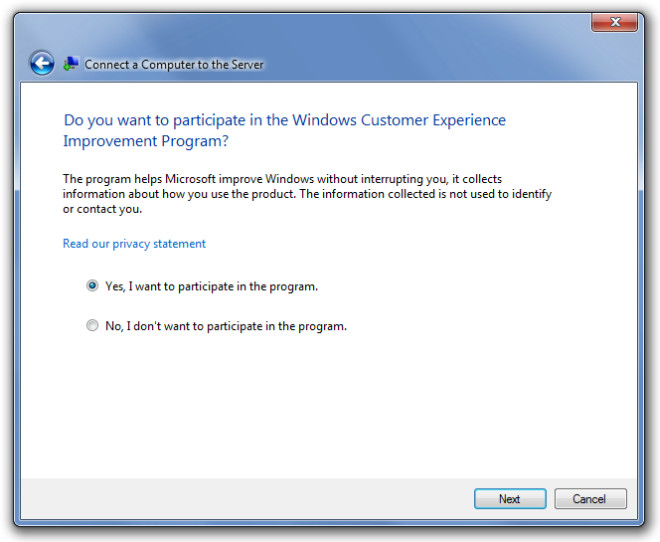
After that, you will be asked whether you wish to take part in the “Windows Customer Experience Improvement Program”, choose your desired option and click Next.
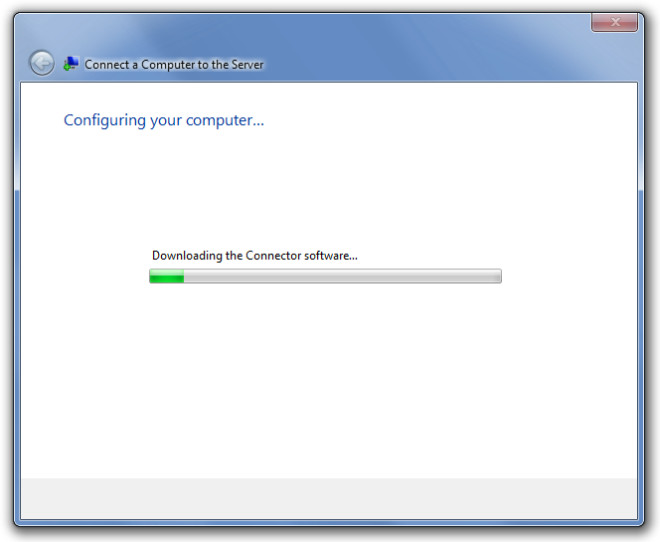
This will install the connection software and configure the required settings on your PC to connect you with your home server.
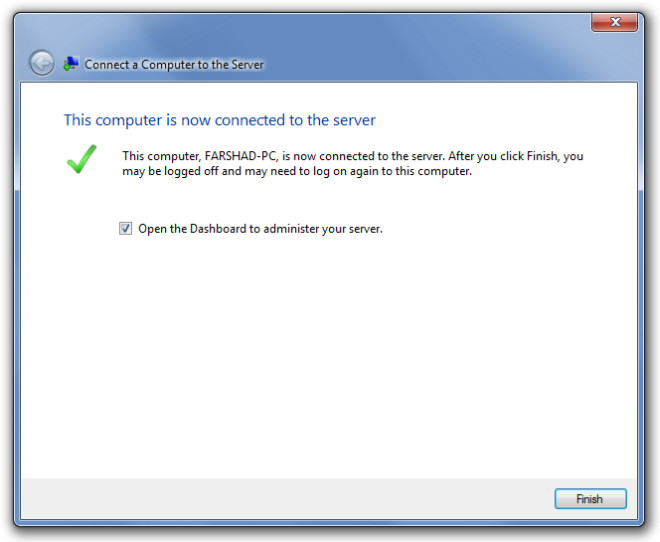
In the last step, a confirmation is given that your computer is connected to your Windows Home Server 2011, click Finish to end the setup.
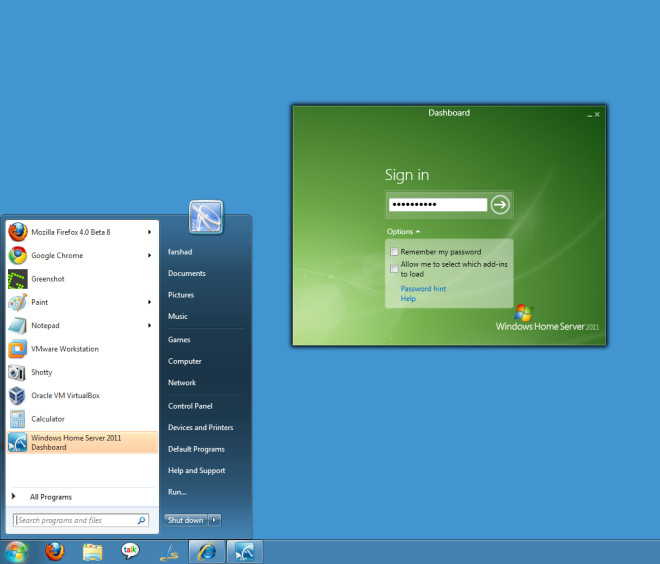
When a computer is successfully connected to the home server, shortcuts to the Launchpad, Shared Folders, and the Dashboard appear on the Start menu of the client computer. Click on Dashboard, enter the login credentials and administer your server.
1. Launchpad: From the Launchpad you can access the shared folders shortcut, set computer backups and open the Remote Web Access site.
2. Shared Folders: From the Shared folders link, the shared folders located on the home server can be accessed. The default shared folders include Documents, Music, Videos, Recorded TV, and Pictures, whereas new folders can also be created.
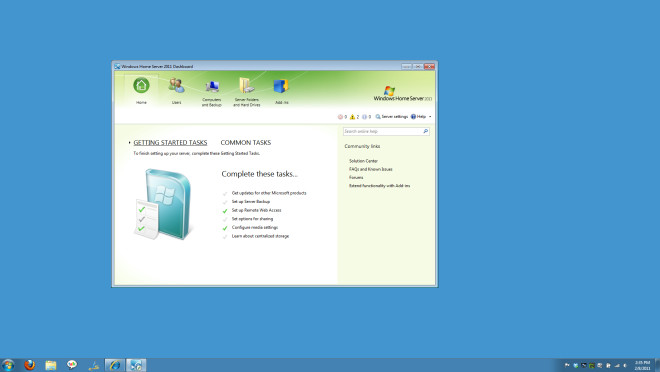
3. Dashboard: As mentioned in earlier posts, the Dashboard is the central controlling unit of the home server. By connecting to it, users can administer the entire server.
