How To Add Rain Effect To Your Picture [Tutorial]
In this Photoshop Tutorial, you will learn how to add rain effect to your picture. It is a simple process in which we will demonstrate rain effect combining filters like noise and blur in Photoshop.
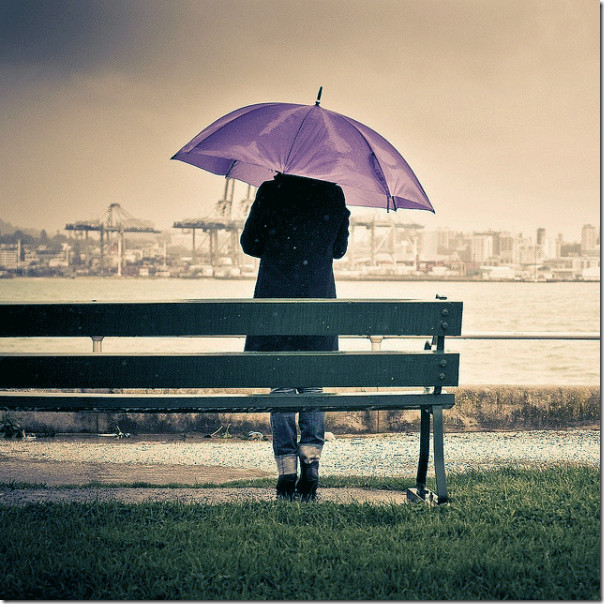
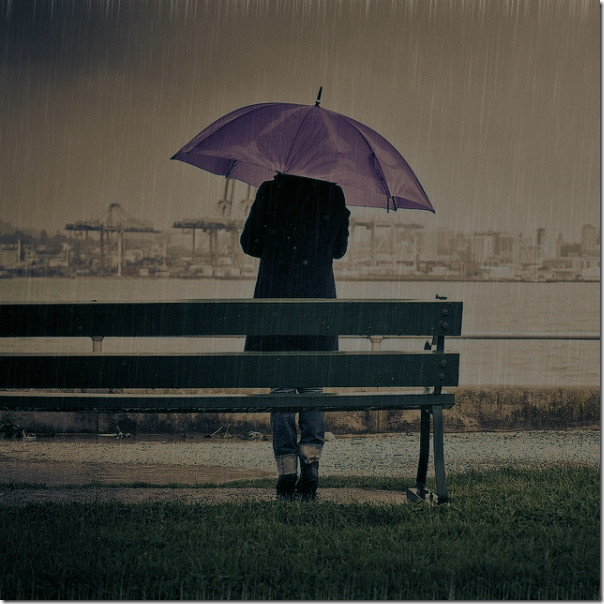
We will use this picture as our example, you can right click and save it to try out the process.
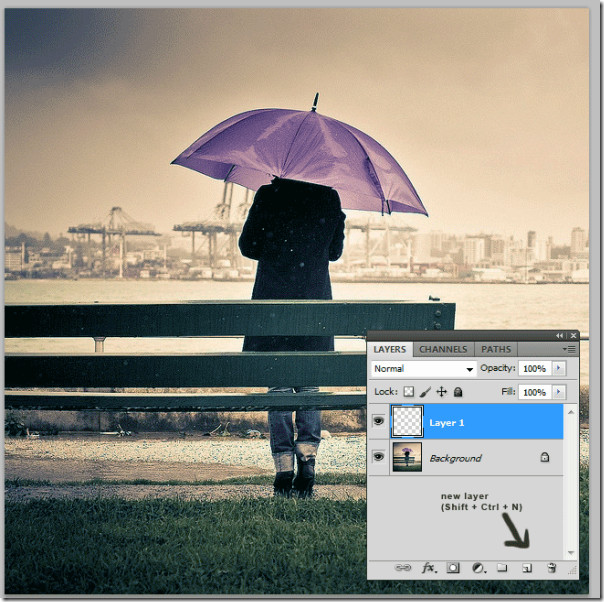
Now we will create a new layer, since we will be adding different filters on the top of this picture.
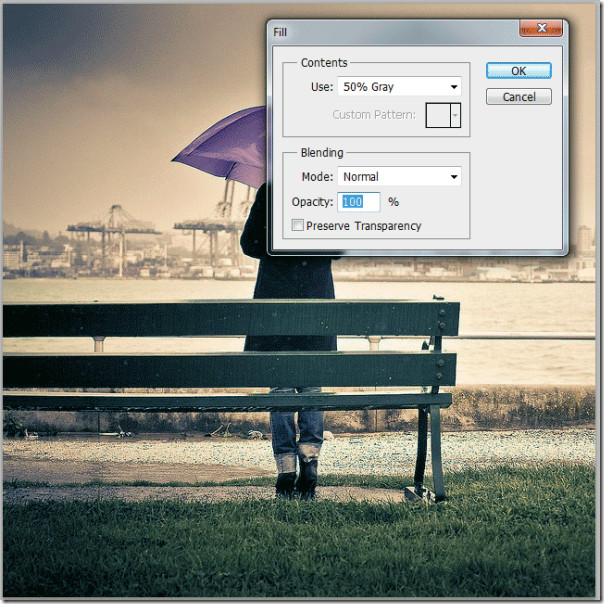
Secondly, press Shift + F5 to get the fill menu, or simply go EDIT –> Fill. Select ‘50% Gray’ from Contents and leave the rest as it is.
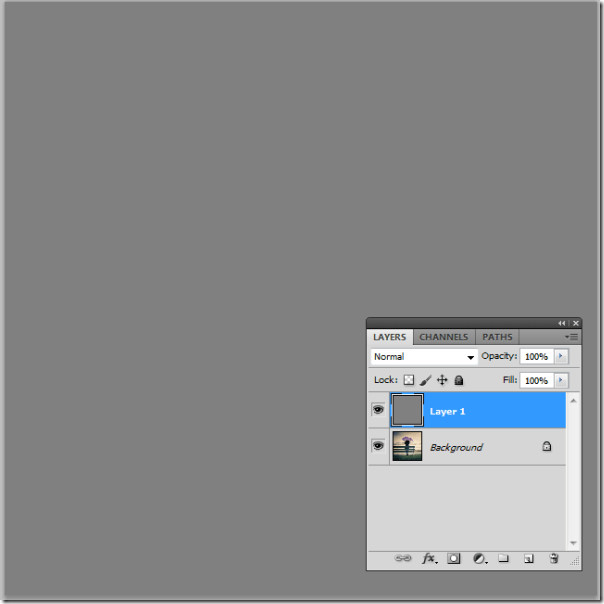
Now your layer should have a gray fill in it.
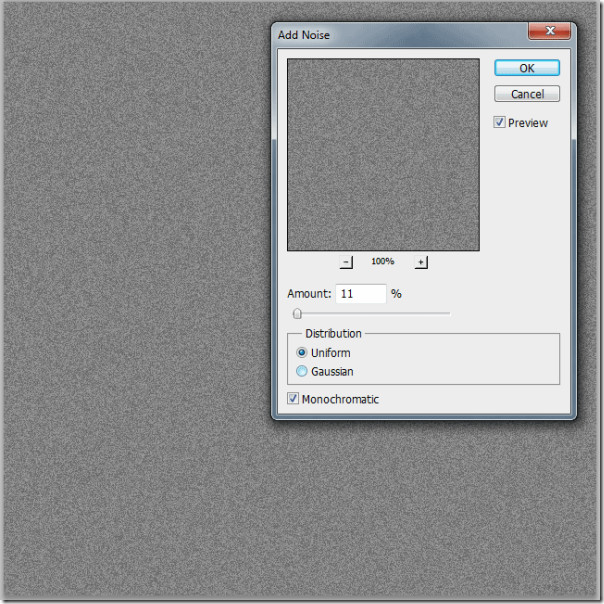
Moving on, we will add noise to this layer. Go Filter – > Noise –> Add Noise. Put the Amount to 11%, select Uniform and check Monochromatic. You would be able to visually see it changing as soon as you are applying the changes.
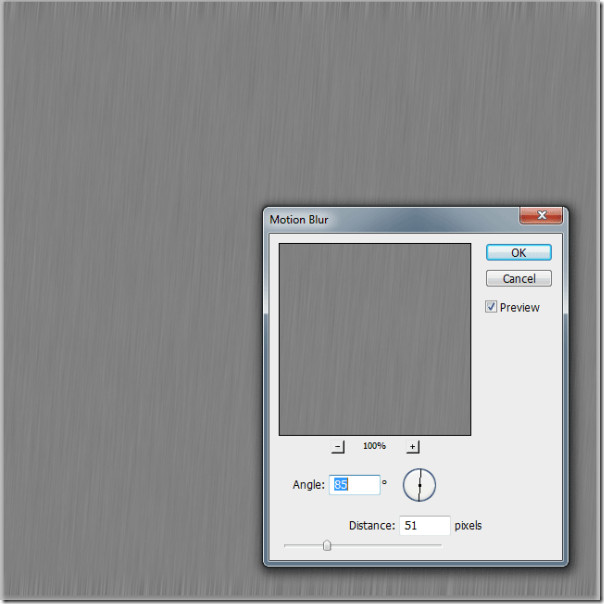
After adding noise, now we will add some motion blur to it, to give it a rain effect. Simply navigate to Filter –> Blur –> Motion Blur, set the angel to 85 and distance to 51 pixels.
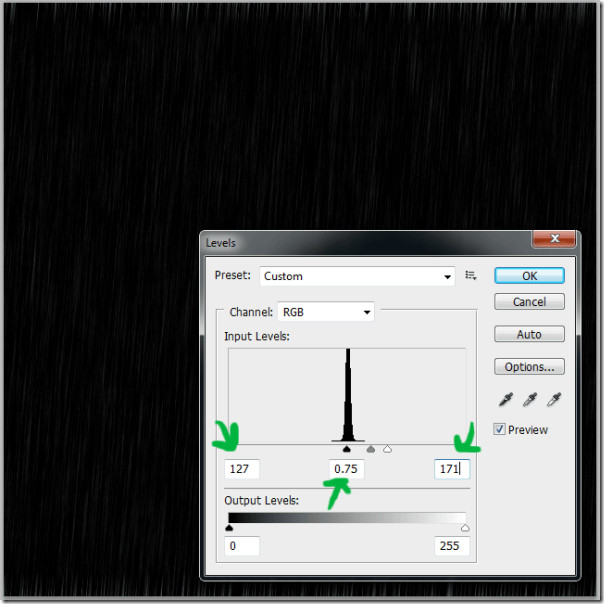
Now we will do some final adjustments to the rain. Go Image –> Adjustments –> Levels (Ctrl + L) and do the adjustments to the input levels (127, 0.75, 171).
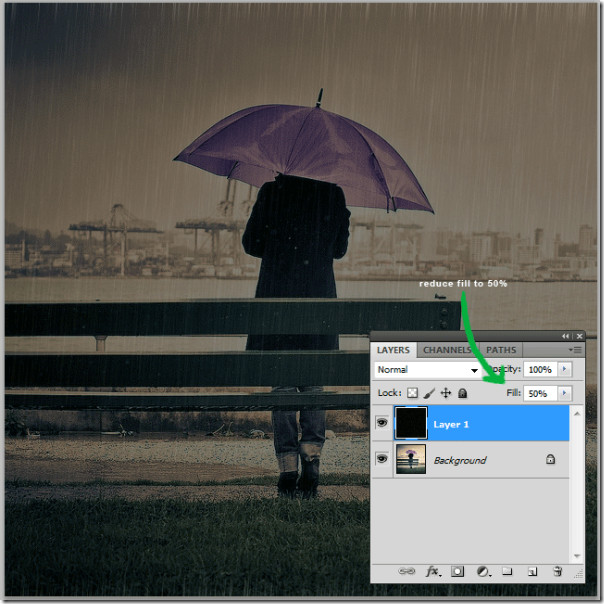
Lastly reduce the fill to 50% and you have a nice rain effect in your picture.
Looks great, right? Let us know which other Photoshop tip you would like to see.

thank you it works i like it
Very essential tutorial. Thanks
photoshop tutorial for shaken photos? would be nice 🙂
nice trick i tried and it works:)
any other trick will be usefull 🙂