How To Add Edges To Your Pictures In Photoshop [Tutorial]
Earlier we covered a tip to add borders to your pictures. In this tutorial, we will get into adding more detail to your border i.e. adding interesting and soft edges to a picture to give it a different feel.
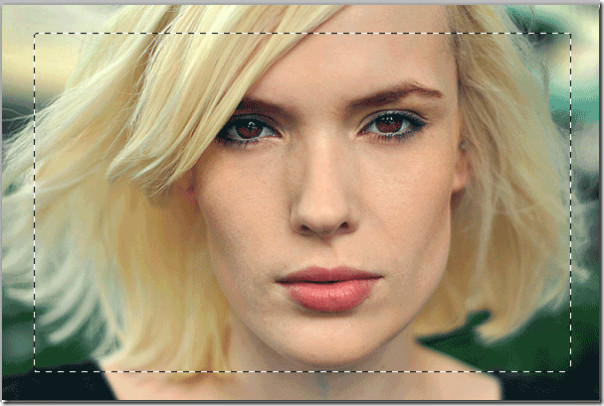
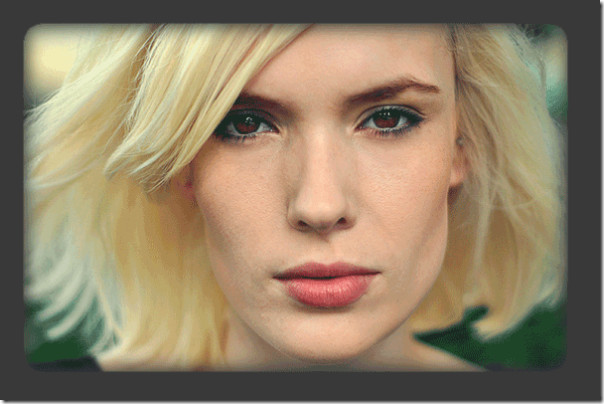
We will use the same picture we covered in the last tutorial.
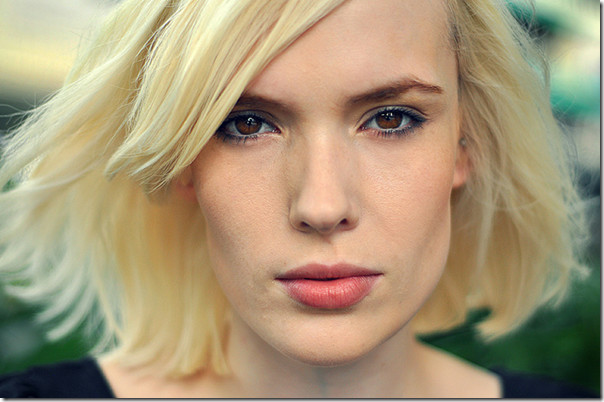
Make sure that your background layer is unlocked. You can unlock it by double clicking it and rename it (if you like). Open the above image in Photoshop, select Rectangular Marquee Tool. After selecting the tool, draw a selection which would come in around 1/3 inch from all edges of the picture.
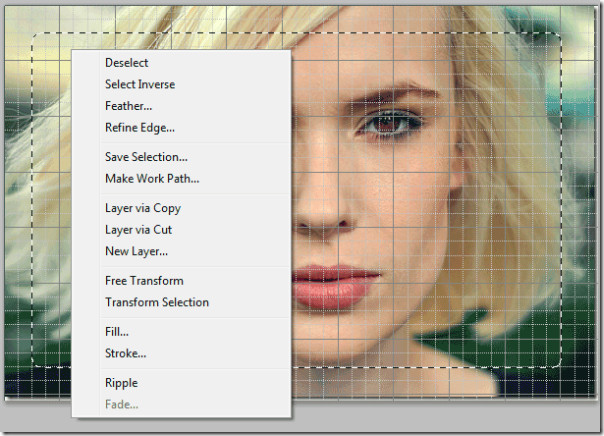
Once done with the selection, right-click on it and select Feather.
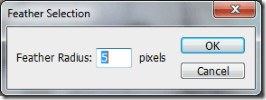
Leave the Feather radius as default which is 5 pixels and press OK. Remember, if you want large feathering add a greater number.
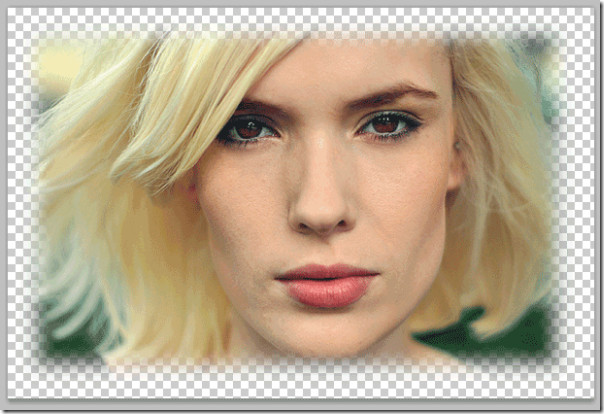
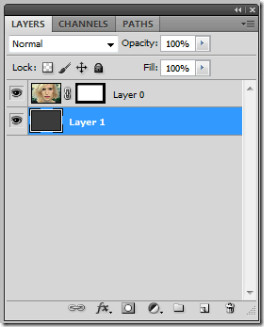
Now we will add a layer mask on our image. To do so click ‘add layer mask’ button. As soon as you add a layer mask, you will see a constant effect to your picture.
Moving on, add a new layer and make the foreground color ‘dark gray’ (#383838).
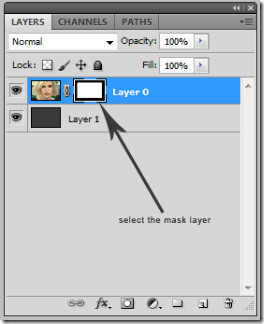
Now we do the final touches to our border. Select the mask layer which we created on the top of our picture.
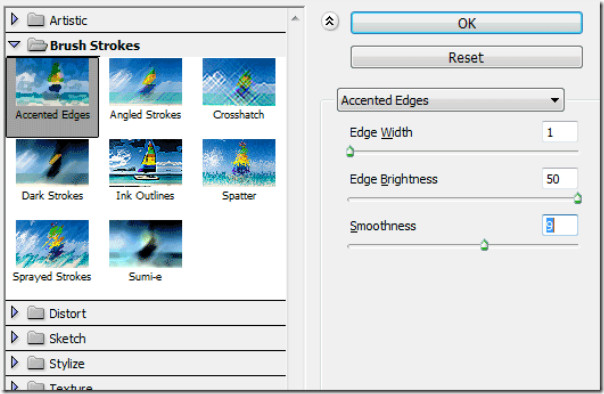
Navigate to Filter –> Brush Strokes –> Accented Edges and do the following settings. Set the Edge Width to 1, Edge Brightness to 50 and Smoothness to 9.
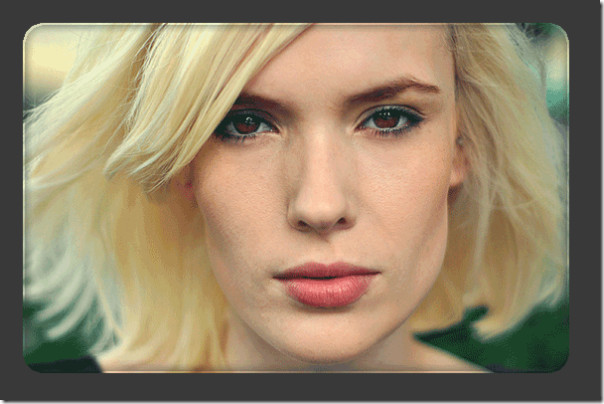
Finally, this is how your final should look like. You can notice firm edges on the borders which were available by using mask layer and feathering.
Simple feathering! Let us know what other Photoshop tip you would like to learn.

