Gain Full Remote Access To A System With LiteManager For Windows
In the past, we have covered a number of desktop sharing applications that allow users to access & control their PCs from remote locations. Using remote desktop sharing app, you can easily connect to source PC; whether you’re at work and need an access to your home computer, or enjoying your vacations and need to send files from your work PC to your client, just launch the desktop sharing app and connect to your remote system for performing the required tasks. Today, we stumbled across a comprehensive desktop sharing application called LiteManager, which lets you easily access your system from remote locations. It does so by letting you view and control connected remote computer’s desktop from your display. Apart from sharing desktop with remote PCs, it enables you to control the desktop, transfer files between the connected machines, shutdown the remote PC, execute programs, initiate text communication via integrated chat app, remotely install MSI installation packages, and even access the Registry editor of the remote system. It packs both the Server and Viewer applications in a single installation package, and you need to install it on both source and client machines in order to share and access the systems from remote locations. Read past the jump for more details.
Usage
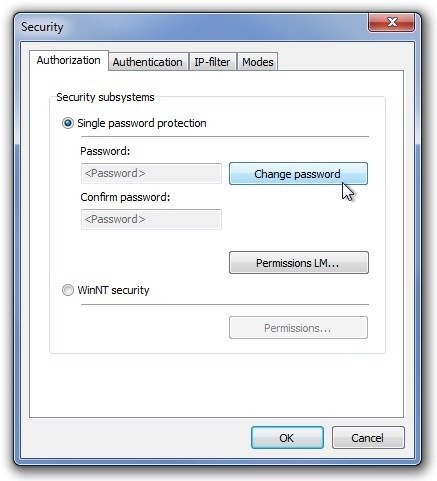
When you download the application, you need to install Server app on the machine that you want to control, and the Viewer utility on client PCs from where you want the access the remote PC. However, it’s advisable to install both the packages on all your machines such as work or home PC. When installed, you need to do is configure the Server application. During installation the setup process automatically executes Security settings for the server utility. Under its Authorization tab, you can either choose Single password protection or WinNT security. If you select single password protection, click Change password and then enter your password. You can also change the Security level under the Authentication tab (Level 3 by default), blacklist certain IP addresses from IP-Filter and disable various Connection modes present in Modes tab, for instance, disable Remote control, Remote screen, File Transfer and so on.
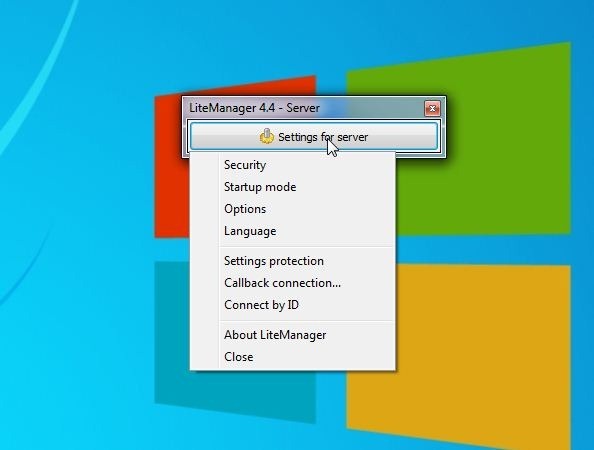
After you have successfully configured security settings, launch the Server utility to access some more options. Click Settings for server in the miniscule window to access Startup mode, Options, language, Settings protection, Callback connection and Connect ID.
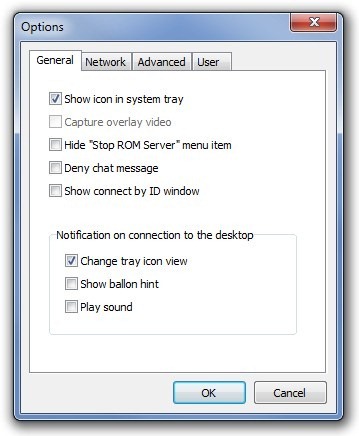
Clicking Options from Settings from server drop-down menu opens the configuration console, which includes General, Network, Advanced and User tabs. Along with some generic settings, you can toggle Callback and Logging options under Advanced tab, configure port settings as well as enable proxy server and proxy authentication from Network tab and set restrictions for users from User tab.
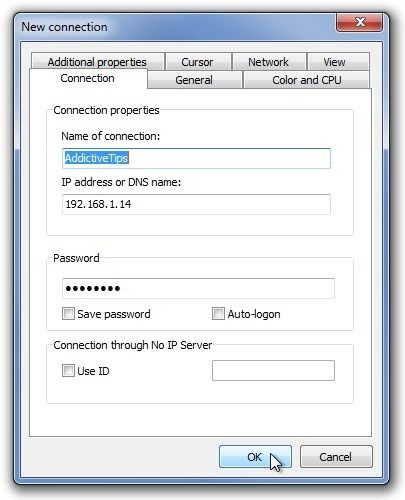
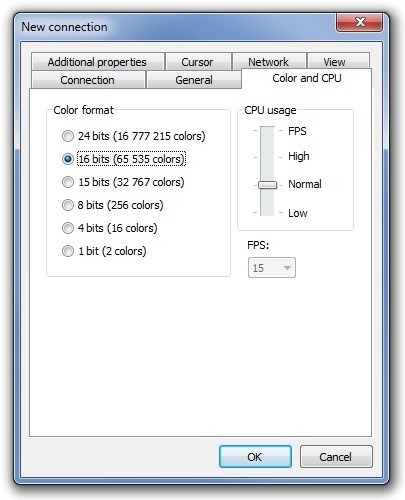
After properly configuring the server utility, you can launch the Viewer utility on the client PC. Open the Viewer and click New connection on the toolbar to make a new connection profile. Under Connection tab, enter the required information i.e. Name of connection, IP address of the remote PC and Password (that you originally entered in the server security settings). Additionally, you may tweak other parameters from General, Color and CPU, View, Network, Cursor and Additional properties tabs.
While under General tab you can change view mode of the viewer, click Color and CPU tab to specify Color format, CPU usage and FPS parameters. If you’re using the internet connection with limited bandwidth, we recommend specifying lower color format and FPS values. Furthermore, Additional Properties tab houses various performance related parameters like enabling Black the server’s screen, Lock server’s mouse and keyboard, Disable aero, Remove wallpaper, Capture alpha-blending windows and so on. When you’re done, click OK to create the connection profile.
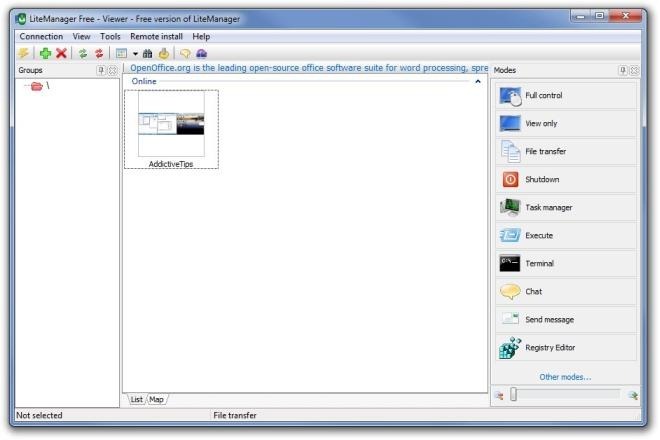
Now, double click your newly created connection, a dialogue window will pop up, enter your security password again and click OK to activate the connection. Now that you have access to the remote PC, you may execute the functions listed under Modes section to the right of the window named as Full control, View only, File Transfer, Shutdown, Task manager, Execute, Terminal, Chat, Send message and Registry Editor. To execute any command, select it from the list and double click your connection (alternatively, you can right-click the connection and execute the command from the context menu).
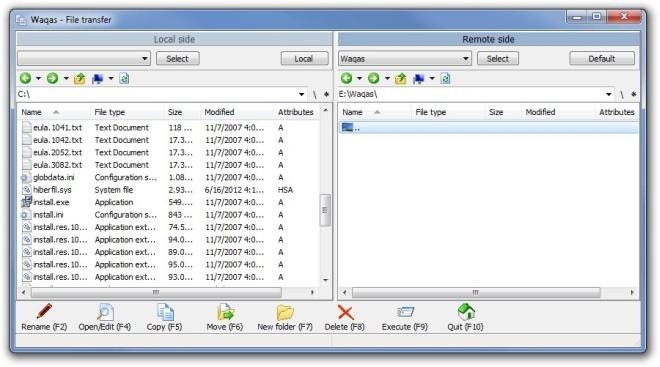
One of the noteworthy features is File Transfer. This mode lets you Rename, Open, Copy, Move and Delete files between server and viewer PCs.
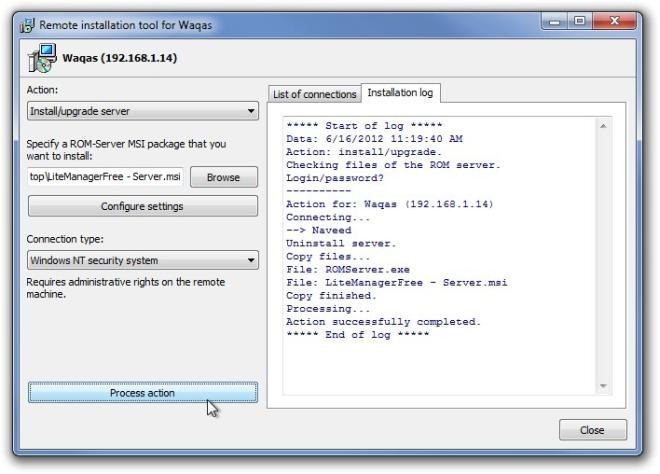
Should you need to install an application you can do so via clicking Remote Install on the menu bar. Simply choose the MSI package and click Process action to install the utility on the remote PC.
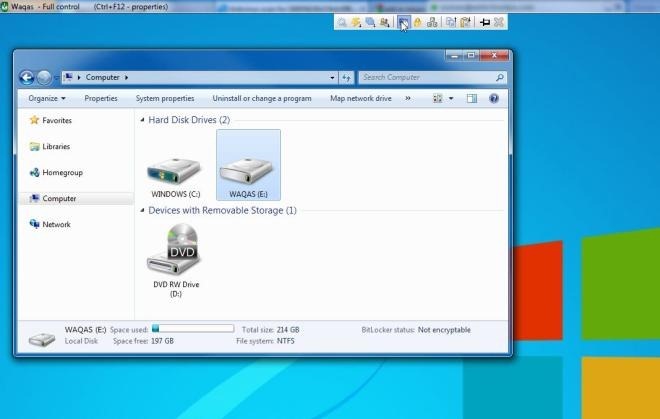
The mainstay feature of the application is obviously Full Control mode. This opens the viewer window to view and control remote desktop screen. Moreover, you may hover the mouse pointer over the top edge of the window to access more controls including Options, Other modes, Choose the remote to view, Full control, Lock input and screen, Send Alt-Ctrl-Del, Get remote clipboard, Set remote clipboard, Pin and Hide toolbar.
Pros
- Provides full control over remote system with ability to execute various commands and modes.
- Establishes a secure connection with remote PC.
- Fast, reliable and lets you control up to 30 desktops.
- Allows you to install MSI packages on remote machine.
- Supports running power functions on the remote system like Shutdown.
- Includes built-in Chat app.
- Ability to remotely execute commands and run console apps.
- Lets you view and edit Windows Registry of remote machine.
Cons
- A few additional modes like Video, Device manager, RDP, Screen recorder and Audio video chat are only available in the paid variant.
- The server and client apps are difficult to configure.
Final Verdict
Overall, we found this application to be extremely useful, efficient and reliable. The remote access mode works flawlessly, and it provides additional control modes like file transfer, remote install as well as open utilities like task manager, Registry editor, CMD etc. The application works on Windows XP, Windows Vista, Windows 7 and Windows 8. Both 32-bit and 64-bit OS editions are supported.

Alternatively, you may also try tools like logmein, gotomypc, teamviewer, R-HUB remote support servers etc. for remotely accessing computers.
Yep, came to say the same as Meena. Teamviewer 7 is a fantastic tool that’s light years ahead of its competition. Set up is drop-dead simple (even for grandma) and a portable version is available. VERY hard to argue against TV7, imo.
teamviewer portable seems easier to use. but nice share 🙂