Extract A Video Frame In PNG Format Using FFmpeg In Windows
FFmpeg is a very popular tool for recording and streaming media content. It’s not one of those basic apps that just about anyone can use and it’s definitely more popular among Linux users but it can, and does run well on Windows. FFmpeg is pretty powerful once you get to using it. It is essentially a command line tool and that’s possibly why more people don’t use it. If you’re just starting out with FFmpeg and want to do something basic like extract a frame from a video here’s how to do it.
Run FFmpeg and make sure the video file you want to extract the frame from is in the correct directory before you proceed. Use the following command where ‘My-File.avi’ should be replaced by the name of the file you want to extract the frame from.
Similarly, the ’30’ should be replaced with the time in number of seconds that the frame appears at. Replace ‘My-Frame.png’ with the file name you want the frame to be saved with. Do not remove the file extension.
ffmpeg -i My-File.avi -vf select=eq(n\,30) -vframes 1 My-Frame.png
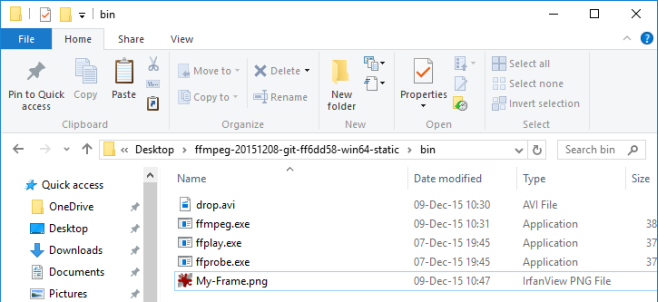
Once the command has successfully run, open the directory your file was saved in and you will see a new PNG file will have been created there. This is the frame extracted from your video.
That’s all it takes. The only thing you need to do, and this may or may not prove to be a problem, is know which second the frame appears at. VLC player is a great go-to tool to find when a certain frame appears and it’s likely you already have it installed so you won’t need to search for and download anything else.


