Encrypting data on Windows Server
Looking to keep your data on Windows Server safe? You have two excellent encryption options to choose from: BitLocker, which can encrypt entire drives, or Encrypting File System (EFS), which can encrypt individual files. In this guide, we’ll show you how to use both tools.
How to encrypt a drive on Windows Server with BitLocker Drive Encryption
Before encrypting a disk drive on your Windows Server with BitLocker, you need to enable the BitLocker feature. To do this, open the Windows Server Manager app and select “Add roles and features” to open the “Roles and Features Wizard.”
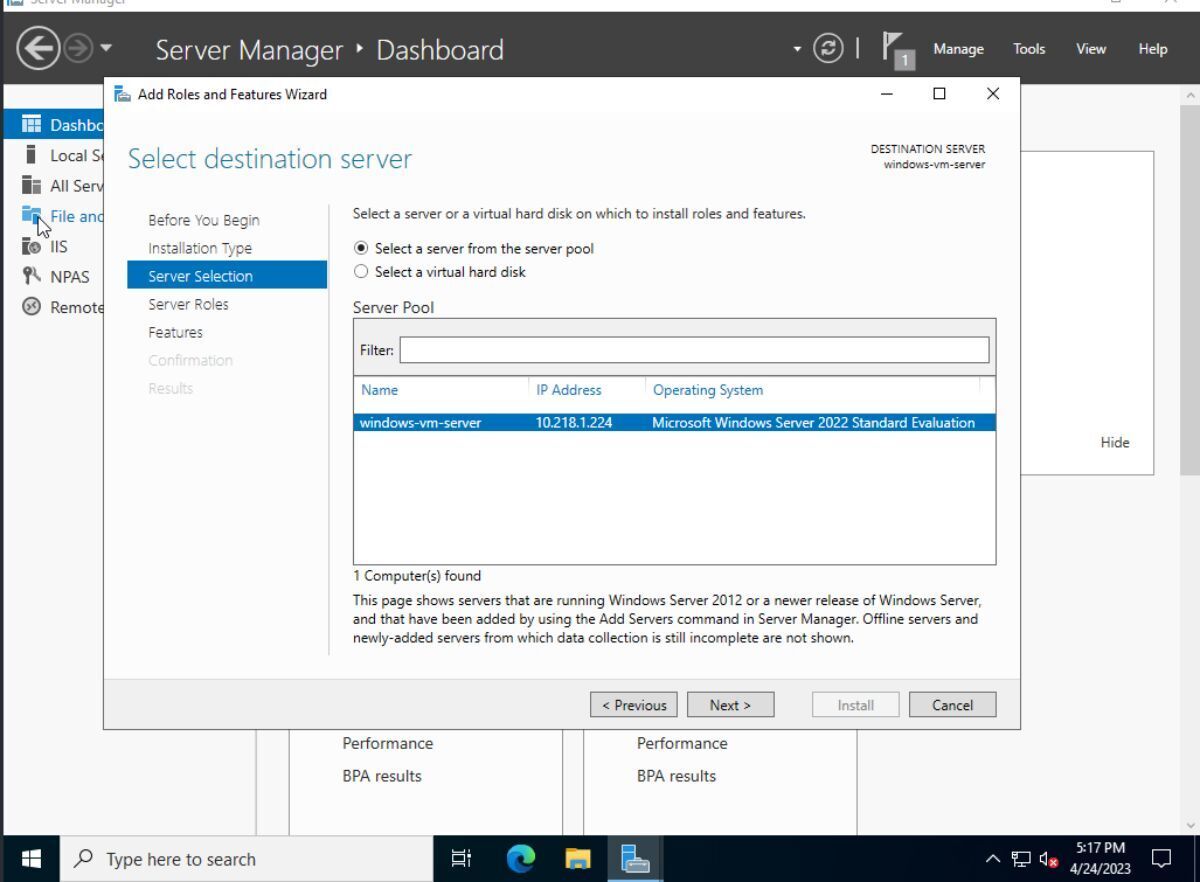
Inside the wizard, select your server and skip past “Server Roles” to select “Features.” Look for “BitLocker Drive Encryption” in the “Features” list and check the box next to it to indicate that you want to install it.
After checking the box, the “Add Roles and Features Wizard” will ask if you want to add the necessary features to use BitLocker Drive Encryption. Select the “Add Features” button to indicate that you do.

Next, click “Next” on the final page to move to the installer. Then, click the “Install” button to add the feature to Windows Server.
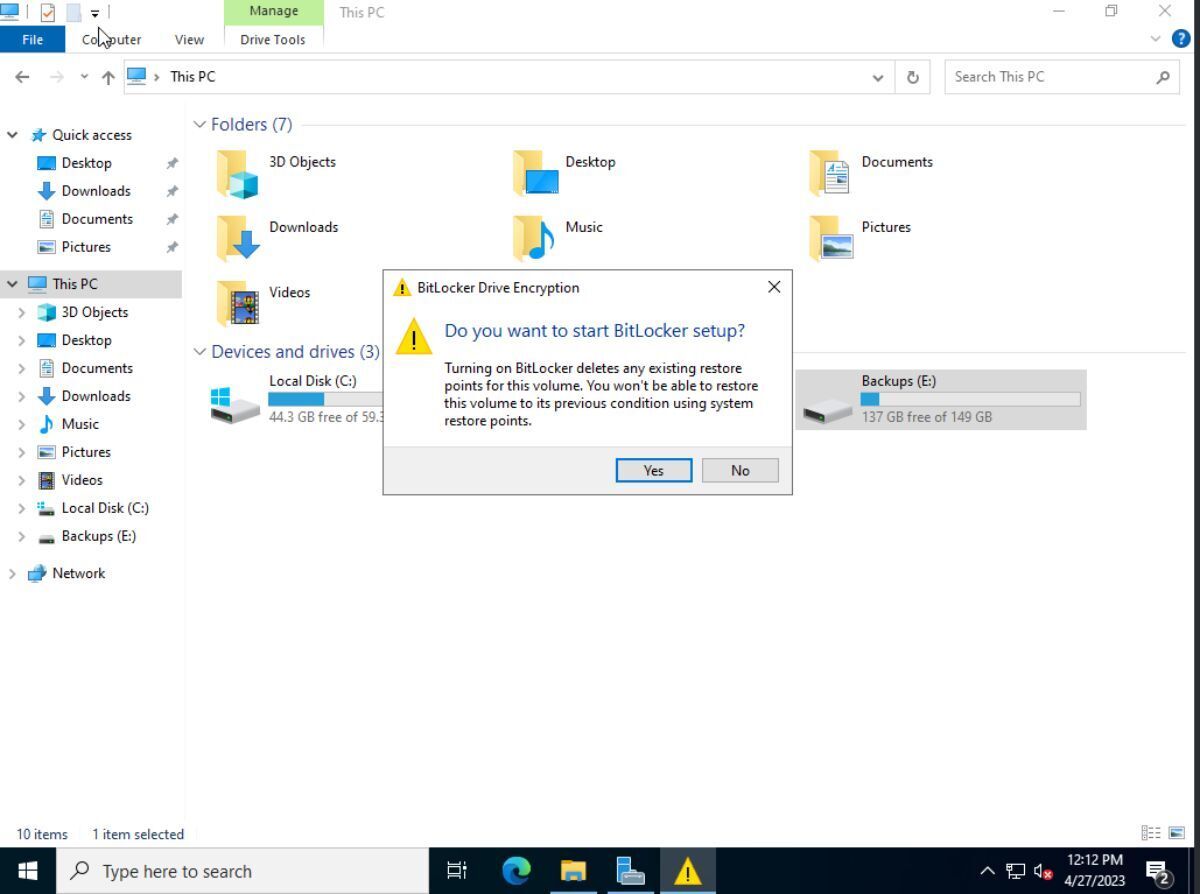
With the new feature added, open the “This PC” app and right-click on the disk drive you want to encrypt. Select the “Turn on BitLocker” option, and Windows Server will ask if you want to start BitLocker setup. Choose “Yes.”
After selecting “Yes,” you will be asked to choose how to unlock the drive you are encrypting with BitLocker. You can choose either a password or a smart card. We suggest a password unless you have a smart card configured.
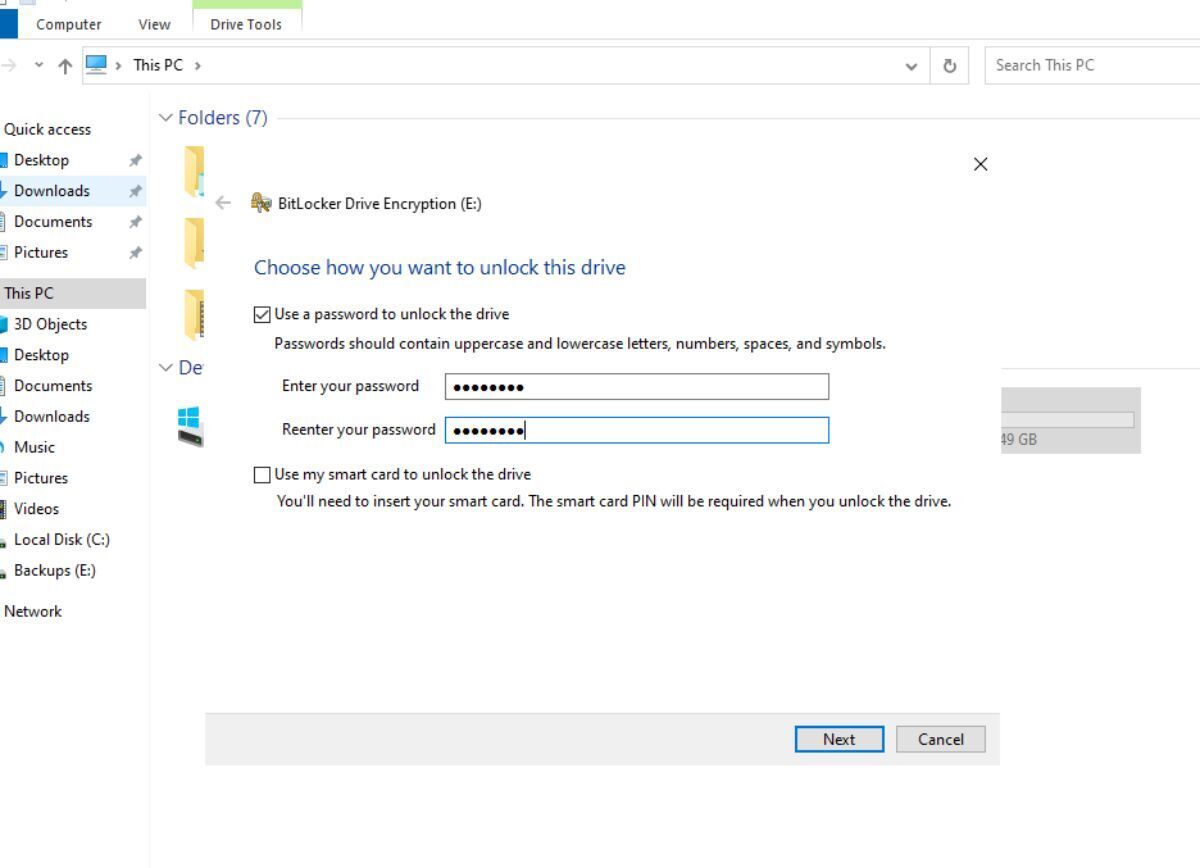
Enter a secure and memorable password, then click “Next” to move to the next page. On the next page, BitLocker will ask you to save a recovery key to recover your password if something goes wrong. Select “Save to a USB flash drive,” “Save to a file,” or “Print the recovery key,” and then click “Next.”
Once you have saved your encryption key, you must choose how much of your drive BitLocker will encrypt. You can choose to encrypt only the used disk space or the entire drive. Once you’ve made your choice, select the “Next” button to move to the next page.
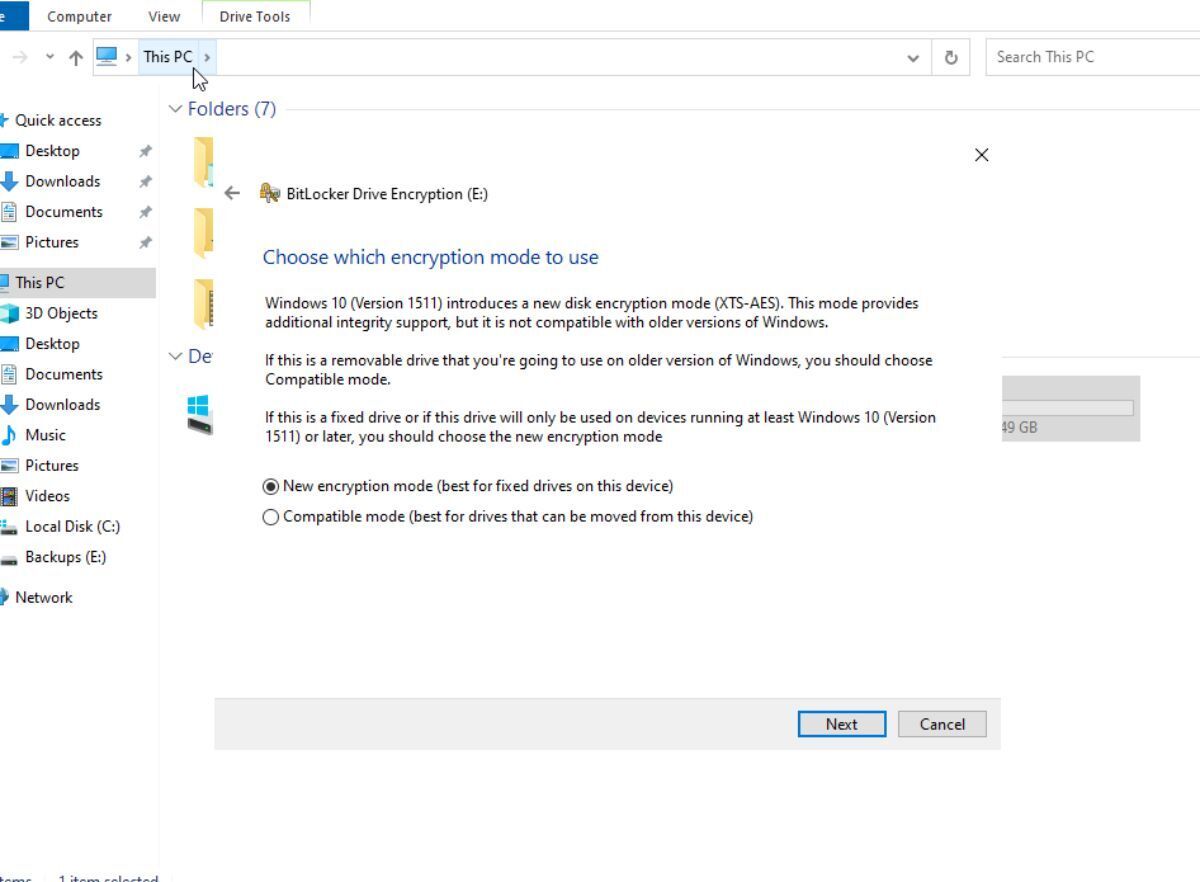
After choosing what parts of the drive to encrypt, you’ll need to choose an encryption mode. Select “New encryption” mode for the best results. Otherwise, choose “Compatible mode.” When done, select “Next.”
Upon selecting your encryption mode, BitLocker will ask if you are ready to encrypt the drive. Select the “Start encrypting” button to begin. Keep in mind that this process may take some time to complete, so be patient.
When the encryption is complete, BitLocker will be set up on your drive in Windows Server.
How to encrypt your data with Windows Server’s EFS feature
In order to use EFS to encrypt data on your Windows Server, you must first enable the EFS feature. To accomplish this, launch CMD as an administrator. Once opened, use the following command to enable encryption support:
fsutil behavior set disableencryption 0
After entering the command above, the Windows Server command prompt will display a message stating “A reboot is required for this change to take effect.” Reboot your Windows Server immediately with the following command:
shutdown /r /t 0
Once you have entered the command above in the Windows Server command prompt window, the system will reboot immediately. After the reboot, initiate a login by pressing Ctrl + Alt + Delete.
Log into your Windows Server using the Administrator account or whichever user account you previously used. Then, open Windows Explorer and navigate to the folder or file you wish to encrypt with EFS on Windows Server.
Once you have located the folder or file, right-click on it and select “Properties” from the menu that appears.
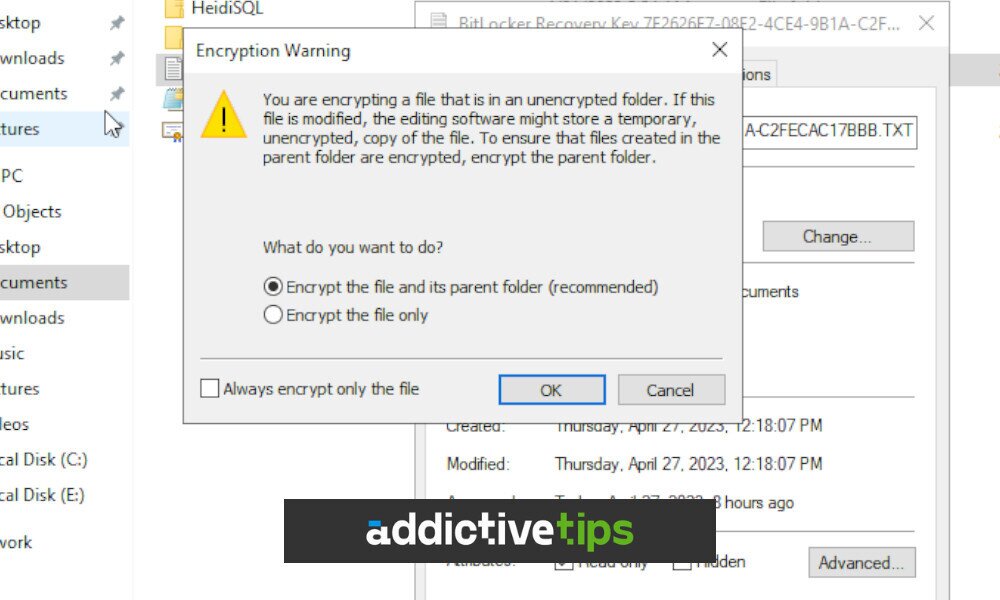
After the “Properties” window has loaded, select the “Advanced” options in the “General” tab. In the “Advanced” area of the “Properties” window, click on the box that says “Encrypt contents to secure data.” When the “Encrypt contents to secure data” box is checked, click the “OK” button to confirm that you wish to encrypt the folder or file.
After selecting the “OK” button in the “Properties” window to enable encryption, you must click the “Apply” button to save the settings. Click “Apply” with your mouse to encrypt your file.
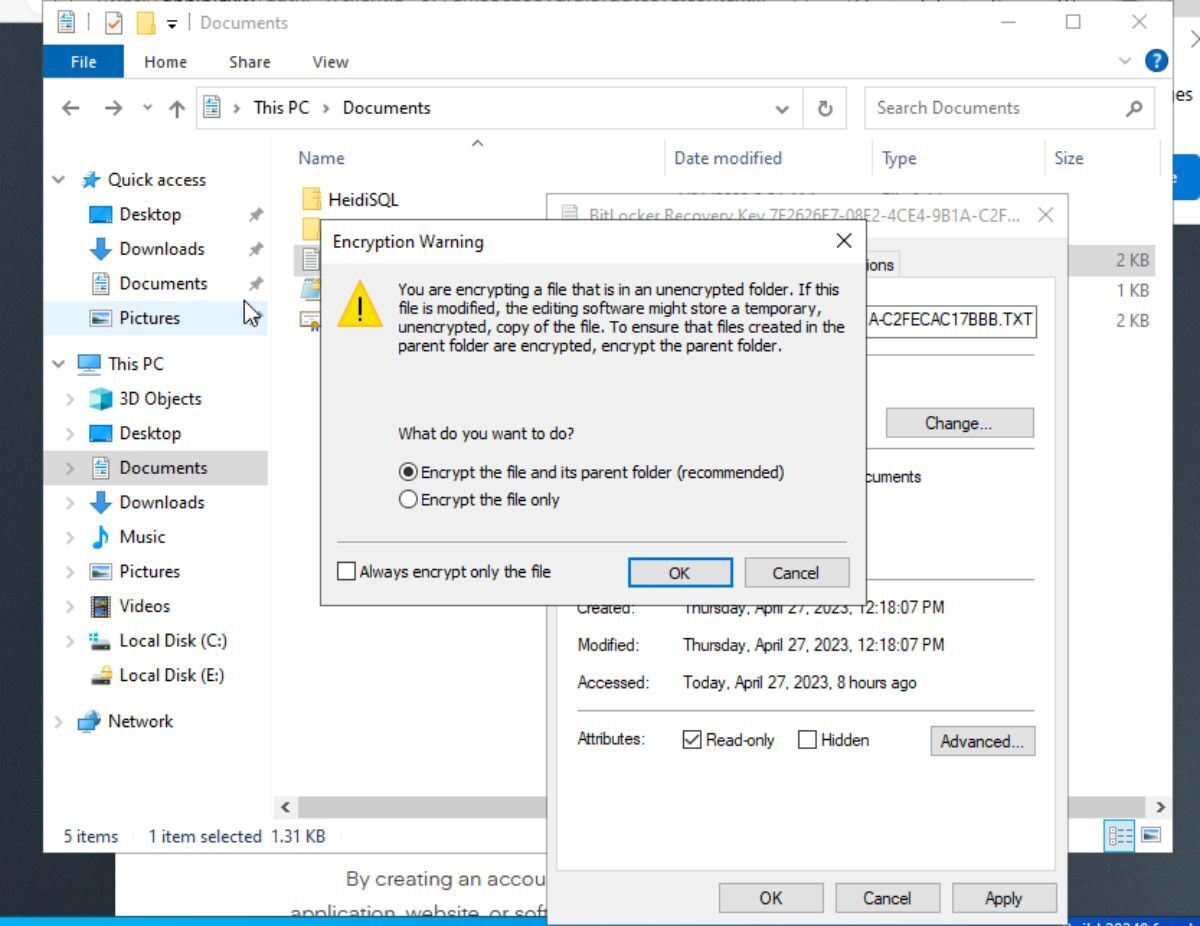
When you click the “Apply” button, a pop-up window will appear. In this pop-up window, you will be asked to choose the type of encryption you wish to use: either encrypt the file and its subfolders, or just the single file or folder.
