Deskcretary – Clean Up Your Windows 7 Desktop
So many people have the habit to place their files on their computer’s desktop, also many of us usually save their downloads on their desktop. If you continue this old practice, your desktop becomes a real mess and you are even unable to find any files from it. Worst of all it also it becomes very time consuming for you to clean up your desktop manually. Don’t fret yet, Deskcretary will help you out.
Update: We would highly recommend checking out Zum as well. It can clean up your desktop by launching programs from a simple app.
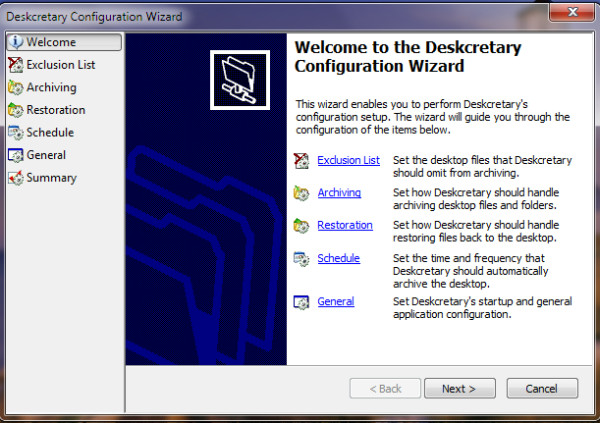
It is a free desktop cleanup application that lets you schedule the desktop clean up process(you may run it manually as well). It cleans up the desktop and keeps your files in archived format, it also offers enhanced searching and browsing of the archived files based on file type and date archived. It lets you revert back to your old desktop if due to any reason your archiving process is not successful. When you launch it for the first time, it will let you configure the settings for the desktop cleanup. Let me show you all of the configuration processes step by step. Here is the welcome screen of Deskcretery, click Next to proceed to the next step of the configuration.
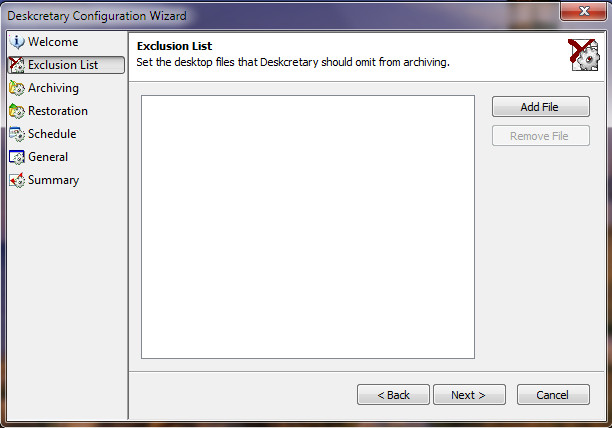
The next step is the Execution List, here you will click the Add Files button to add files which you don’t want to be archived by Deskcretery.
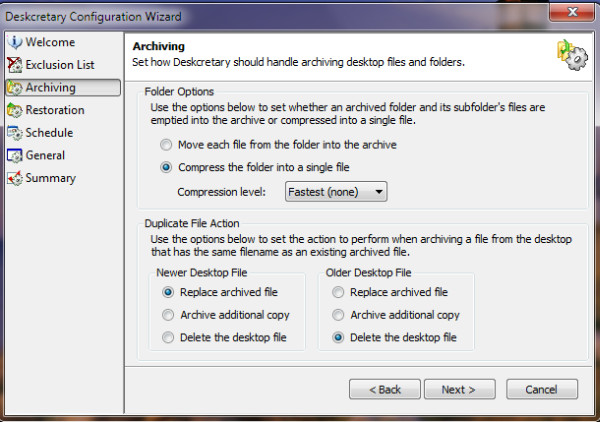
Click Next and it will take you to the Archiving step, here you will make the settings regarding how files will be archived. In this step you will see two options – The Folder options which let you set the behavior for folder archiving and the Duplicate File Action which lets you decide what to do in case of duplicate files.
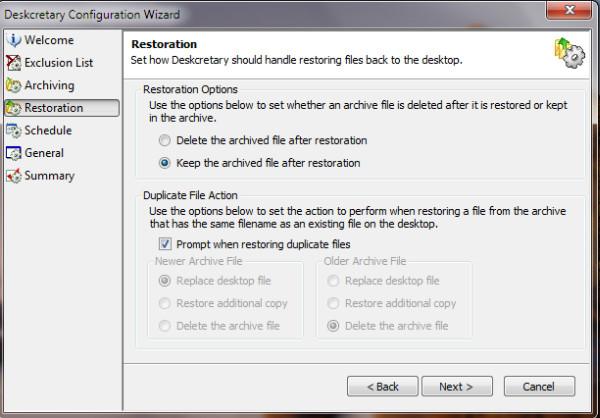
Click Next and you will be on Restoration step, here you will make necessary settings regarding the restoration process.
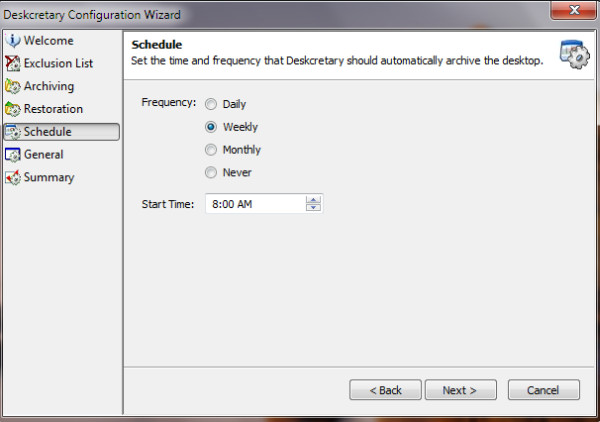
Click Next, and here you are on the most important step, set the time and frequency that it should follow to automatically archive your desktop, choose Never if you are going to perform desktop clean up operation manually.
Click Next, confirm your settings and thats all. Now you are finished making the configurations and it will be taking care of your messed up desktop.
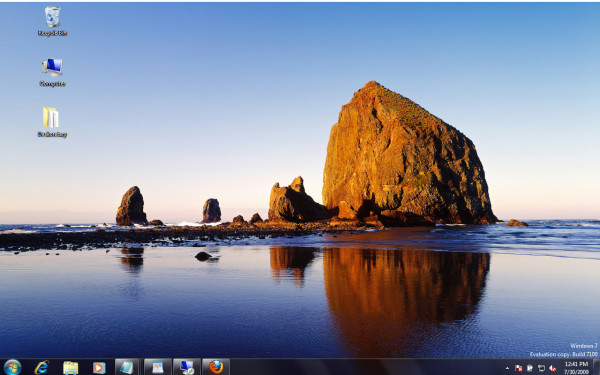
Here is what happened when I ran it to clean up my desktop, it moved all the files on my desktop to an archived folder(created by Deskcretery) on the desktop.
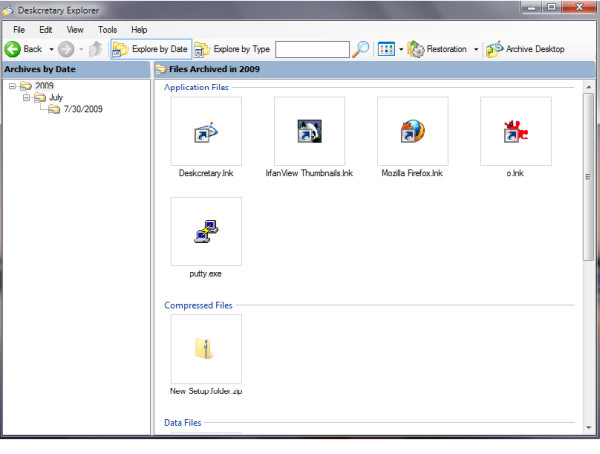
It will be launched automatically as per the configurations that you made earlier. You will find all your files and programs neatly organized under each category.
(https://www.addictivetips.com/app/uploads/software/deskcretary-0.9.1setup.zip) Download Deskcretary (Since the official website is dead, we have hosted the app at AddictiveTips).
Now there is no need to manually clean up your desktop, just install and configure it and it will take care of the rest. Apart from Windows 7, it also works on Windows Vista. Enjoy!

Website provided is unavailable =(