Create Custom Symbols In Windows With Private Character Editor
The Character Map utility in Microsoft Windows is quite popular and known to many Windows users as a part of the OS since its very early times. It allows you to insert special characters i.e. symbols or fonts that are not available otherwise, into your documents like essays, articles, reports, stories, email etc. Though did you know that you can create your very own special characters using a tool that also comes built right into Windows? Private Character Editor is an integrated Windows app that lets you carve out custom characters from scratch. In this tutorial, we’ll guide you through the step-by-step process of using Private Character Editor to make your own special characters.
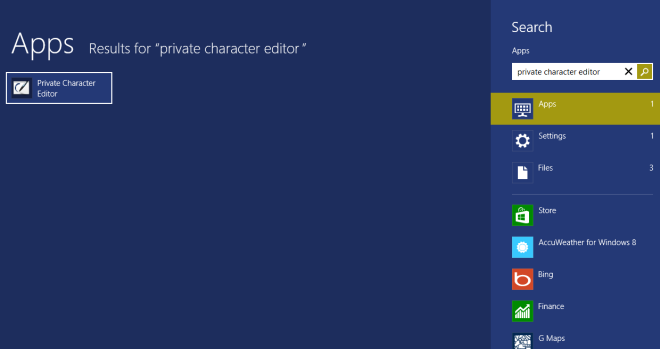
If you’re on Windows 7, you can open this tool from Start Menu > All Programs > Accessories > System Tools > Private Character Editor. Finding it on Windows 8, however, can be a bit tricky because it doesn’t show up under All Apps screen. If you’re using Windows 8, head over to the Start Screen and type ‘private’, and it will instantly appear in the search results. The application itself looks and behaves the same in Windows 7 and Windows 8.
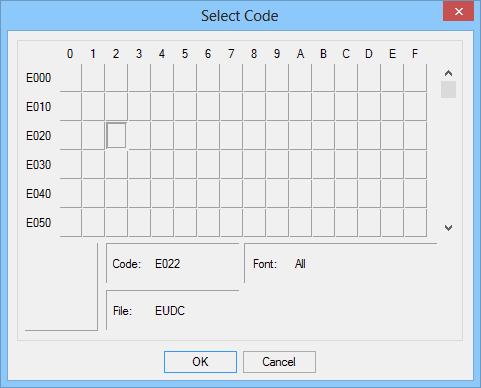
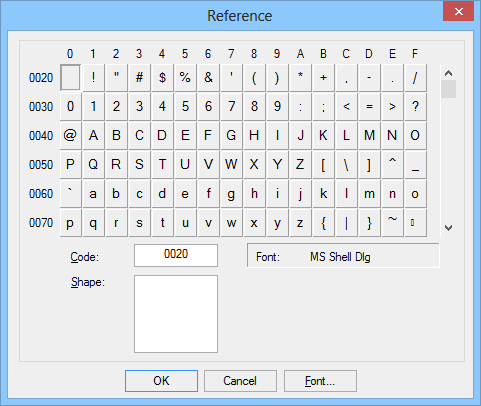
Private Character Editor launches in Desktop mode and presents you with a ‘Select Code’ window upon launch. The first thing you need to do is select the hexadecimal code for the character or symbol that you’re about to create. Simply select a hexadecimal code from the available boxes and hit OK.
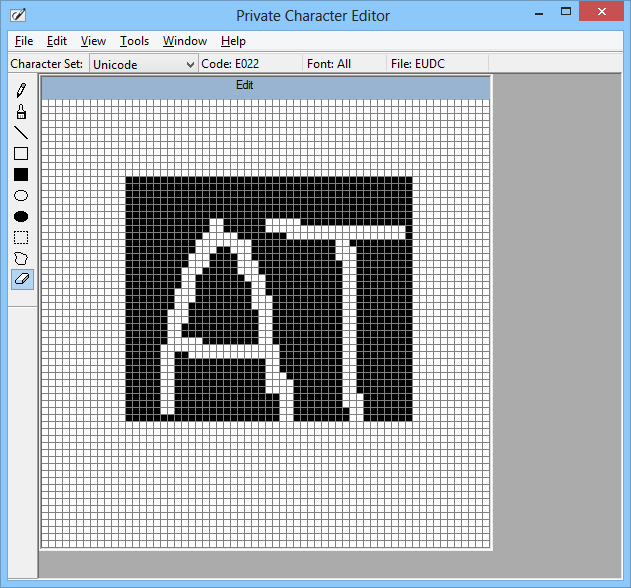
Having selected the hex code, you will be presented with your workspace containing a blank grid, where you can draw and create anything you want. The toolbar on the left helps you create your desired character in a multitude of ways and carries tools like pencil, brush, straight line, hollow and filled rectangles, hollow and filled ellipse, rectangular and free form selection, and an eraser. Using a combination of these tools, you can create your characters in the 50 x 50 grid by drawing in the minuscule boxes. The app also lets you copy, paste and delete things around from the Edit menu.
Private Character Editor offers another interesting feature called Reference. This allows you to choose from existing symbols i.e. the characters that come with Windows by default, and use them as reference to help you draw out your own. You can also drag over any part of the reference to select it, and copy the selected area to the editor window. To display reference, click Window > Reference…
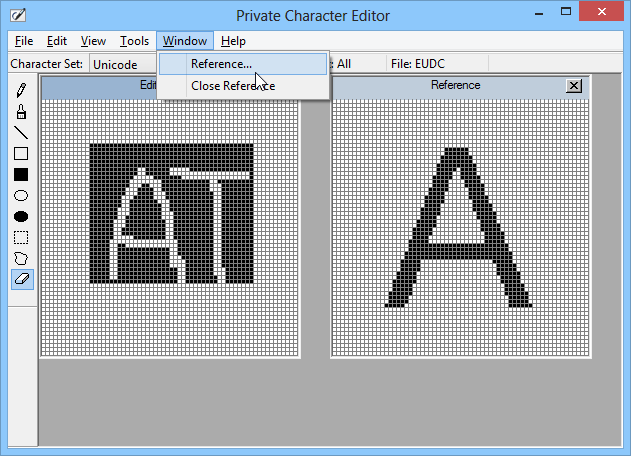
Next up, choose the character that you want to insert or display as reference from the window. You can also click the Font button and select a different font style for the character.
Once you’re done creating the character or symbol according to your liking, it’s time to save the final output. Private Character Editor allows you to link the character either to all available fonts, or only a specific font. To do this, click File > Font Link, followed by clicking ‘Yes’ in the proceeding dialog. A new window named ‘Font Links’ will pop up, from where you’ll just need to select whether you want to link all or just a specific type of font to your character.
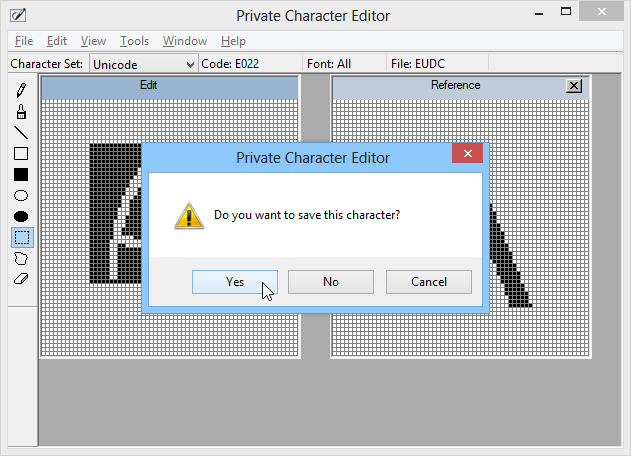
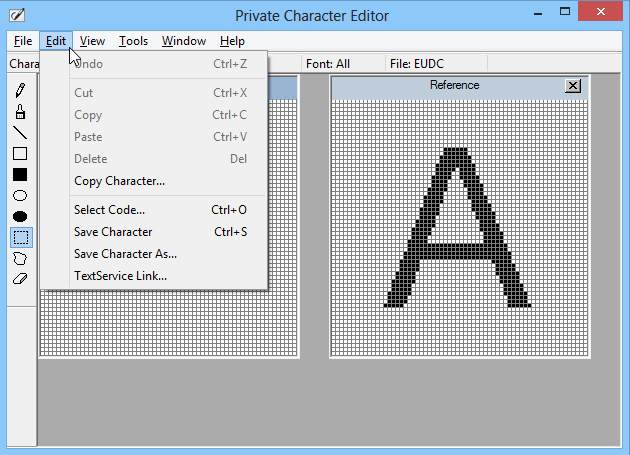
Once linked, click Edit and select ‘Save Character’ from the menu to save it. Alternatively, if you want to associate and save the character to a different hexadecimal code, you can click ‘Save Character As’ instead.
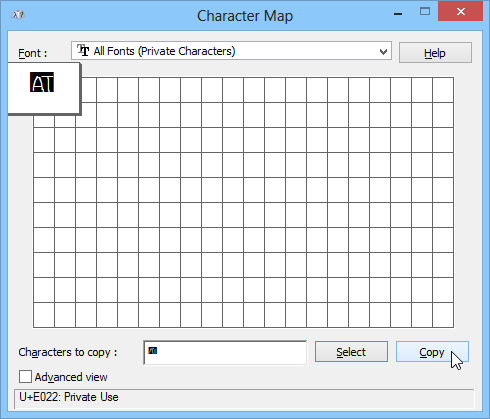
That’s it – you’ve successfully created your new character! You can now view and use this character in your documents by opening Character Map. Just select ‘All Fonts (Private Characters)’ from the drop down menu, and your newly created character will be right there.
Did you know this feature existed in Windows? Or did you just find out about it, and are all excited to start using it? Drop us a comment below to share your experience with us and our readers.
[via 7tutorials]

This is great. Now, can I do it with a Mac?