Create Clickable Image Maps With 4dots Imagemapper
Creating clickable image maps can be a daunting task, as it requires going through a laborious procedure for defining and linking each section of an image to the respective URL. For example, if you are designing a website for an e-store, it might be required to link a banner image with separate URLs. In such a case, the mobile phone image in the banner may require being redirected to the mobile section of the website, whereas a laptop image may have to be linked to the laptop section. Fortunately, we feature an app that makes the whole process easier.
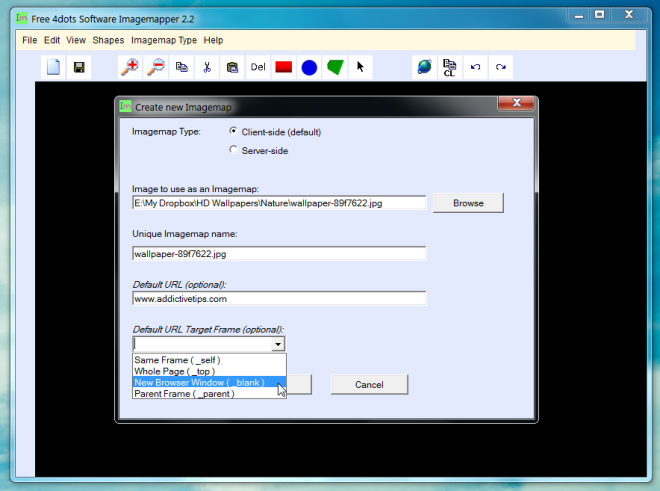
4dots Imagemapper is an application that makes it easy to create clickable HTML image maps. The procedure involves merely loading an image or graphic, defining its destination URL, and the area that is to be made clickable. To get started, click New Map and select an image map type (client side or server side), image location on local drive, unique image map name, default URL (optional) and the default target name (optional).

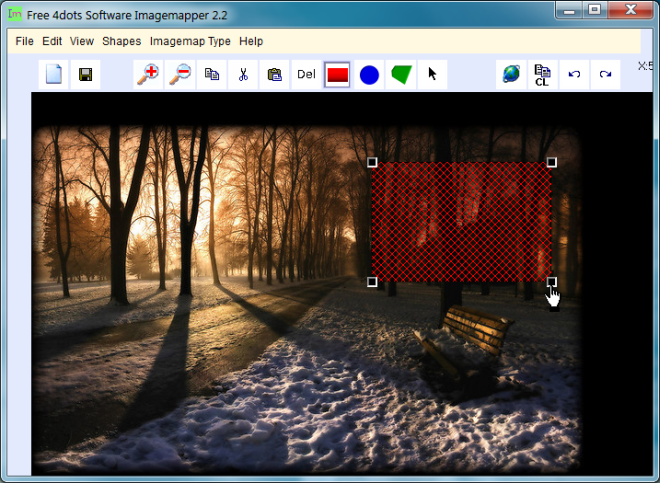
Once done, choose a shape from the top tool bar and highlight the area that is to be made clickable.

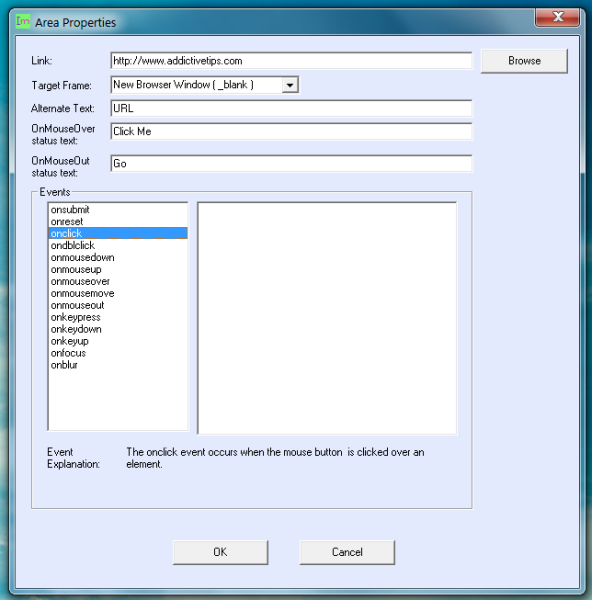
This will open a new dialog box, where you will require entering the link, alternative text, one mouse hover status text, on mouse out status text, events and target frame type.

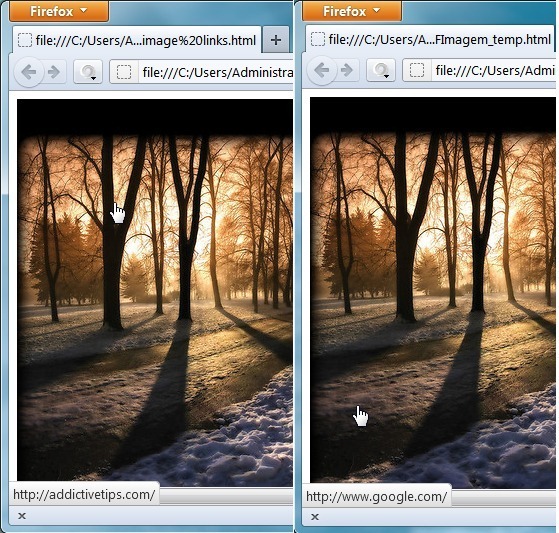
Once your image map has been created, click Test Map to test the result of the created map.

Imagemapper works on Windows XP, Windows Vista and Windows 7.
