Change Transparency To See Underlying Windows With See Through Windows
Netbook users, generally, rely on window adjustment utilities, such as, WinMixumumize, WinSplit Revolution, WinNumpad Positioner, etc., to manage and snap multiple application windows and workspaces at different sides of the screen. Since windows adjustment apps require you to first map keys with different screen positions, you can, alternatively, use an application to control the active window transparency in order to take a quick look at the underlying windows. See Through Windows is developed for this very purpose. While it eliminates the need of snapping active applications at different corners of screen, you just have to use a single hotkey combination over active application to toggle its opacity On / Off. Unlike previously featured Liquid Drag, which changes the transparency of windows only when they are being dragged, it can keep window transparent as long as you want to.
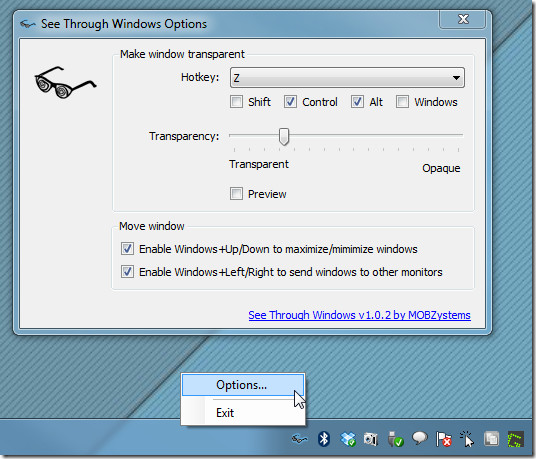
After the installation, it will sit in system tray. First, you must change the default hotkey combination and opacity level from Options. Just right-click its icon and select Options. From Hotkey pull-down menu, select an exclusive combination to avoid conflicts followed by transparency level. Under Move window section, you can disable application windows move functions. Once done, close the Options window to apply changes.

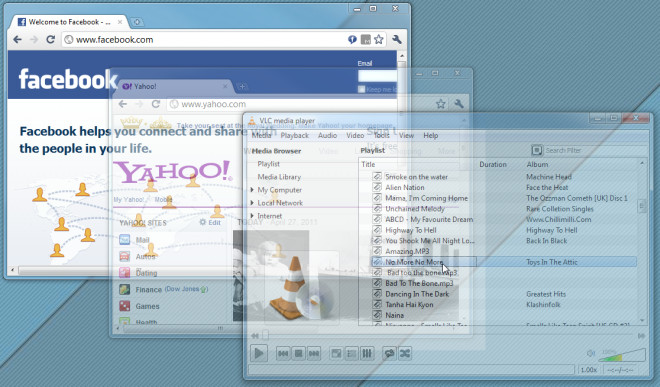
When you want to see underlying window(s), just use the specified hotkey combination. It will change active window opacity, letting you see what’s going on in underlying window(s). To disable transparency, just use the same hotkey again to make window opaque.

See Through Windows is an open source application and works on all versions of Windows.

There’s a godsend utility called ‘Glass 2K’. I’ve been using it since Windows 2000 and it still works like a charm for WIndows 7. Try it out.
There’s something you don’t see every day. You have the UAC disabled 😛