10 Great Rainmeter Skins For Windows 10
Rainmeter is one of the most popular tools for customizing Windows. It’s been around for ages and is still as popular as ever. Rainmeter skins are incredible, so much so that they can transform your desktop into something completely different. People who are particularly enthusiastic about modding Windows often use multiple skins to create the perfect desktop, or to completely overhaul the Windows theme. If you’re looking to add a little extra information to your Windows 10 desktop, or looking for skins that go well with the Modern UI, these Rainmeter skins for Windows 10 are worth checking out.
Most, if not all the skins on this list work great on their own. They were picked because they look good on Windows 10. Aesthetics were given high priority but the skins themselves are functional. You can use them on their own, or mix and match. Some of these skins have not been updated for a while.
The screenshot do not show all components of a skin. We’ve included enough to give you a general idea of what the items looks like. The transparent taskbar is not a Rainmeter skin, it’s an app.
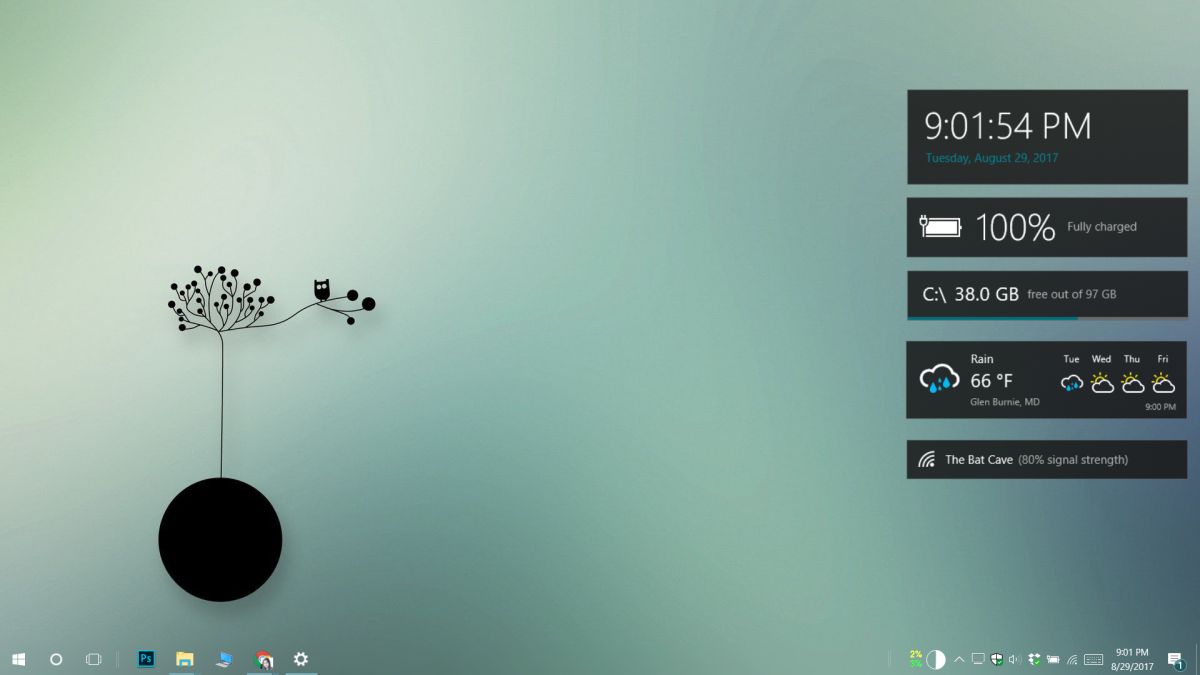
1. Win10 Widgets
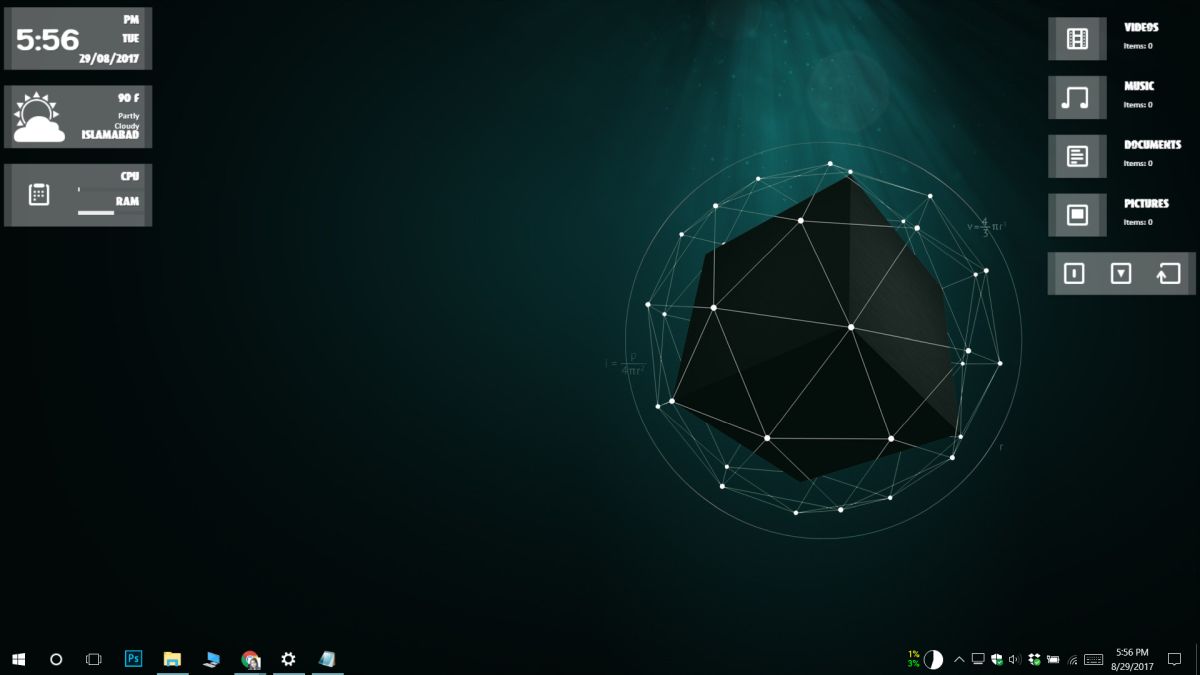
Win10 Widgets is the only Rainmeter skin on our list that was built specifically for Windows 10. Windows 10 doesn’t have any widgets so this skin, through Rainmeter, looks to fill the gap. This skin perfectly mimics the Windows 10 UI; the widgets look great regardless if you have a light or dark background, and this is also one of the few skins on this list that has variable sizes for its widgets. You can use it stand alone, or you can mix it up with other, more fun skins.
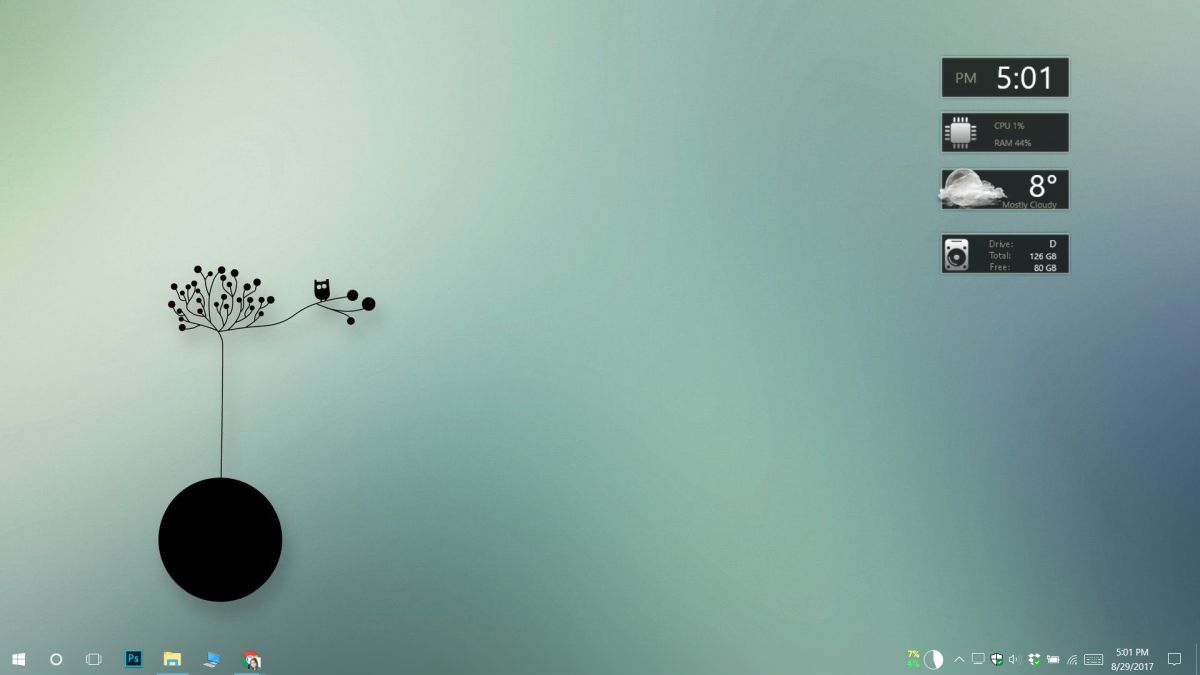
2. Obsidian
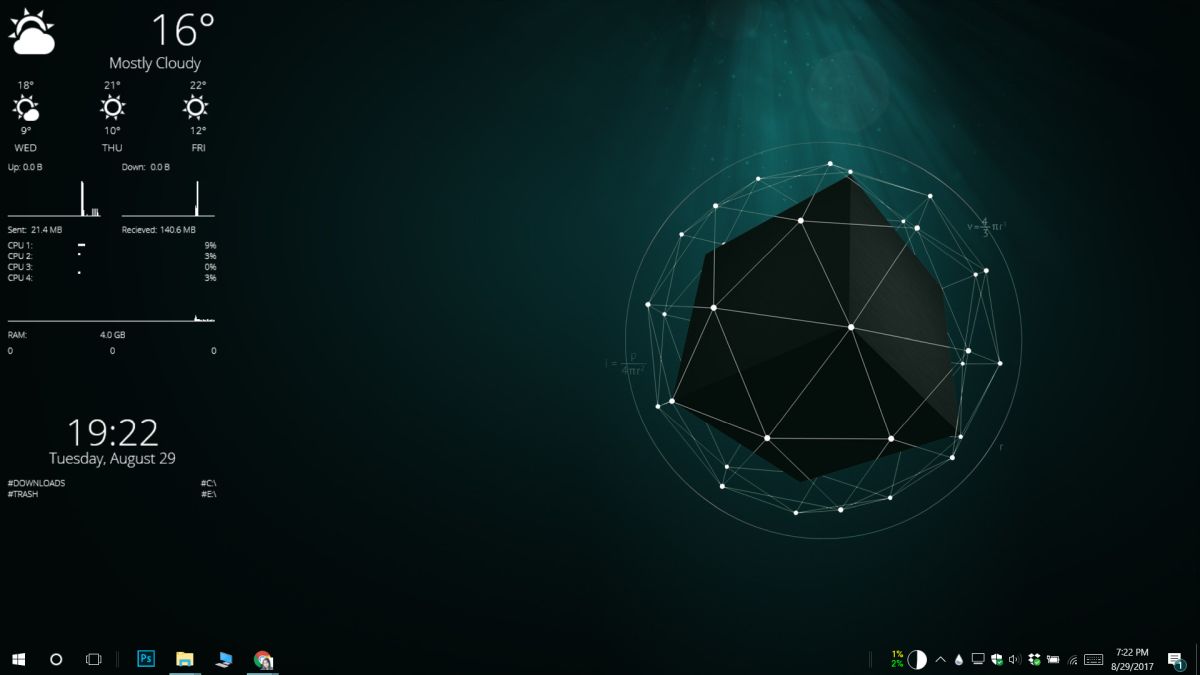
Obsidian is a plain and simple skin that has basic time, date, CPU, network, drive, and weather widgets. If you want a plain skin that looks good in Windows 10 but doesn’t copy the exact UI like Win10 Widgets does, this is it. It doesn’t have as many customization options as Win10 Widgets and you will most likely use it with other skins if you’re looking to modify your desktop. The widgets are bordered so they will look good on both a dark and light background. They’re also great for presenting information in a simple, no nonsense UI.
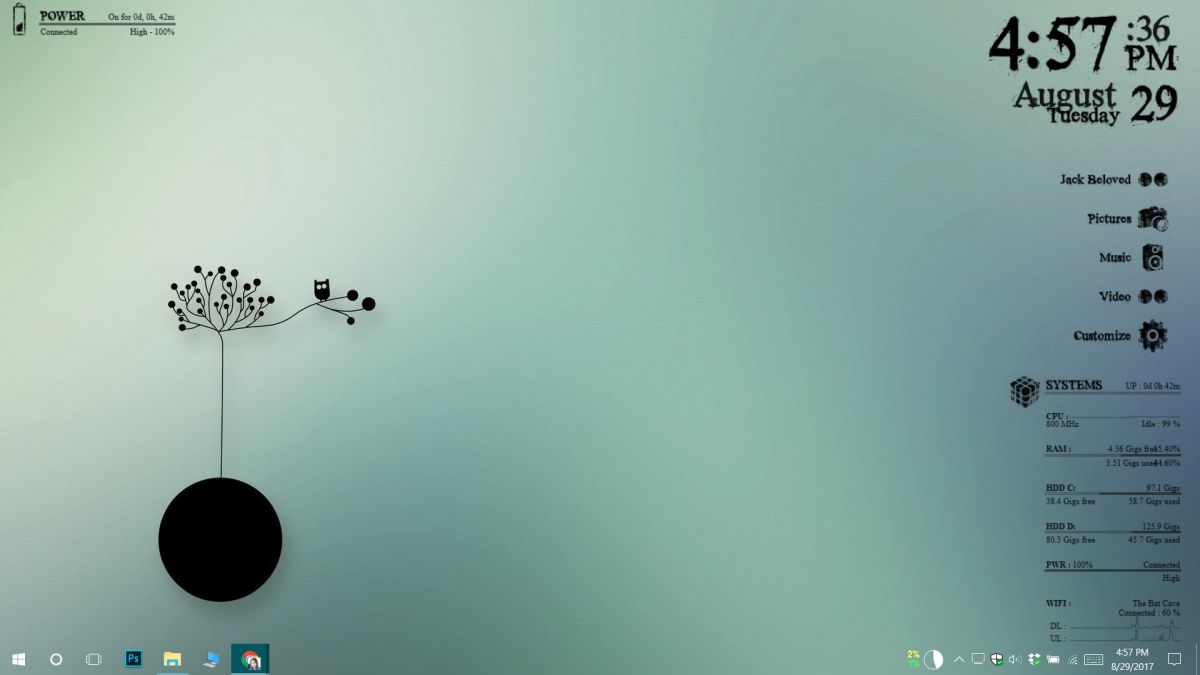
3. P I L E U S Suite
P I L E U S Suite stands out from all the rest because of its very obvious grunge look. When we think of Windows 10, we think of solid color boxes, translucent effects, and flat design. This skin shows that you don’t need to flatten and box everything to make it look good on Windows 10. It adds a great aesthetic to an otherwise flat UI. The default font size used in the widgets is a bit small, and it won’t look great on a dark background unless you edit the font color. If you know how to edit Rainmeter skins, that won’t be too much of a problem.
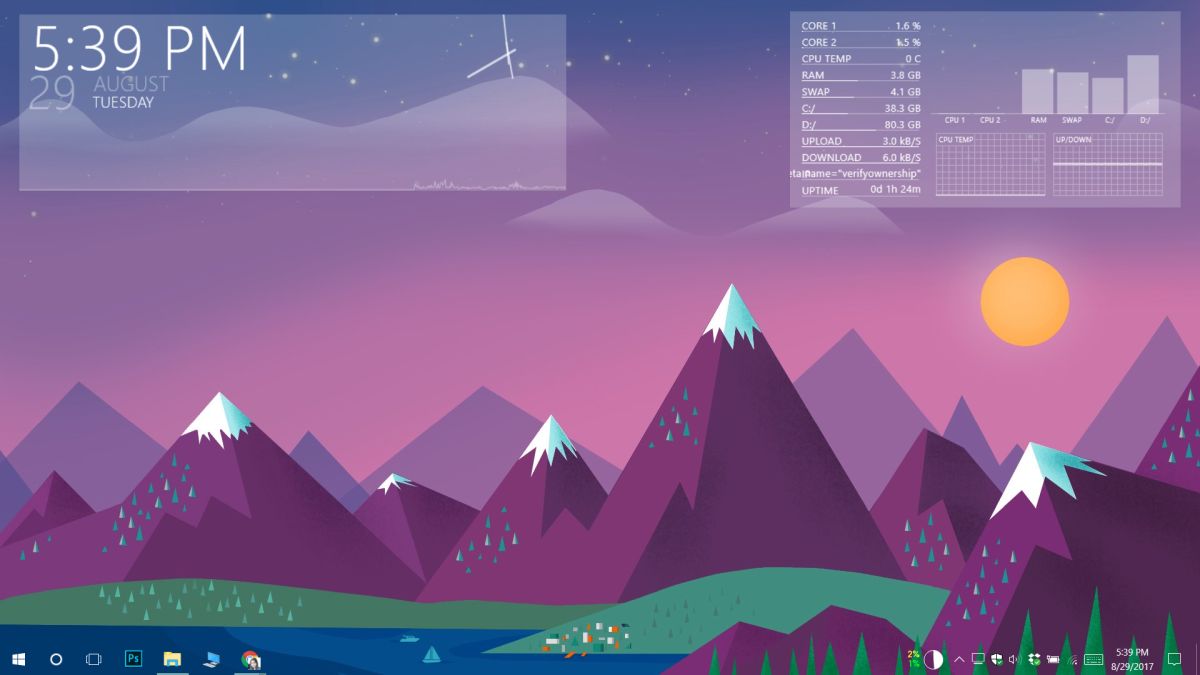
4. Galaxy Suite Rainmeter
Galaxy Suite Rainmeter is best for darker and/or busier backgrounds. As with other skins, you can edit it but the default options make it more suited for a dark themed desktop. The widgets are pretty big so unless you have a large monitor attached to your system, they will take up quite a bit of space. That said, if you like your information big, bold, and easy to read, this skin is a good option. I especially love this one because it also gives the CPU temperature which not a lot of skins do.
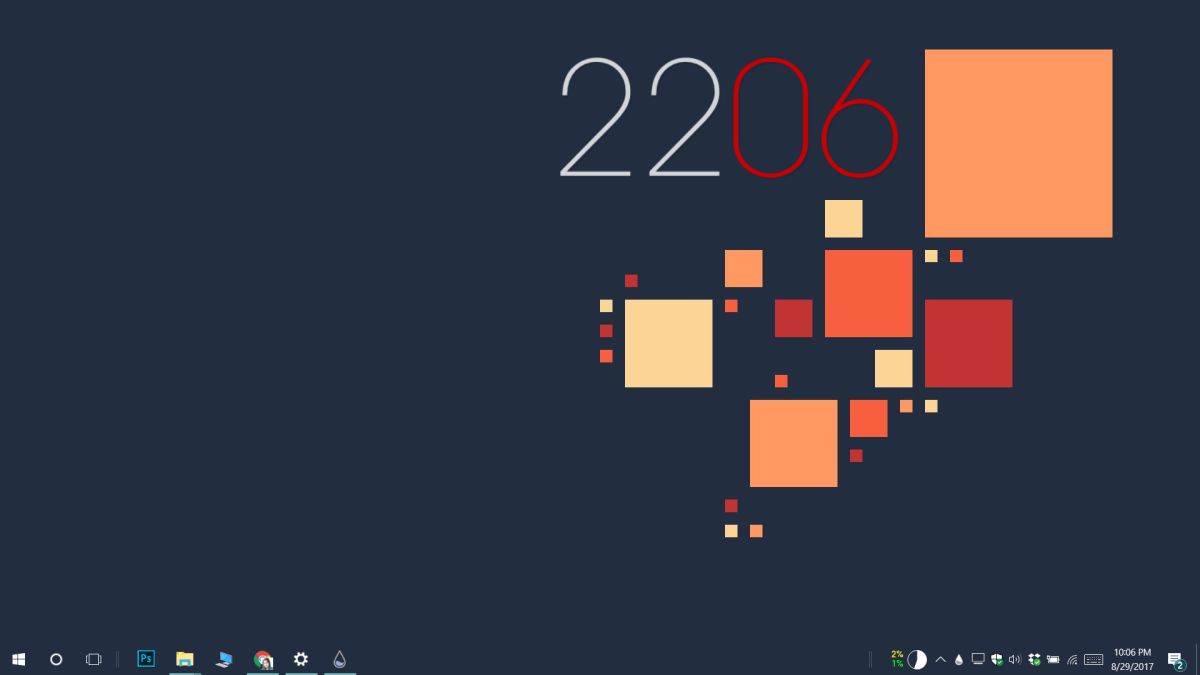
5. Fog
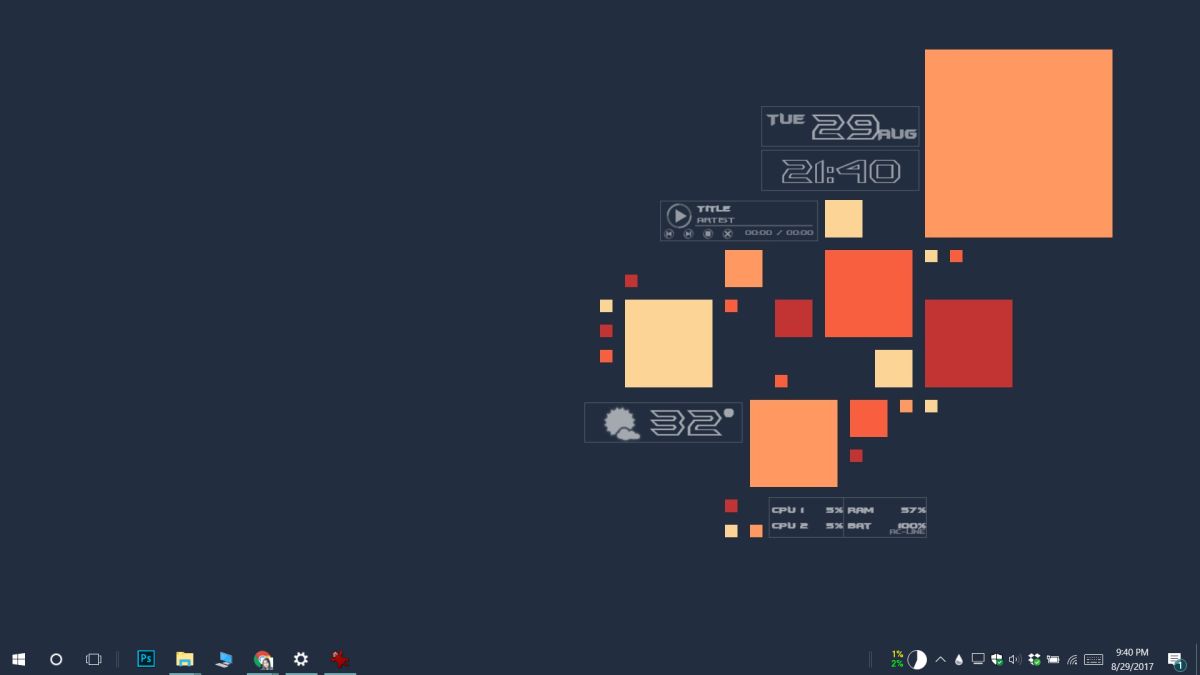
Fog is a skin that wasn’t built with Windows 10 in mind but it ends up looking like it’s part of the UI. It’s not trying to comply with the Windows 10 aesthetics. Instead, it has its own take on flat design, solid color, and a touch of transparency. You can use it on a light background if you want but you will find it’s best on a dark background.
6. City Spaces
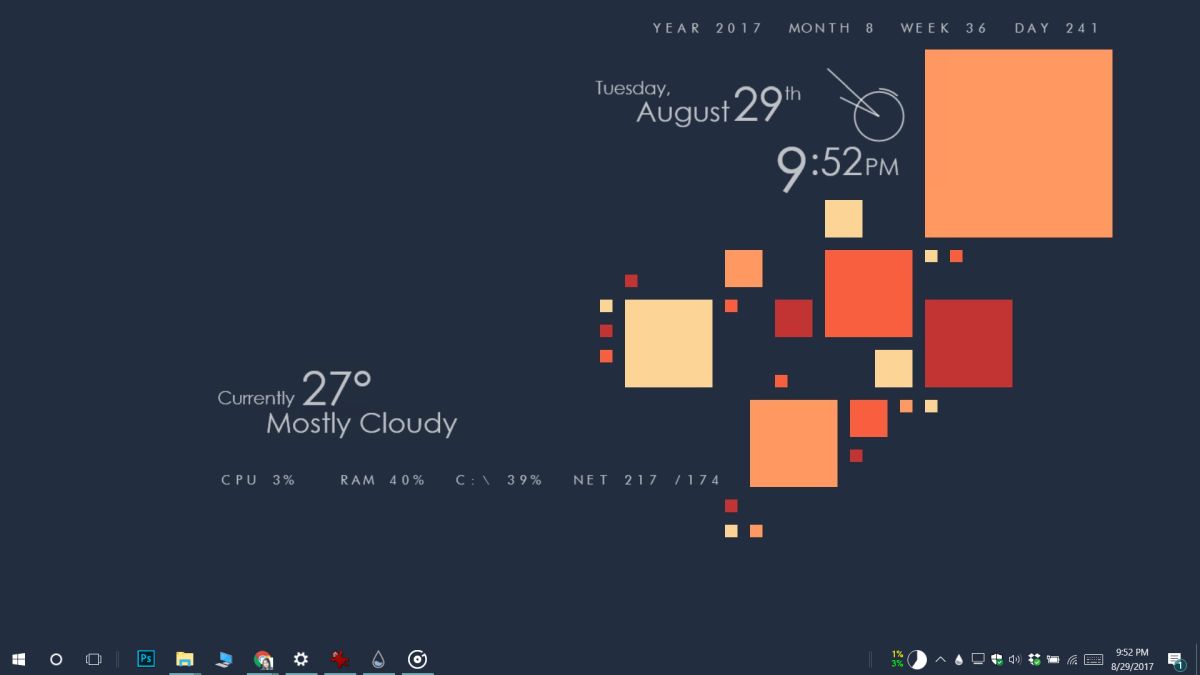
City Spaces is a Rainmeter skin that has visual elements that you can add to your screen. We’re talking dividers and bars that help organize a desktop. It has limited widgets so unless you want bare minimum information, this is a skin you will be using with other skins to make everything look good and well put together.

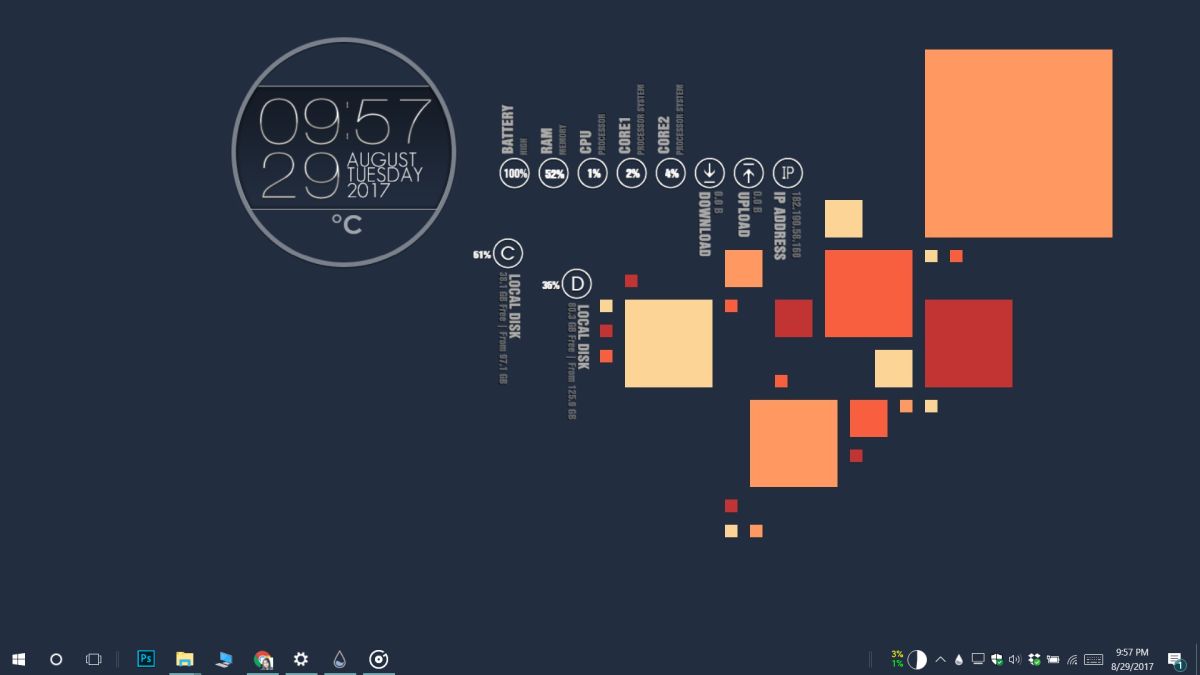
7. Harmattan
Harmattan has exactly one widget but it gives you every bit of information you’d need. It looks good on Windows 10, the text isn’t too small so that you’re squinting at your screen to get the time. It’s best suited for a dark background. If you don’t want to be bothered setting up and customizing a skin, this is a good choice.
8. Simplistic
Simplistic has a black and a white set of widgets. This makes the skin excellent for any type of background image. The widgets play with the transparency effect and a box UI. Everything is in a box and the text and icons play a bit with transparency. It has date, time, weather, drive, system, media player, Gmail, and uTorrent widgets. The wallpaper is not included.
9. Elementary
Elementary is a nice balance between legible text based widgets and stylized icons. If you don’t want anything too crazy on your desktop but would like something that isn’t boxed off, this is a good skin to work with.
10. B + W Rainmeter
B + W Rainmeter has stylized widgets. It gives you easy to read information but looking at the widgets won’t get boring. You can have quite a bit of fun just positioning the widgets on your screen and of course, this is an excellent skin to mix with others on this list.
Honorary Mention
Elegance 2 is a pretty popular Rainmeter skin that we haven’t included in this list. It’s mostly because the skin doesn’t look good on either a light or a dark background. You could use it but you end up spending a lot of time looking for the right wallpaper to go with it. We are mentioning it because, of all the skins we tested and listed here, this is the only one that has a UI for changing the clock color. You can use it to match your Windows 10 accent color. Download Elegance 2 here.
How To Display Rainmeter Skins On Multiple Monitors
First, pick out the Rainmeter skins that you want to use on multiple monitors. If you have several different skins in use, find the names of the ones you want to use on all your monitors.
In File Explorer, go to the following location.
C:\Users\YourUserName\Documents\Rainmeter\Skins
Here, create a copy of the of all the skin folders that you want to use on multiple desktops. If you want, you can rename it to something else that will indicate that it is a copy of a different skin. It makes no difference on the UI of your system.

Quit and restart Rainmeter.
After you restart Rainmeter, right-click it and go to Skins. You will see that in addition to all the skins you’ve installed, there’s also the copy that you created. Enable the skin and you will basically have two instances of it running.

You can position the different elements of the skin on multiple monitors.

How to Pin Rainmeter Skin To Top
If you have the Rainmeter skin enabled, you can pin it to the top from your desktop. The option is buried a bit but it’s there.
Right-click the skin and go to Settings>Position>Stay topmost.

This ought to do the trick. The skin will now be superimposed over any and all apps you have open. It’s a good idea to reduce the transparency of the skin. You can manage the transparency for all skins. It’s not a skin-specific feature. Additionally, enable click-through for the skin if you want to be able to interact with apps and items behind the skin. Again, not a skin specific feature.

If you want to edit the Rainmeter.ini file to pin a skin to the top, you can. Open the Rainmeter.ini file. It should be in the following location;
C:\Program Files\Rainmeter
The Rainmeter.ini file will list the properties of every single skin that you’ve added to Rainmeter. It doesn’t matter if the skin has been ‘loaded’ or not. Find the skin that you want to pin on top, and change the value for ‘AlwaysOnTop’ to 1. Save the change to the file and exit Rainmeter and run it again.


ngl the last ones are same to me ikr
Hello,
Just and a little question: where can one find the wallpaper (an owl in the tree) used in the first three examples?
Thanks in advance for a tip.
Here you go: https://www.walldevil.com/artwork-wallpaper-7448/
Thanx a lot :^)
All these skins look the same to me.