Backup Hyper-V VMs on Windows Server
Microsoft’s Hyper-V is a slick built-in virtualization suite for Windows Server. With it, users can deploy virtual networks and operating systems running everything from Linux to Windows, BSD, and others.
In this guide, we’re going over how you can create Hyper-V backups. From checkpoint incremental backups to exporting whole VMs. To get started, ensure you have Hyper-V working on your Windows Server system and have installed the latest updates.
Note: This guide focuses on Windows Server 2022. If you are using an older version it is advised that you upgrade before following along. However, if you choose not to upgrade, the instructions should still work with your version.
How to create Hyper-V checkpoints for incremental backups
If you’re not looking to back up the entire Hyper-V VM on your Windows Server, and want to create incremental backups before changes are made, you can utilize Hyper-V checkpoints.
What are “checkpoints?” These are Microsoft’s names for “snapshots” (like in VMware or VirtualBox.) To create a checkpoint in your VM, do the following.
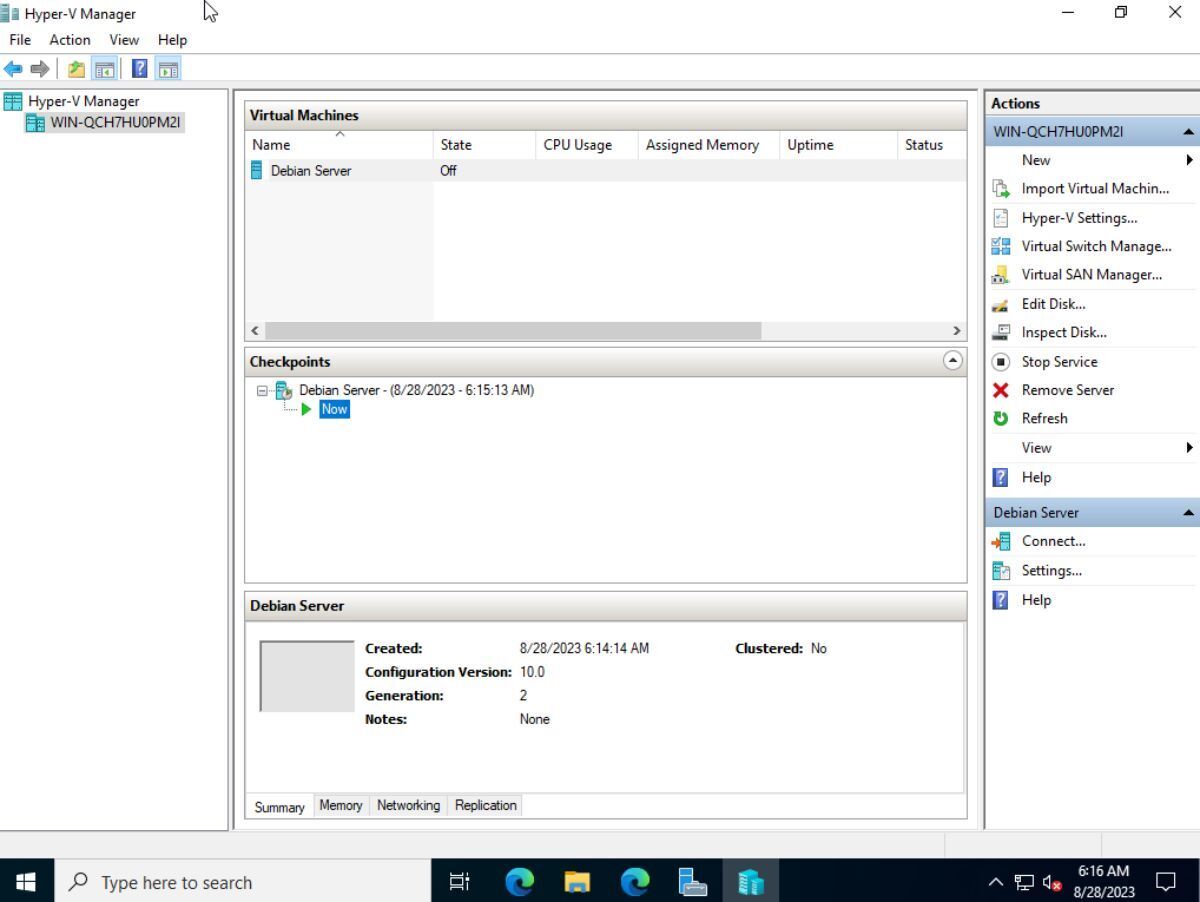
- Start up your Hyper-V Manager application, and select your server in the left-hand sidebar.
- After selecting your server, make your way to the “Virtual Machines” area of the Hyper-V Manager, and right-click on the VM you wish to checkpoint.
- In the right-click menu, find “Checkpoint,” and click on it with the mouse. When you select this option, Hyper-V will immediately take a checkpoint (backup/snapshot) of the VM.
To take more checkpoints, simply follow steps 1 through 3.
How to restore a Hyper-V checkpoint
If you need to restore a Hyper-V checkpoint you’ve made previously, do the following. First, launch the Hyper-V Manager application. Then, click on your server in the Hyper-V Manager left-hand sidebar.
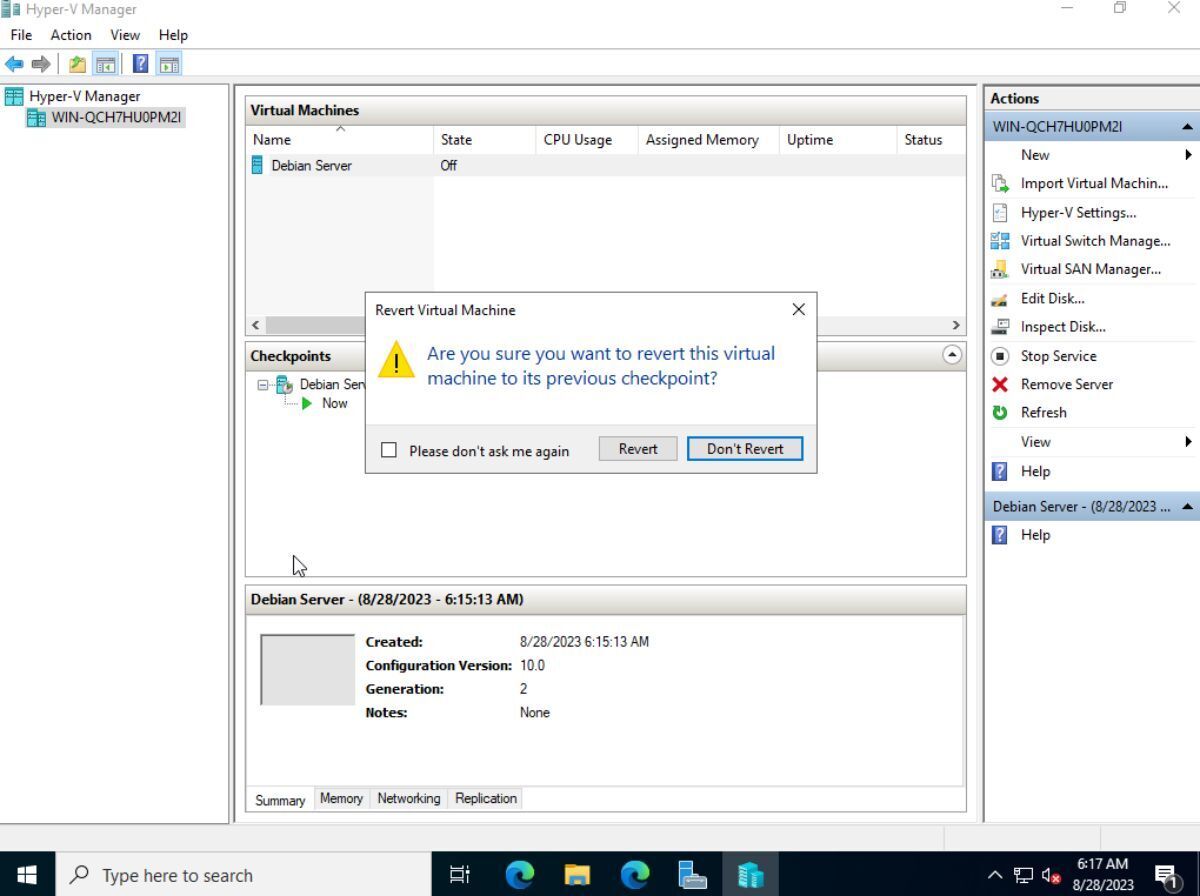
After selecting your server, find the “Virtual Machines” area, and right-click on it to access the right-click menu. Look through the right-click menu for the “Revert” option, and click on it with the mouse.
When you select the “Revert” button, you’ll be able to revert to the previous checkpoint. Alternatively, find the “Checkpoints” box in Hyper-V, and select a checkpoint to revert to.
How to export Hyper-V VMs for backups
It is possible to export a Hyper-V VM for backup or storage purposes. Here’s how you can do it on your system. To start, launch the Hyper-V Manager.
Once you’ve launched the Hyper-V Manager tool on Windows Server, find the left-hand sidebar in Hyper-V Manager, and select your server. After selecting your server, see the “Virtual Machines” box.
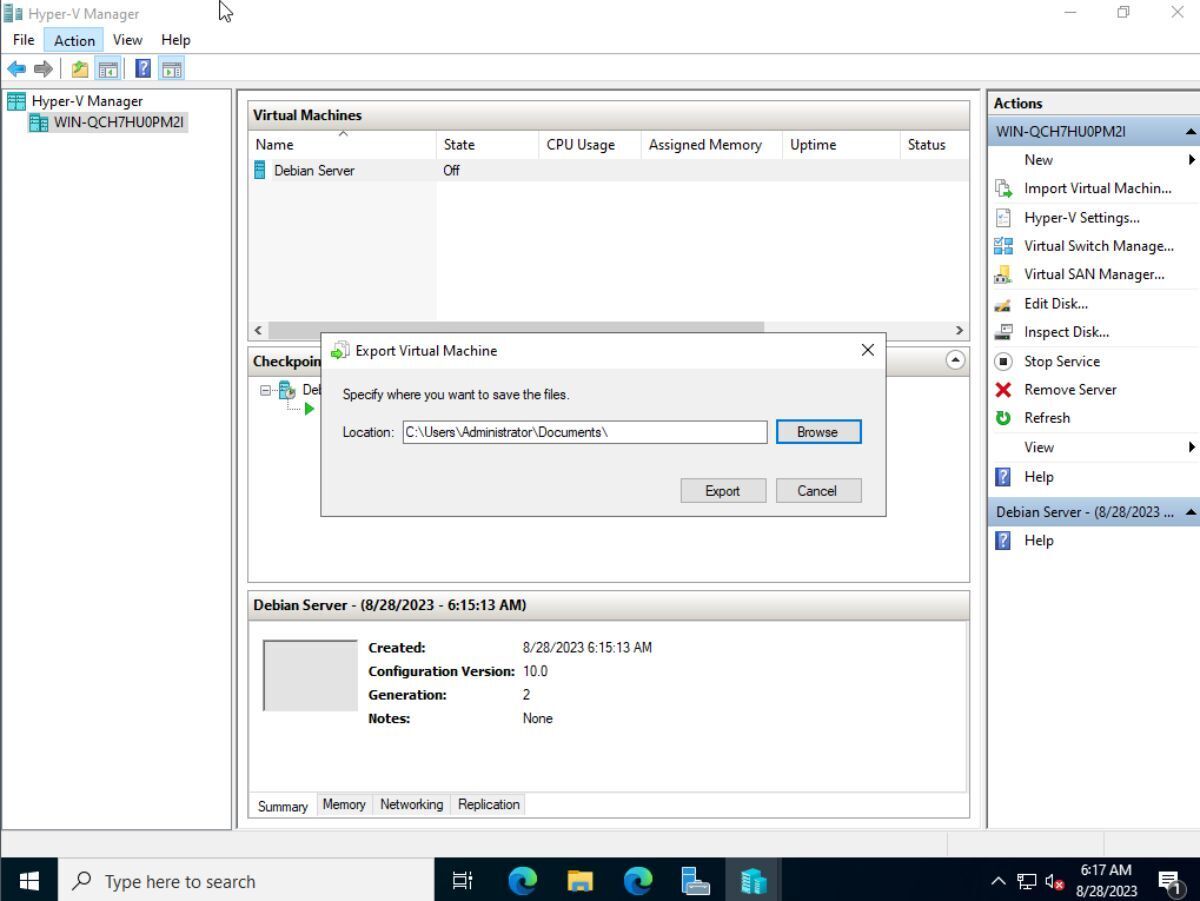
Inside the “Virtual Machines” box, right-click on the VM you wish to export. Then, select the “Export” button. Keep in mind, that your VM should be shut off during this process.
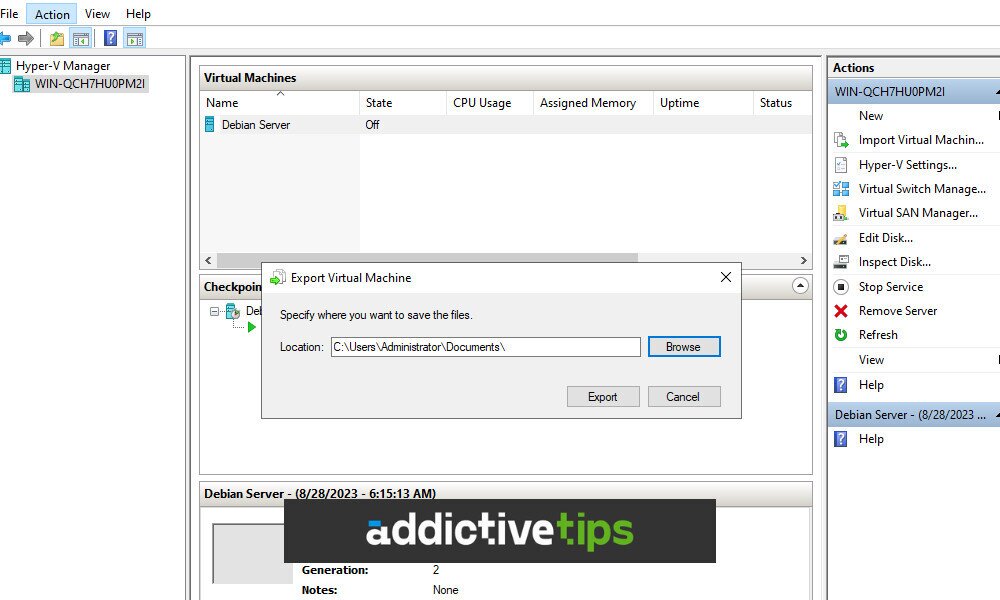
Upon right-clicking on the VM, find the “Export…” option in the right-click menu, and a pop-up window will appear. This window says “Export Virtual Machine.” Use this window to tell Windows Server where you wish to save your exported VM.
Once you’ve configured the “Export Virtual Machine” window, click on the “Export” button to begin the export process. Exporting should take a few minutes (or longer if you have a large Hyper-V VM.) When the process is complete, your VM backup will be where you specified in the “Export Virtual Machine” window.
How to import exported Hyper-V VMs
If you wish to import a Hyper-V VM you previously exported, do the following. First, launch the Hyper-V Manager app on the Windows server. Once it is open, find the “Action” menu, and click on it with the mouse.
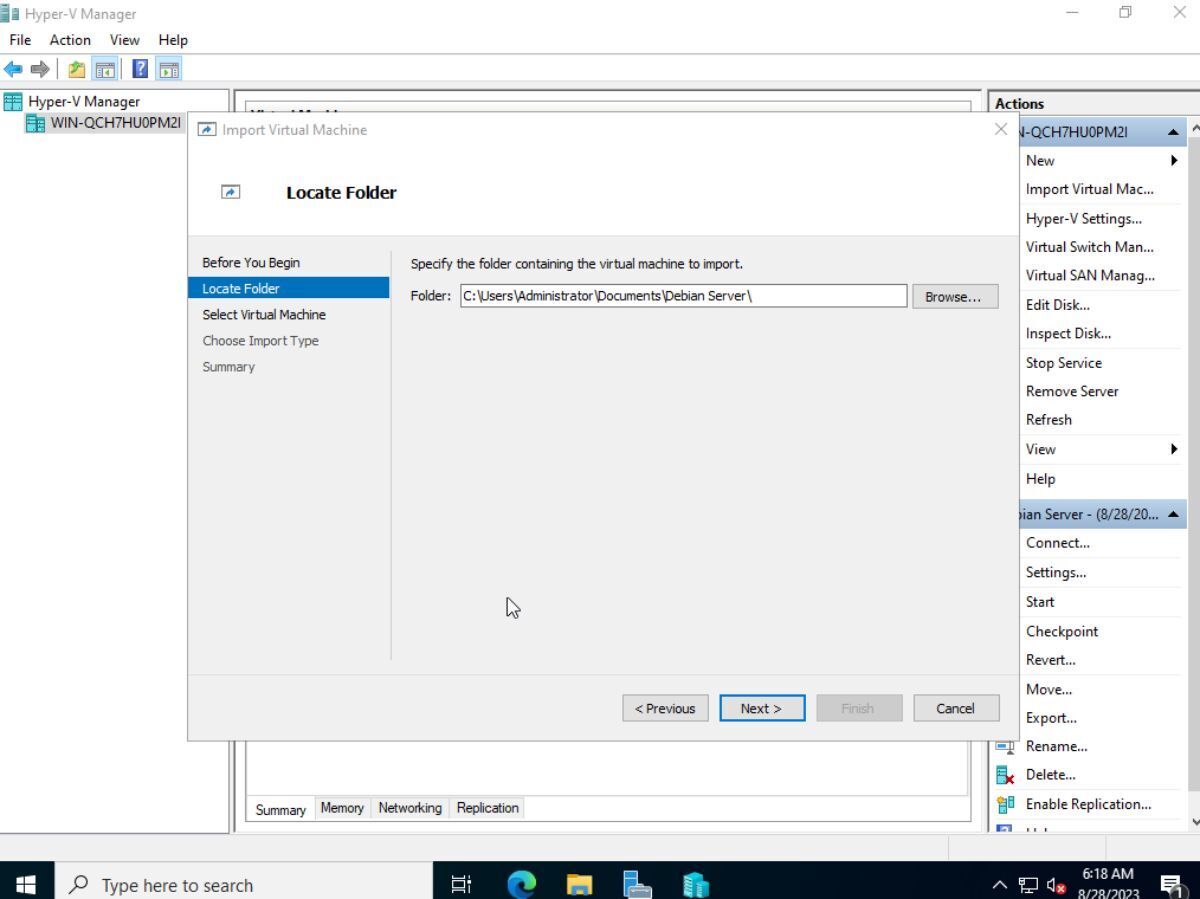
After selecting the “Action” menu, browse for the “Import Virtual Machine” option, and click on it. You’ll then be asked to browse for the exported Hyper-V VM folder. Do so.
When you’ve located the Hyper-V VM folder you wish to import, click the “Next” button to continue to the next page. On the next page, you must select the VM you wish to import in the UI. Use the UI to select the VM. Click “Next” when done to continue.
Once you’ve chosen your VM, you must choose an import type. Select either “Register,” “Restore,” or “Copy.” When you’ve made a choice, click the “Next” button to choose your restored VM’s destination on your Windows Server.
With the destination configured, Hyper-V will present you with a summary of what will happen. Read the summary. When you’ve finished reading it, click the “Finish” button to import the VM into Hyper-V.
