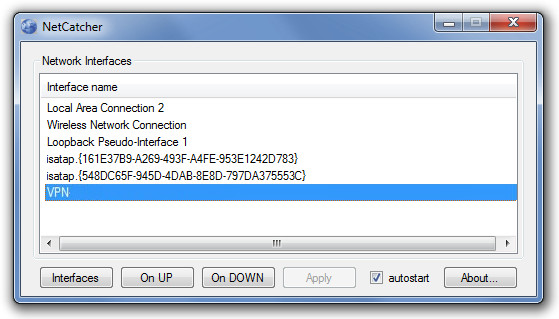
Add Automatic Routes For VPN Connections With NetCatcher
Some people require establishing a VPN-connection to get some tasks done or to access data from a remote network (e.g. their office network). In such a case, the IP range of the two networks (such as that of your ISP at home and your office network) may be different. For example, the DHCP server of your ADSL connection may have assigned your system with the following IP: 10.10.110.12, whereas your office network computer (to which you wish to connect via a VPN), may have an IP such as 10.10.50.50.9. Lets assume that 1.1.1.1 is your VPN-gateway and 1.1.1.2 is your VPN-connection IP-address.
In this scenario, if you specify “use as default route” (in VPN-connections settings window), then the internet connection will be accessed through the VPN, i.e. the corporate network of your company. While disabling the “use as default route” option will mean that you will not be able to access the computer at your office. A remedy to this problem is NetCatcher. By using this application you can add routes automatically when the VPN connection is established, which will enable you to access the remote computer while retaining internet access from your home ISP.
Simply turn off the option “use as default route” in the settings of the VPN-connection, choose the name of your VPN-connection in a window within NetCatcher and write commands, such as:
route add 10.10.110.12 mask 255.255.255.255 1.1.1.1

route add 10.50.50.9 mask 255.255.255.255 1.1.1.1
For example, you can go to the On Up option (availabe in NetCatcher) and type these commands so that routes will be added automatically when VPN-connection is established thus, internet will still operate through your home ISP, but you will have access to the corporate network of your company.
It works with Windows XP, Windows Vista and Windows 7.

