How to set up an Ubuntu VM in Windows Server
You may wish to run an Ubuntu Linux virtual machine on your Windows Server for certain Linux-only Docker containers or other Linux-only server applications you can’t run on a Windows Server installation.
The best way to run an Ubuntu Linux VM on Ubuntu Server is to enable Hyper-V, Microsoft’s in-house virtualization toolkit. In this guide, we’ll show you how you can enable Hyper-V and use it to set up an Ubuntu VM.
How to enable Hyper-V on Windows Server
The Hyper-V tool must be enabled in Windows Server for you to run an Ubuntu VM. To turn it on, start by launching the start menu. Then, type in “Turn Windows features on or off.”
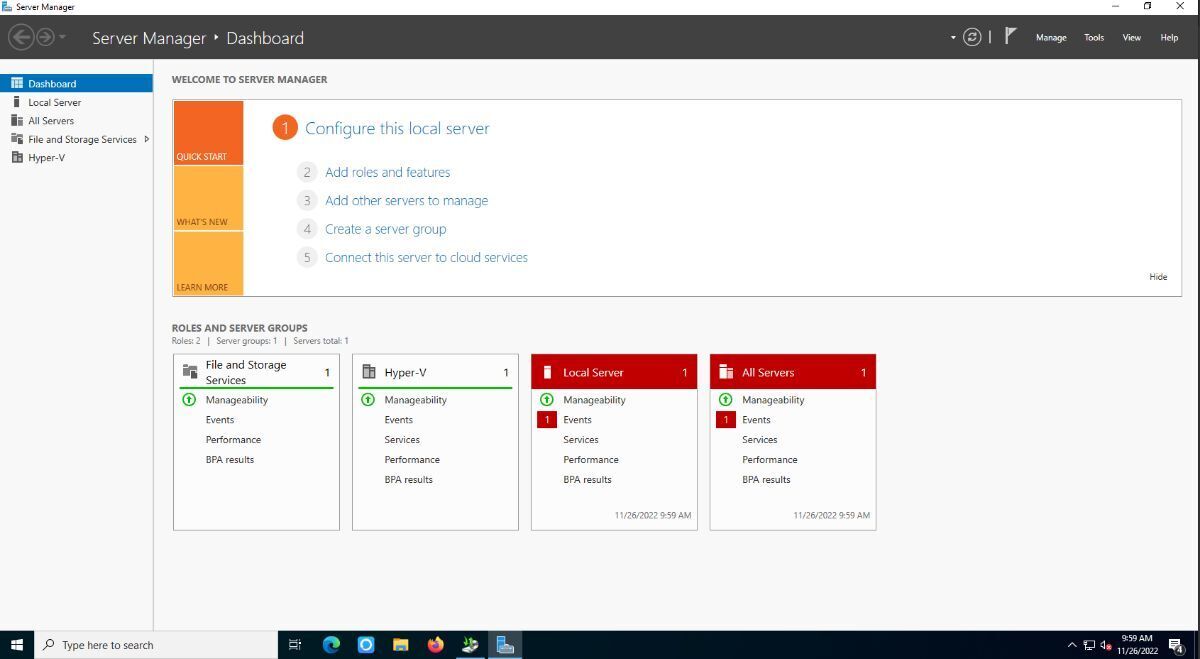
Once you’ve searched for “Turn Windows features on or off,” select the Windows features icon under “Best match” in the search results. Selecting “Turn Windows features on or off,” will launch the “Add Roles and Features Wizard.” Click the “Next” button to continue.
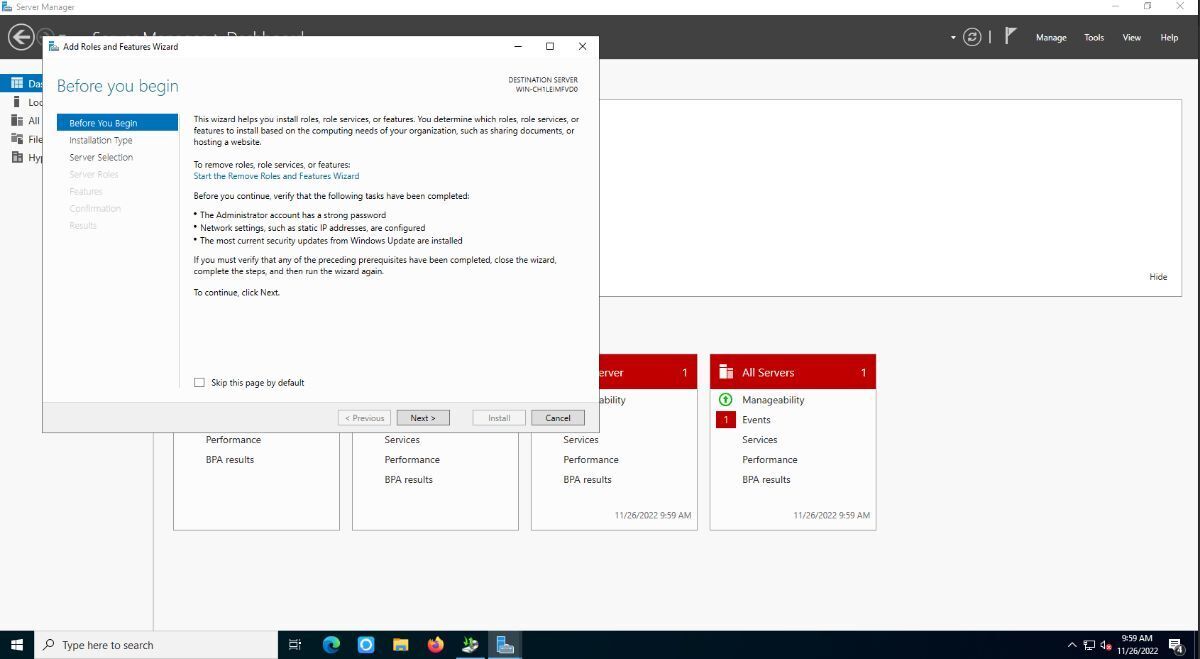
After selecting the “Next” button, you’ll be asked to “Select an installation type.” Choose “Role-based or feature-based installation.” Then, click on the “Server Selection” button in the sidebar.
In the “Server Selection” area, choose your Windows server. It should be listed. Then, choose “Server Roles,” and look through the list for “Hyper-V.” Check the box next to “Hyper-V.”
When you select the checkbox, Windows Server will ask you to “Add features that are required for Hyper-V?” Click the “Add Features” button to add them to your Windows Server.
Once you’ve set up Hyper-V in Windows Server, you’ll need to reboot Windows Server. Do so. You should see “Hyper-V” in the menu when you log in.
How to create your virtual switch with Hyper-V
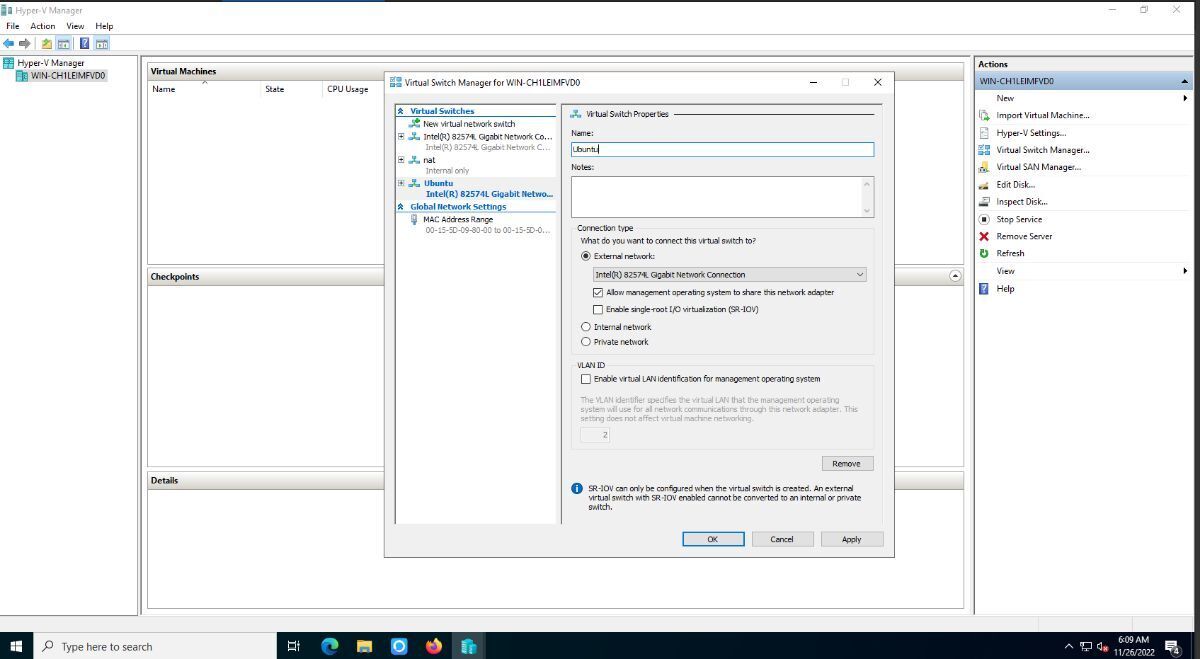
Using Ubuntu as a VM in Hyper-V requires a virtual switch. To create a virtual switch in Hyper-V, launch “Hyper-V Manager,” right-click on the server and select “Virtual Switch Manager.” When you select this option, you will see the Virtual Switch Manager appear.
In the Virtual Switch Manager, find “New virtual network switch,” and select it. Then, choose “External” for the type of switch you wish to create. Lastly, select the “Create Virtual Switch” button to create your new switch in Hyper-V.
After creating your new Virtual Switch in Hyper-V, find your new switch, and rename it to “Ubuntu.” Click the “OK” button when the name is filled out, find the “OK” button, and click on it to confirm the changes.
When you select the “OK” button, you will see a message that says “Pending changes may disrupt network connectivity. Click the “Yes,” button to confirm you are ok with the disruption.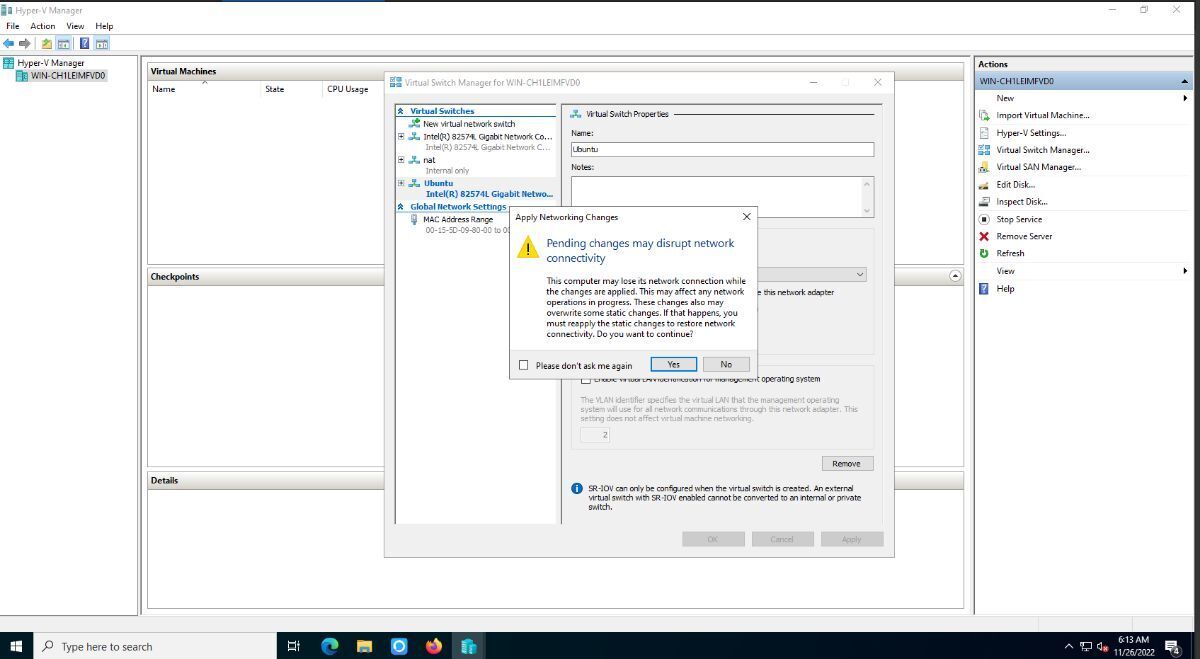
How to create an Ubuntu VM in Hyper-V
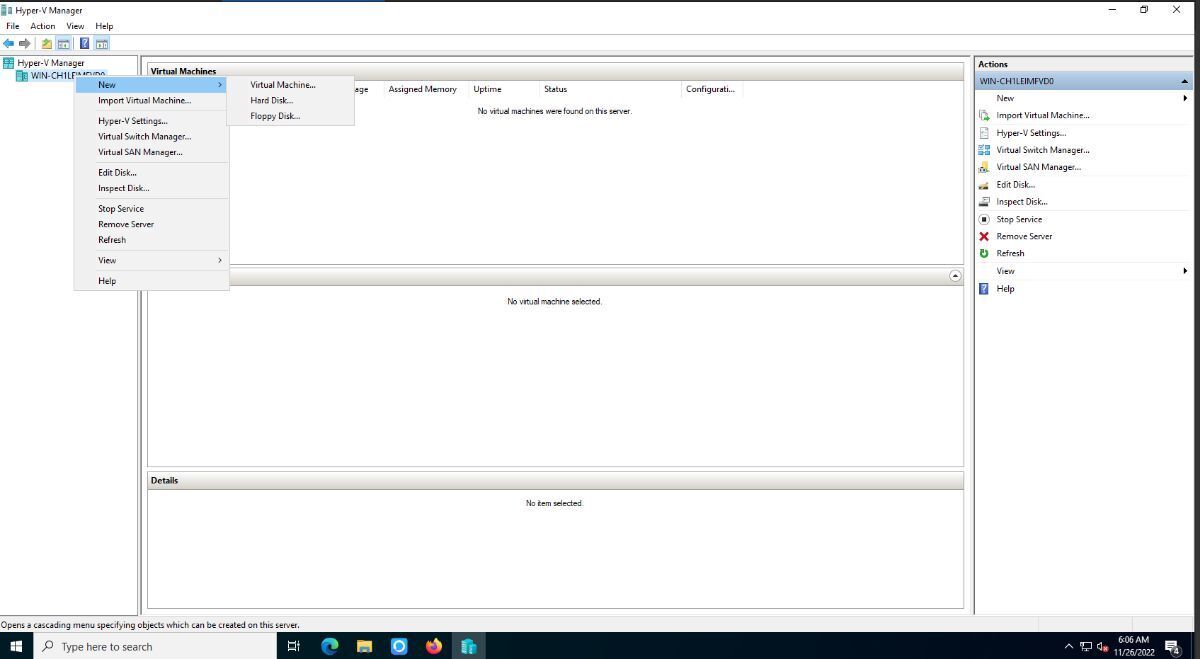
To create a new Ubuntu VM in Hyper-V, do the following. First, right-click on your server in the sidebar. Then, select “New”. After choosing “New,” select “Virtual Machine.”
After selecting “Virtual Machine,” you’ll see the “New Virtual Machine Wizard” pop-up. Read the “Before You Begin” section. Then, click the “Next” button. On the next page, enter “Ubuntu.” Then, click “Next.”

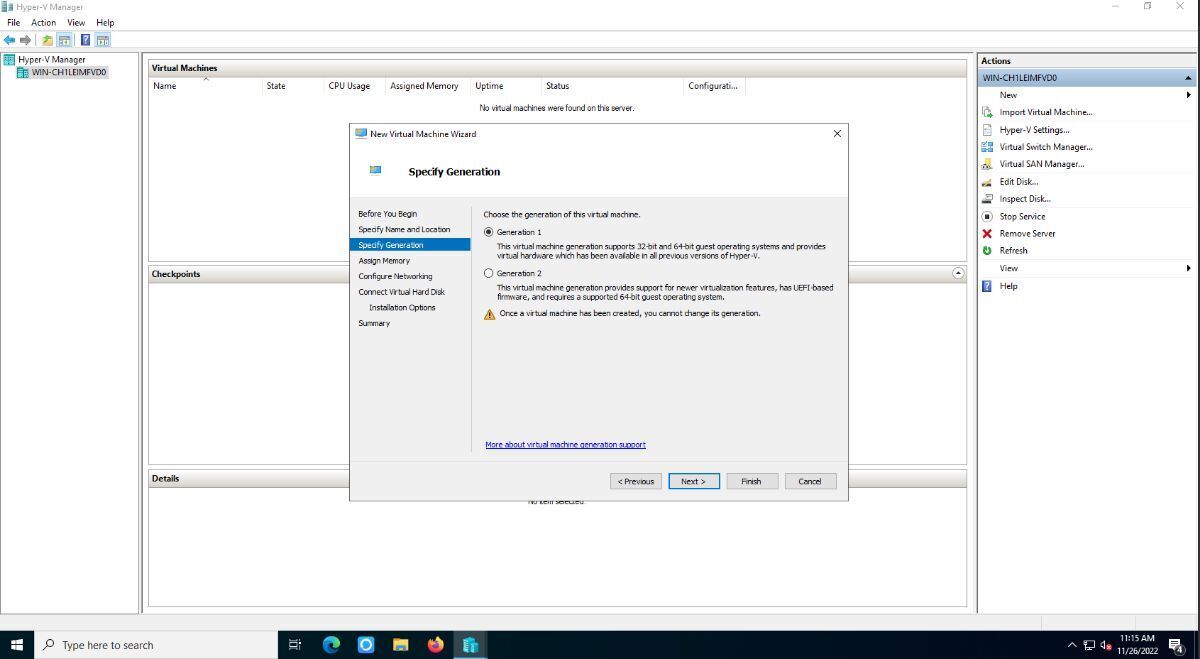
You must now choose your generation of VM. Generation 1 is the most compatible, but it doesn’t support modern features. If you require more modern features, select “Generation 2.” When you’ve made your selection, click “Next.”
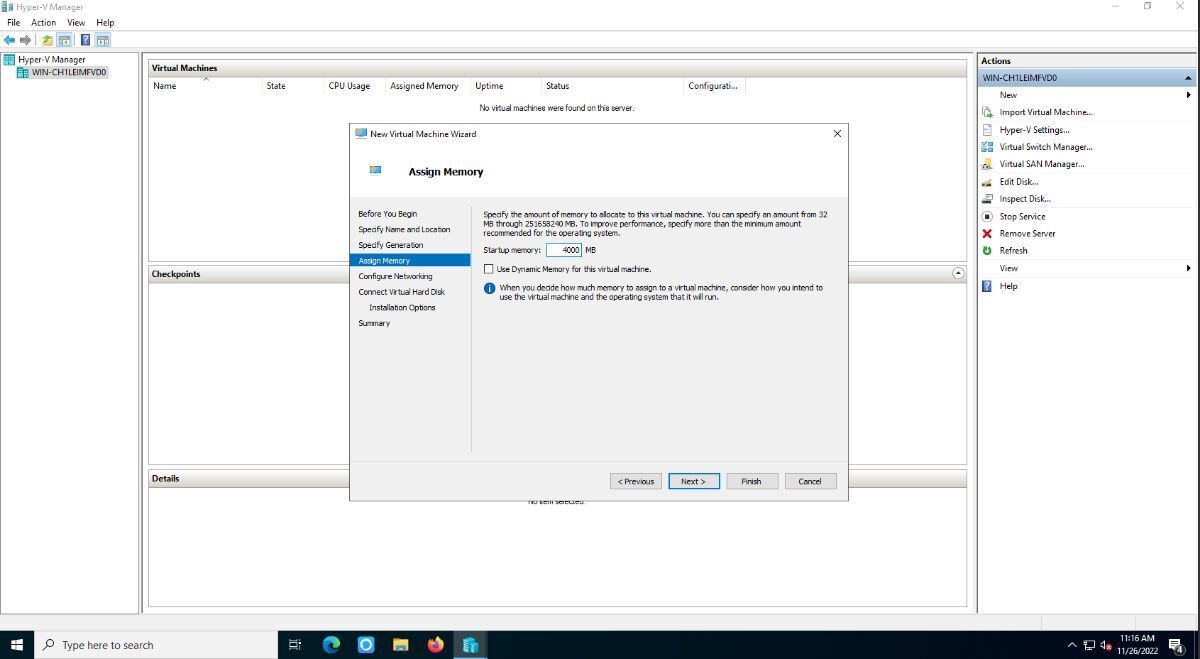
You’ll now need to specify how much RAM the VM should have. In the “Startup memory,” enter the amount of memory you require. When done, click on the “Finish” button.
On the next page, you will need to configure networking. Under the “Connection” menu, select your “Ubuntu” virtual switch created earlier. Or, select “NAT” if you so choose. When done, click the “Next” button.

You must create a new virtual disk. By default, Hyper-V will select an adequate hard drive. If you need to change the defaults, change the numbers in the “Size” area. Click “Next” when done.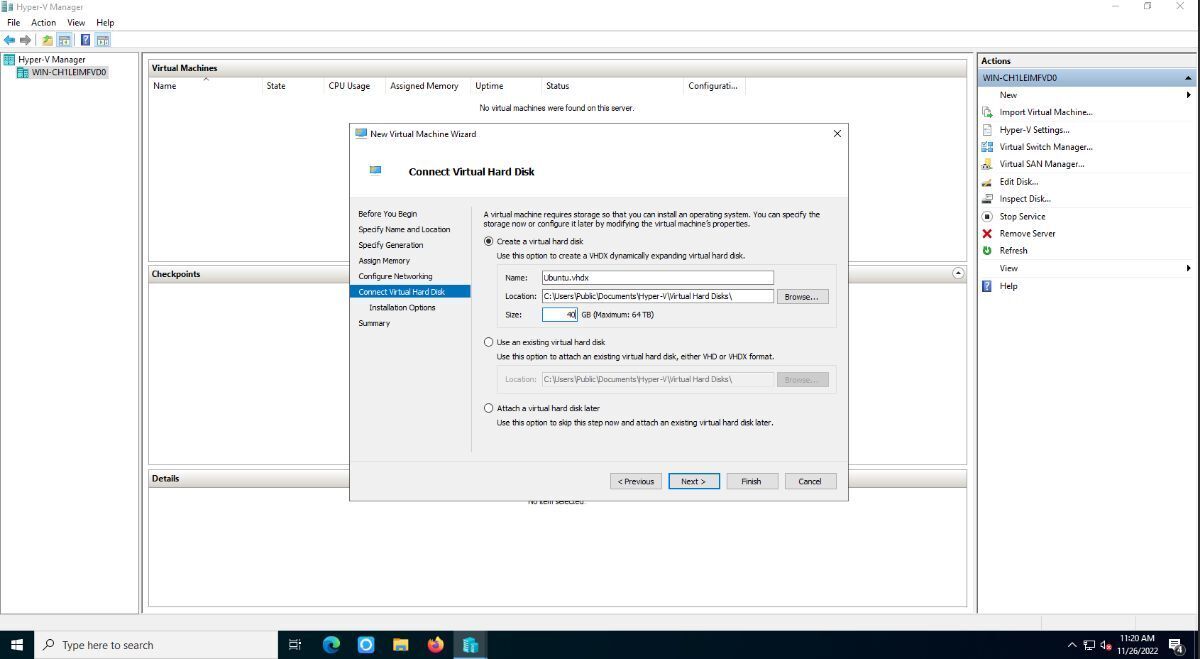
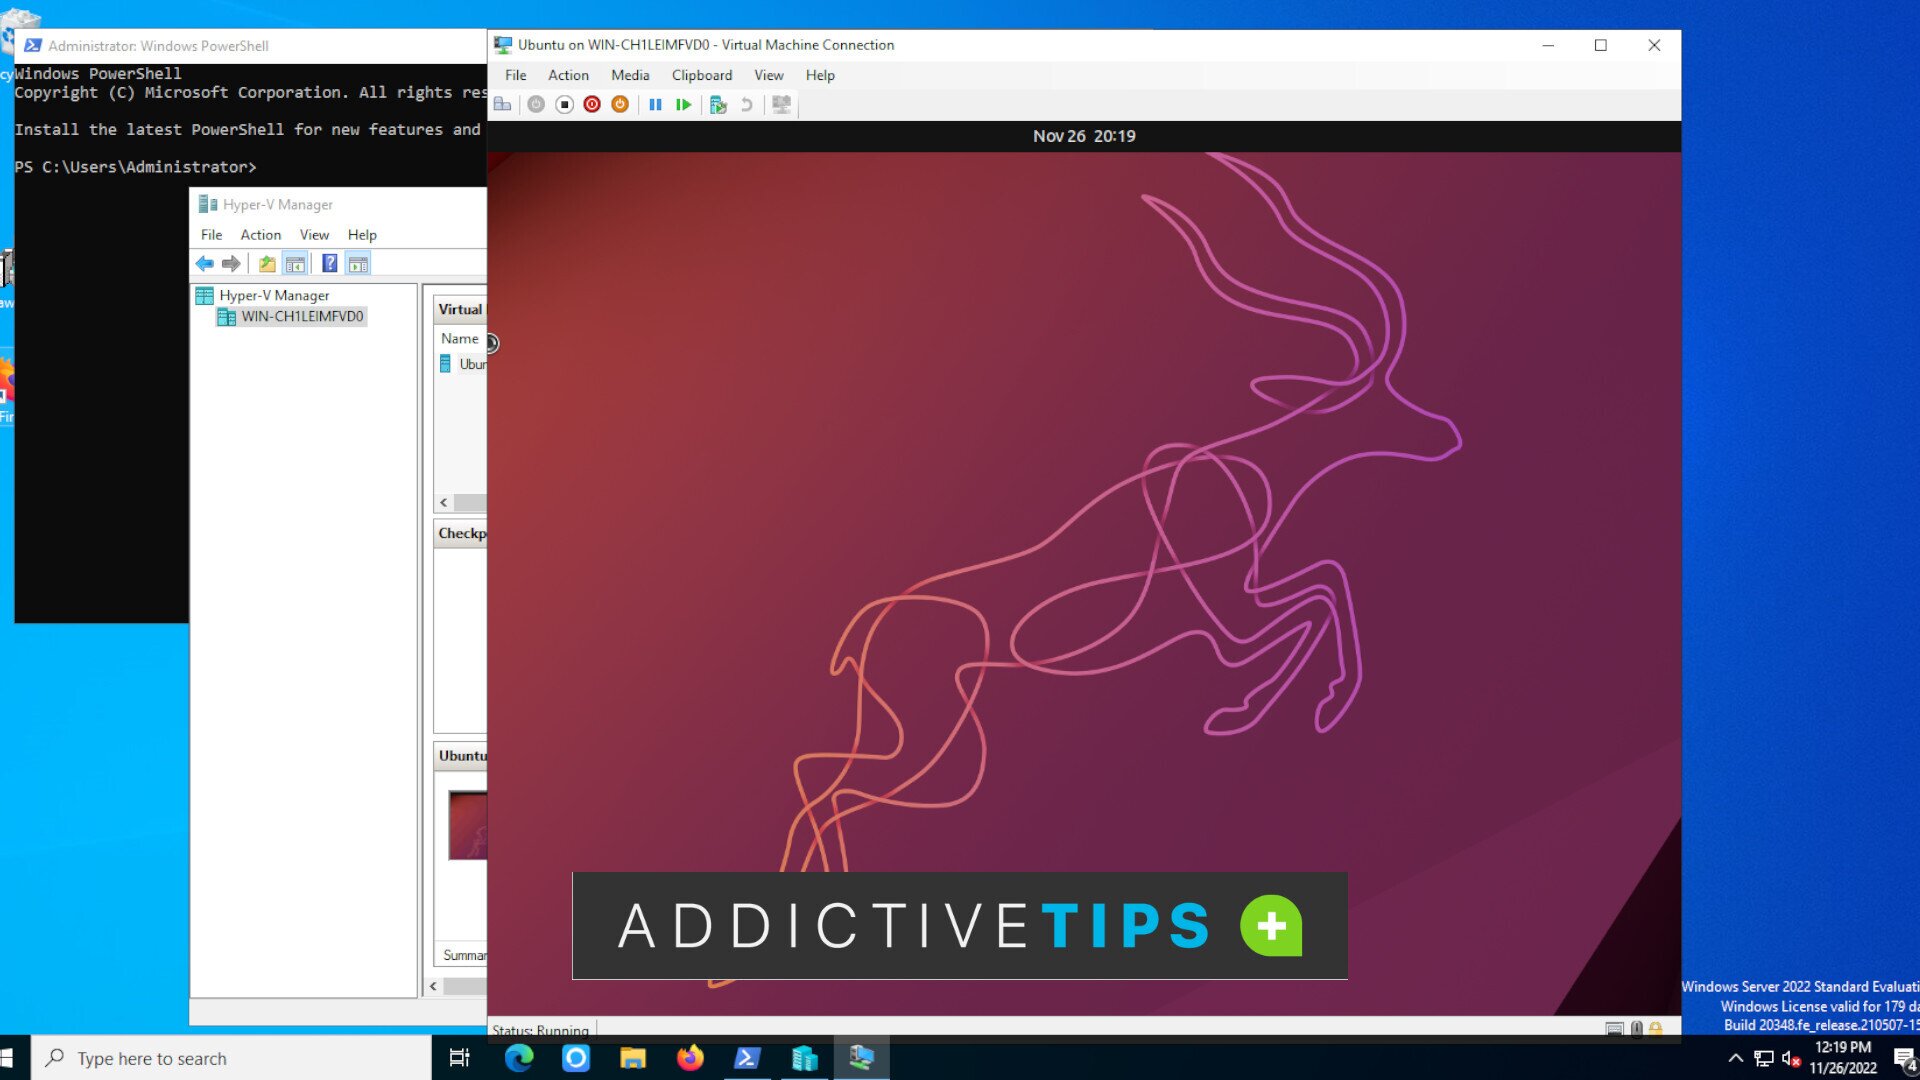
With the VM created, you must download the Ubuntu ISO to Windows Server to use it in Hyper-V. Head over to Ubuntu.com/desktop and download the version of Ubuntu you prefer. When the ISO is done downloading, right-click on “Ubuntu” in Hyper-V, and select “Connect.”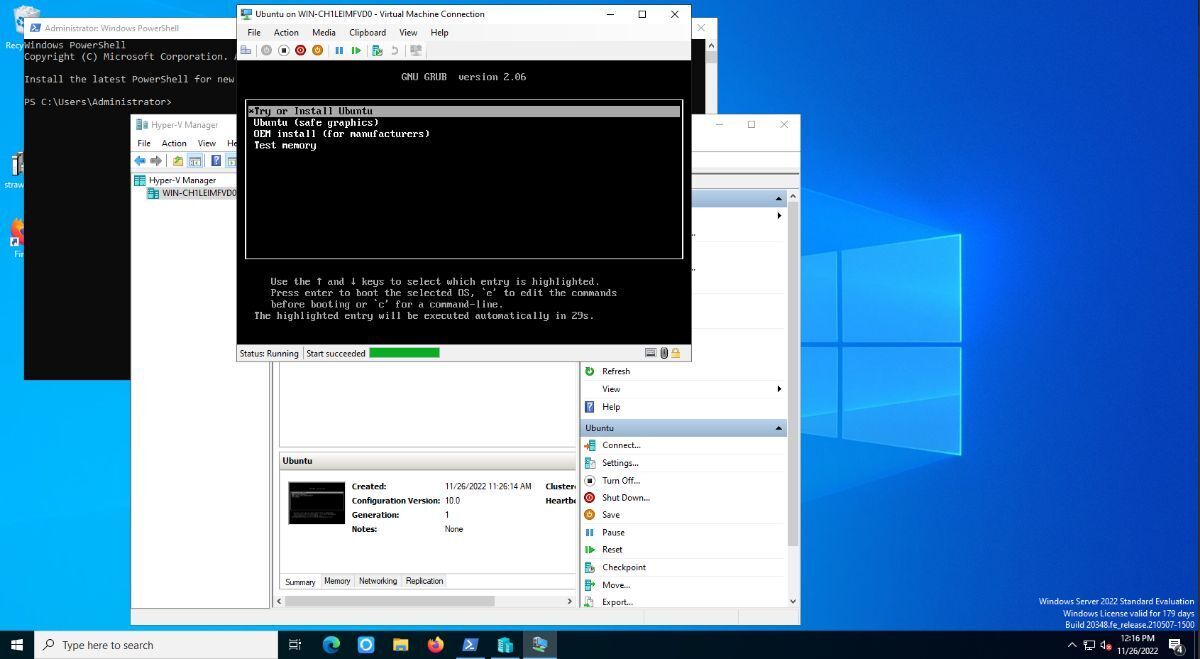
After selecting “Connect,” the Ubuntu VM window will pop up. Find the “Media” button. Then, click on “DVD Drive,” and select “Insert Disk.” From here, insert the Ubuntu ISO file downloaded previously.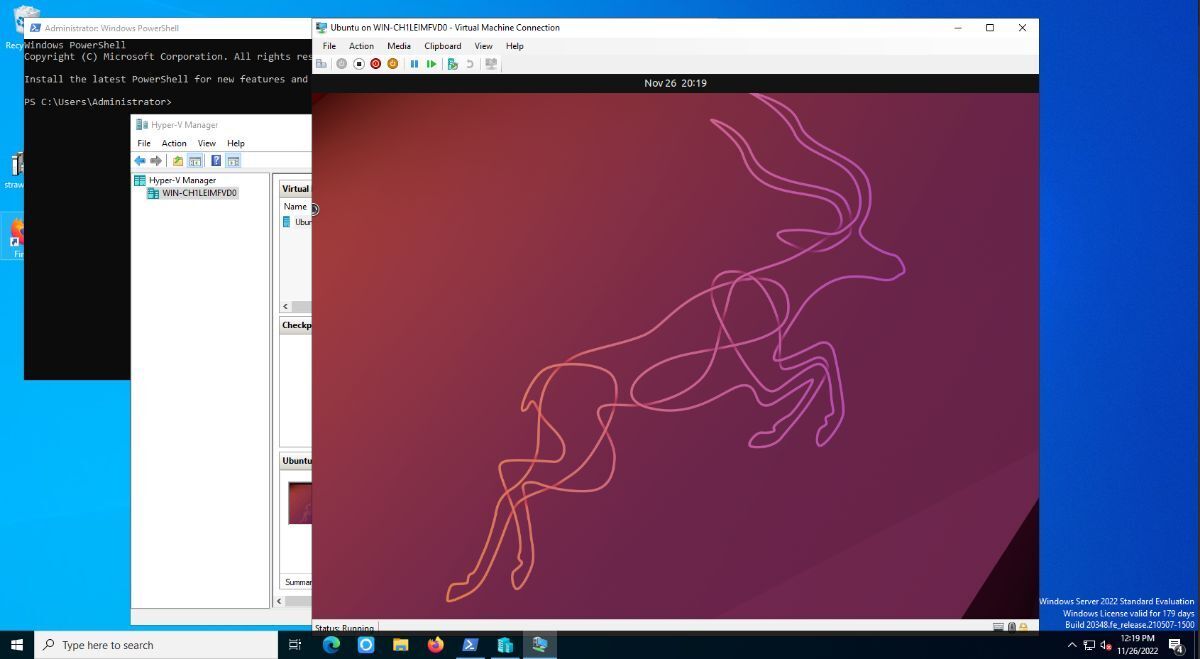
When you’ve inserted the ISO, find the “Start” button and select it to start up the Ubuntu VM ISO. From here, go through the Ubuntu installation to get your Ubuntu VM working in Windows Hyper-V.
