How to upgrade to OpenShot 2.5 on Linux
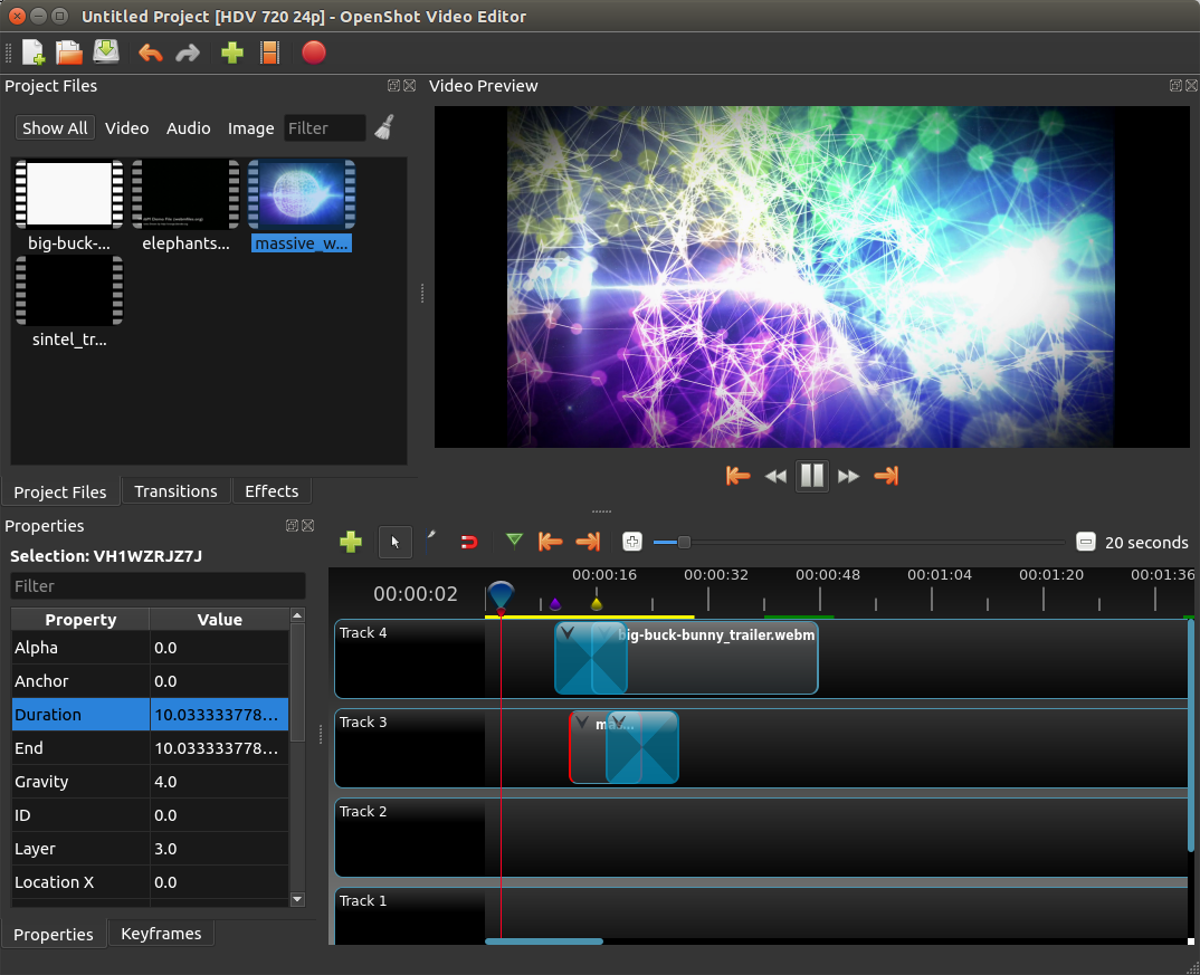
The OpenShot video editor is a favorite in the Linux community. Why? It’s got a refreshingly simple user-interface, it’s easy to use, has dozens of plugins, can export video files, and even makes use of Blender.
Recently, a new version of OpenShot (2.5) hit the internet. It’s got even more enhancements, improvements, and features Linux users are sure to love. Here’s how to upgrade to it!
Ubuntu installation instructions
Ubuntu Linux has version 2.4 of OpenShot in their “Universe” software repository, so, sadly, it is not easy to get the new release (2.5) in this way. Unfortunately, if you want to use the latest OpenShot on your Ubuntu PC, adding a third-party software repository is necessary.
Note: you must uninstall the “openshot” package from your Ubuntu Linux PC with sudo apt remove openshot before attempting to install version 2.5, as it uses a different package name.
Adding a third-party software repository (PPA) to Ubuntu is done in the terminal. So, press Ctrl + Alt + T or Ctrl + Shift + T on the keyboard. Then, use the add-apt-repository command below to add it to your system.
sudo add-apt-repository ppa:openshot.developers/ppa
After adding the PPA to your Ubuntu Linux system, you must run an update with the apt update command. This command will set up the PPA.
sudo apt update
Finally, after running the apt update command, use the apt install command to upgrade to version 2.5 of OpenShot.
sudo apt install openshot-qt
Debian installation instructions
Debian Linux has OpenShot 2.4 in their repositories and not the new 2.5 release. If you want to use the new 2.5 version, you will need to download the AppImage release of the program. Follow the AppImage section cover later in this guide to get the app working.
Note: you must uninstall the Debian 2.4 version of OpenShot before continuing, as the AppImage release may interfere with it. Use the sudo apt-get remove openshot in a terminal window.
Arch Linux installation instructions
Arch Linux usually gets the absolute latest programs right away. So, if you’re looking to upgrade to OpenShot 2.5 on Arch and are currently using an older version, open up a terminal window and use the command below to update.
sudo pacman -Syyu
Alternatively, if you don’t already have it set up, use the following installation command to get OpenShot 2.5 working.
sudo pacman -S openshot
Fedora installation instructions
Fedora Linux does not distribute OpenShot through their software repositories, even though it is open-source. Instead, users need to be using RPM Fusion Free to get the app.
Assuming you’ve already gotten OpenShot 2.4 set up via RPM Fusion, you’ll be happy to know that OpenShot 2.5 is in the RPM Fusion Free Updates software repository. You’ll be able to upgrade simply by running the dnf update command below.
sudo dnf update
Are you not seeing OpenShot 2.5 in the dnf update manager? Don’t already have it installed but want to get the latest OpenShot 2.5 working on your system? Enter the following commands below.
First, add RPM Fusion Free to your Fedora OS.
Note: replace X in the command below with the release of Fedora you currently use. As of writing this, the latest Fedora is 31.
sudo dnf install https://download1.rpmfusion.org/free/fedora/rpmfusion-free-release-X.noarch.rpm
Install version 2.5 of OpenShot with the dnf install command.
sudo dnf install https://download1.rpmfusion.org/free/fedora/updates/31/x86_64/o/openshot-2.5.0-1.fc31.noarch.rpm
OpenSUSE installation instructions
No release of OpenSUSE, even their bleeding-edge release Tumbleweed currently has a stable release of OpenShot 2.5 in their software repositories. As a result, if you’d like to upgrade to the new version, uninstall 2.4 with the following zypper command. Then, follow the AppImage instructions in this guide.
sudo zypper remove openshot
AppImage installation instructions.

To get started, open up a terminal window by pressing Ctrl + Alt + T or Ctrl + Shift + T on the keyboard. Then, use the wget download command to grab the latest 2.5 AppImage release of OpenShot.
Note: it is also possible to download the AppImage release of OpenShot from the official OpenShot website.
wget https://github.com/OpenShot/openshot-qt/releases/download/v2.5.0/OpenShot-v2.5.0-x86_64.AppImage -O ~/Downloads/OpenShot-v2.5.0-x86_64.AppImage
When the OpenShot AppImage file is done downloading, it’ll appear in the “Downloads” folder in the home directory (~) on your current user. Using the CD command, move the terminal session to this folder.
cd ~/Downloads
Once inside of the “Downloads” folder, it is time to update the file permissions. To update permissions of files, make use of the following chmod command.
sudo chmod +X OpenShot-v2.5.0-x86_64.AppImage
With the permissions of the OpenShot 2.5 AppImage file updated to “executable,” use the mkdir command to make a new folder in your home directory (~) with the label “AppImages.”
mkdir -p ~/AppImages
Move the OpenShot 2.5 AppImage file into the new folder with the mv command.
mv OpenShot-v2.5.0-x86_64.AppImage ~/AppImages
After moving the AppImage file into the AppImages” folder, close the terminal window and open up your Linux file manager. Click on the “AppImages” directory in your home folder (~).
Inside of the “AppImages folder, double-click on OpenShot-v2.5.0-x86_64.AppImage with the mouse to use the new OpenShot 2.5!
