How To Try Different Desktop Environments On Ubuntu
Ubuntu Linux has a unique desktop environment. It has a dock on the left side with shortcut icons in it, and a panel at the top of the screen where users can access things like WiFi, audio controls, etc. Overall, it’s a somewhat unique, user-friendly setup. The great Ubuntu desktop setup is handy, but it’s not for everyone. Thankfully, Ubuntu is Linux and has dozens of other desktop environments to use in its place. Here’s how to install and try out different desktop environments on Ubuntu.
KDE Plasma
KDE Plasma is the number one alternative to Ubuntu’s Gnome Shell desktop environment. It’s got some of the same amazing graphical effects, and options for users to take advantage of. However, unlike the Ubuntu Gnome Shell, it uses a more traditional Windows-like experience.
Thanks to how Ubuntu works, it’s easy to transform any traditional Ubuntu Gnome Shell desktop into a fully functional Kubuntu setup. To start the transformation, you’ll need to open up a terminal window and install the Kubuntu Desktop meta-package.
sudo apt install kubuntu-desktop -y
During the installation, Dpkg will detect that the Kubuntu meta-package is trying to set up the KDE desktop manager, rather than sticking with the one that is already set up. In the terminal, look out for a purple dialog box. This dialog box will ask you to choose between the KDE desktop manager or the Gnome one.
Using the arrow keys, highlight the “SDDM” option and press the enter key on your keyboard.
When the Kubuntu installation is complete, reboot your Ubuntu PC. When it starts back up, you’ll notice that the traditional Ubuntu loading screen is now a Kubuntu loading screen.
At the SDDM menu, Kubuntu should be the default. If it’s not, look for “session” and set it to Kbuntu. Then, enter your user details, and KDE Plasma is ready to use!
XFCE4

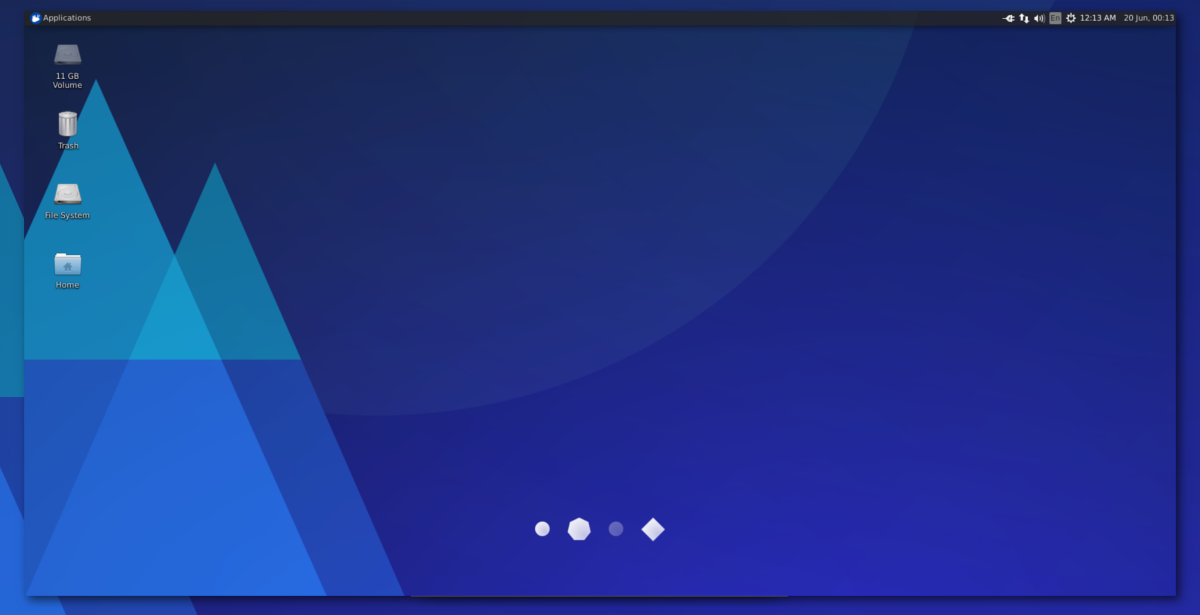
The Ubuntu Gnome setup is beautiful, but that beauty comes at the cost of user performance. If you’ve recently installed Ubuntu on your PC only to find out that the desktop isn’t responsive enough and using too much memory, don’t give up on it! Instead, it’s a good idea to switch to one of the lightweight alternative desktops that Ubuntu has to offer, like the Xubuntu XFCE4 desktop.
To be clear, XFCE4 isn’t the only lightweight desktop environment. However, it is one of the best options for those on old PC’s. To install it, you’ll need the Xubuntu desktop meta-package. This package will pull in XFCE4, along with all of the other essential programs and tools it uses.
sudo apt install xubuntu-desktop -y
Let the Xubuntu desktop install and when the installation process finishes, reboot your Ubuntu PC. As it starts up, you’ll notice that the traditional Ubuntu loading screen is now a Xubuntu one.
At the login screen, find “session.” In the session menu, select “Xubuntu” and log in to be greeted with Xubuntu.
LXQt
LXQt is an extremely lightweight desktop environment that is highly customizable and built with the latest Qt technologies. On Ubuntu, this experience is easily accessible by using Lubuntu.
The Lubuntu version of Ubuntu, aside from having LXQt, comes with slim alternatives to your favorite programs found in the traditional Ubuntu setup. If you’re interested in trying it out, grab the latest Lubuntu meta-package.
sudo apt install lubuntu-desktop -y
Installing the Lubuntu desktop meta-package will force you to choose between the default Gnome Display Manager (GDM), or the one commonly used with Lubuntu (SDDM).
In the terminal, select “sddm” to tell Ubuntu to use the Lubuntu desktop manager from now on. Once that’s setup, reboot your Linux PC. As it comes back on, find “session” in SDDM, select “Lubuntu,” or “LXQt.”
Upon login, you should see your new Lubuntu setup!
Budgie
The Budgie Desktop is synonymous with Solus, as it’s the Linux project that primarily works on it. With that said, there is an Ubuntu flavor that uses it as it’s primary desktop environment.
Budgie is born of Gnome Shell, so it performs similarly. As a result, users can enjoy a Gnome-like experience, while enjoying a more traditional, Windows-like layout.
If you’re itching to switch to the Budgie desktop environment on Ubuntu, you’ll need to install the Ubuntu Budgie meta-package.
sudo apt install ubuntu-budgie-desktop -y
Budgie works fine alongside Gnome, so it’s okay to stick with Ubuntu’s default of GDM. That said, the developers prefer to use it with LightDM.
To switch to LightDM, select the “lightdm” in the terminal prompt when it comes up.
After installing the Ubuntu Budgie meta-package, restart your PC. When it comes back from the restart, enter your user details and log in. Keep in mind that if you chose to use GDM, you’d need to click “session” then “Ubuntu Budgie” or “Budgie” before logging in.
Mate

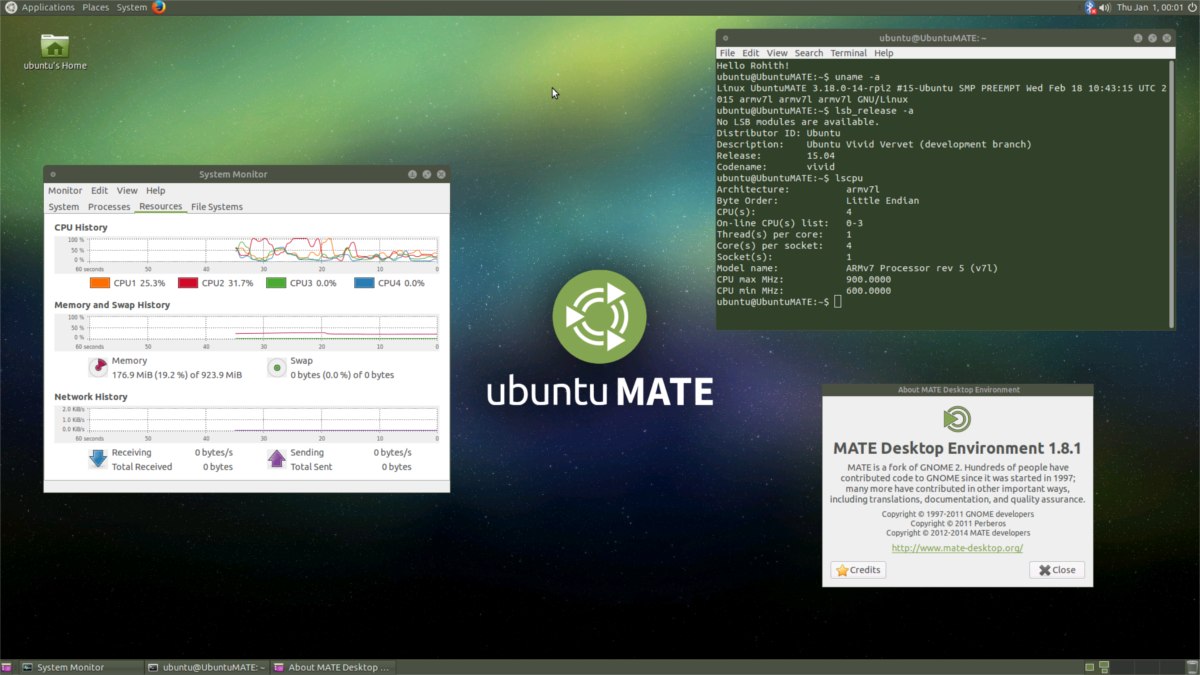
The Mate Desktop environment is an effort to preserve the old Gnome 2 desktop from years past. Despite this, it’s a very modern, efficient desktop environment and is perfect for users who don’t care about fancy effects and need to get work done.
Mate is everywhere on every mainstream Linux distribution. On Ubuntu, users can easily access it by installing the Ubuntu Mate meta-package.
Like all of the other desktop meta-packages, installing the Ubuntu Mate one will pull in everything from the Mate core components, to programs, and everything else.
Get Ubuntu Mate going by running the following command in a terminal window.
sudo apt install ubuntu-mate-desktop -y
Ubuntu Mate, like many others, uses LightDM, rather than what the default Ubuntu setup uses, so be sure to select “lightdm” during the installation process.
When the installer finishes, reboot your PC. When it comes back up, click the session icon, select Mate, and log in to enjoy your new Ubuntu Mate setup!

I used Ubuntu 18.04 without changes. How to roll back the installation of Budgie completely?