How To Set Up Your Own Cloud Storage On Linux With Next cloud
Cloud storage is pretty popular these days. Unfortunately, it can get pretty expensive. Services like Dropbox, Google Drive, Box, etc., have users spending money every month just to store files. A great alternative is to host your own cloud storage solution. This is where NextCloud comes in. It’s a self-hosted service that lets you set up your own cloud storage on Linux and run what is essentially your own Dropbox!
In this tutorial, we’ll go over how to set up an Ubuntu server and host the latest version of NextCloud.
Installing Ubuntu Server
A NextCloud installation runs on pretty much any Linux desktop or server operating system. Still, for best results, choose the latest version of Ubuntu server. This is because NextCloud is a demanding application, and runs best when it has it’s own machine.
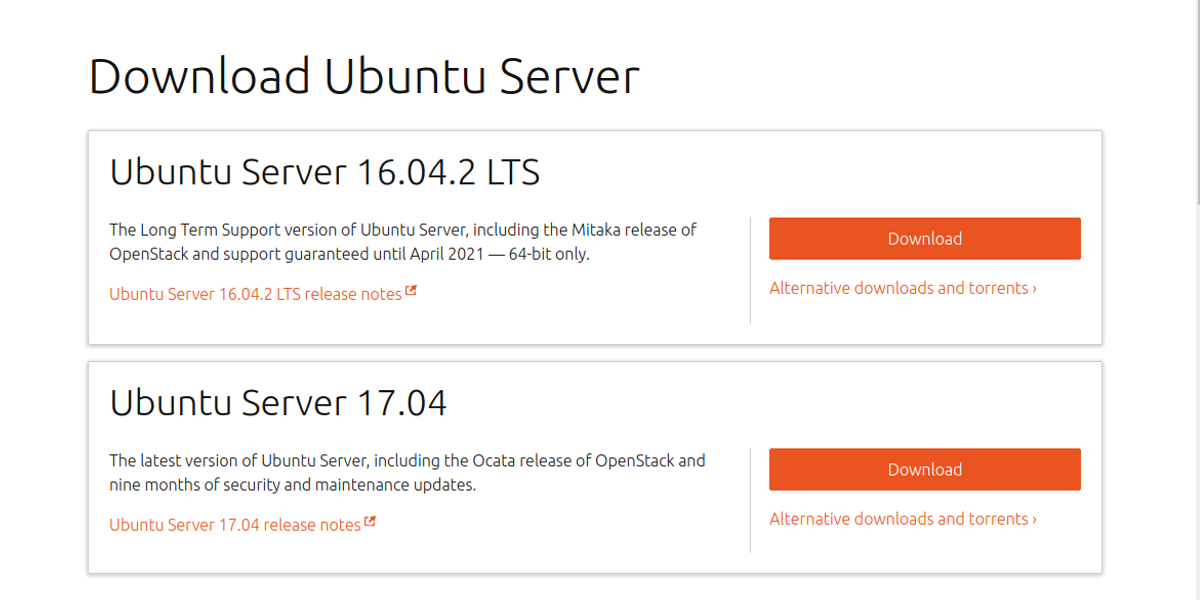
The first step in installing Ubuntu server requires making an installation disk. This is an easy process. Get a USB that is 2 GB in size, and download the latest version of the operating system. To make the USB live disk installer, download Etcher.
Follow the instructions on the Etcher download page to make the live disk. Alternatively, burn the disk image to a CD or DVD.
With the live disk created, Ubuntu server is ready to be installed. Configure your server’s BIOS to load from USB (or CD/DVD). After that, use the menu at startup to select your native language, and select the “install Ubuntu server” option to start the process.
Inside the installer, follow the process for installing Ubuntu server. This involves setting up a username, hostname and password. This is very easy, as the installer walks you through it.
Note: During installation, be sure to select “Guided – use entire disk”.
Near the end of the server install process, certain packages are needed. Specifically: LAMP Server, and OpenSSH Server. Select these packages by using arrow up/down to navigate, and spacebar to check the box. After selecting these packages, Ubuntu server is installed.
Installing Next Cloud
One of the best reasons to use Ubuntu server to host a NextCloud instance is this: snap packages. Snaps make it really easy to deploy server tools. If it weren’t for this, configuring a new install of Next Cloud could take a very long time.
Getting Next Cloud working is a command away. Install it with:
sudo snap install nextcloud
Configuring NextCloud
Configuring your Next Cloud installation starts out by logging into the web interface. To get to this interface, use the ifconfig command on the command line of the server to find the IPv4 address and load the web UI.
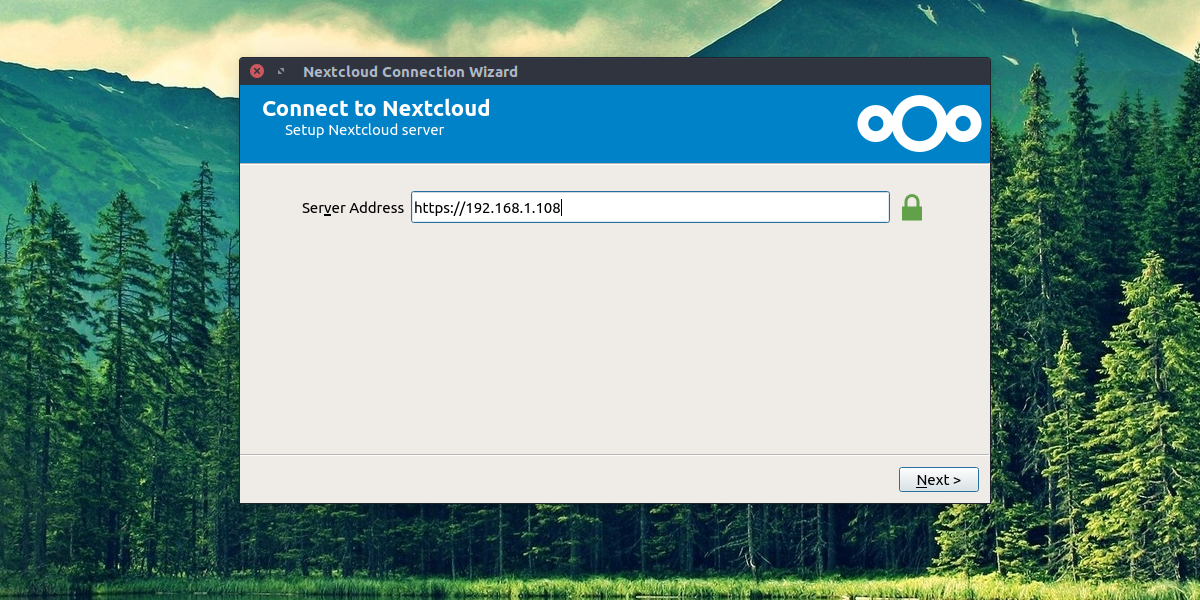
Take the IP address and enter it in a web browser. For example: https://192.168.1.108. It will load the Next Cloud web UI.
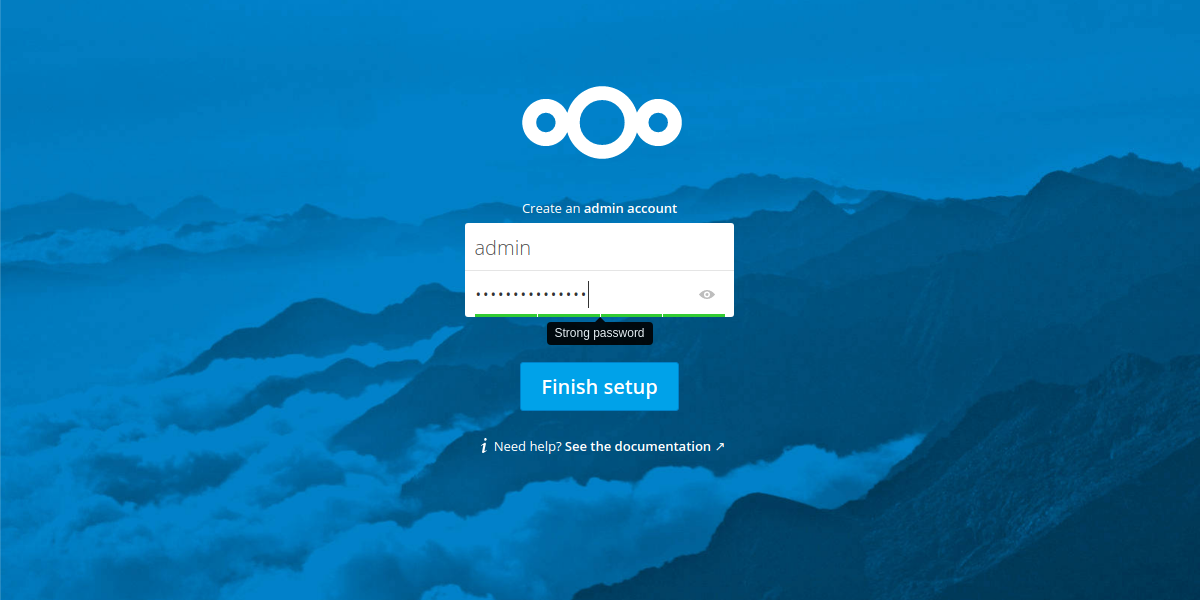
To log into the UI, the server first requires that the user set up an administration account to access the server. To create an Admin account. Be sure to generate a secure password!
For the most part, everything is set, and ready to use. Next Cloud does a very good job of giving users the right settings out of the box. Only mess with the settings if you know what you’re doing. To access all server settings, click the “admin” in the top-right hand of the screen, and select “Admin”. This will reveal all server related options and settings.
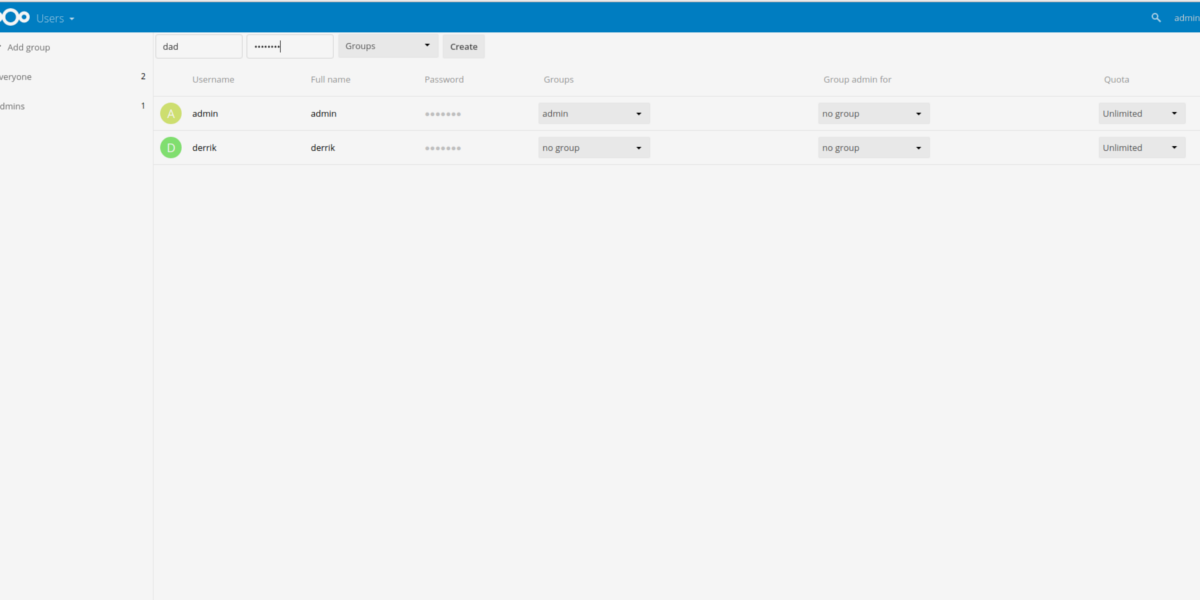
The only real thing that needs to be configured with Next Cloud are users. This is because it isn’t a good idea to use the Admin account for anything other than administration. Create a new user by clicking the “admin” in the top right-hand corner, then select “Users” in the submenu.
On the user page, there is are “username” and “password” fields. Fill both of these out to create the new user.
Syncing With NextCloud
Next Cloud, like all other cloud storage services requires a desktop syncing client to work. To sync, download the program and install it to your computer. The sync client is available for Windows, Mac and Linux.
Once installed, start the syncing process by entering the same address used to access the Next Cloud Web UI in the browser. Then, enter your username and password.
A warning that Next Cloud is running on HTTP will appear. Click the option to allow syncing over HTTP when it appears.
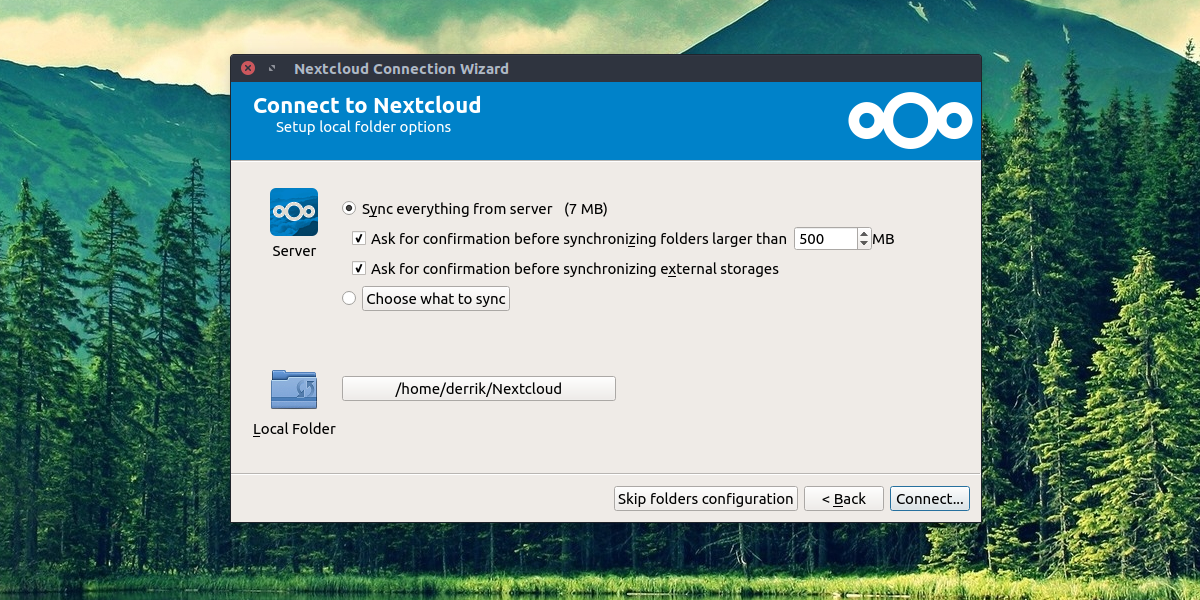
With all the information added, file syncing can begin by adding items to the Next Cloud folder. Do this by right-clicking on the sync icon, and selecting “Open folder Next Cloud”.
Mobile
Along with a desktop syncing client, you can access your Next Cloud files on the go. The app is officially supported and available for Android, iOS and Windows Phone.
Conclusion
Next Cloud allows users to have the same benefits as those who use Dropbox, Google Drive and Microsoft OneDrive without the need to fork out large amounts of cash. If you love the concept of cloud storage, but would rather own your own data, Next Cloud is the ideal solution.

Nice information thank
I intend on trying this soon. I believe using a free dynamic dns service like the one from no-ip will work for making this available anywhere on the internet. I used a similar service in the past with a windows file server that allowed me to access my files anywhere. Back when SD cards were smaller i had access to several gigs of music, video and photos that I could not have carried with me. I WILL NOT use Ubuntu for this. I intend to use an older spare PC as a home file and print server and will also install nextcloud on it. Haven’t decided on distro yet. I use Manjaro as my daily driver. I want something leaner for the server.
As a followup
As a home user it would be great to know how to get this accessible from the web. Maybe using one of the free name servers that dont suck.
I think everyone deserveswhat this has to offer, so far no sites offer an explanation that works for average people, thats why i post here Derriks are to me the best!
I’ve tried several times and no luck.
I will look into it for a followup!
Thanks