How To Set Up VNC Desktop Sharing On Linux With TigerVNC
If you’re looking to share your desktop over LAN or the Internet on Linux, one of the best ways is to host a VNC server. There are many different VNC solutions for desktop sharing on Linux. In this article, we’ll be going over TigerVNC. It offers up a reliable VNC server solution, is easy to install, and supported on multiple versions of Linux.
SPOILER ALERT: Scroll down and watch the video tutorial at the end of this article.
Ubuntu
sudo apt install tigervnc-standalone-server tigervnc-viewer
Debian
sudo apt-get install tigervnc-standalone-server tigervnc-viewer
Arch Linux
sudo pacman -S tigervnc
Fedora
sudo dnf install tigervnc-server
OpenSUSE
Grab the TigerVNC package from the OpenSUSE build service page. All modern versions of SUSE are supported. To install, click the 1-click install button.
Other Linuxes
TigerVNC is one of the most used VNC platforms out there on Linux. This means that there is a good chance your distribution is supported, and that there is an installable package available. Search your Linux distribution’s package manager for “tiger vnc”, and “tiger vnc server”. Install them, and continue with this guide.
Can’t find a package? Head over to the official website to learn how to get a binary, or the source code instead.
Setup
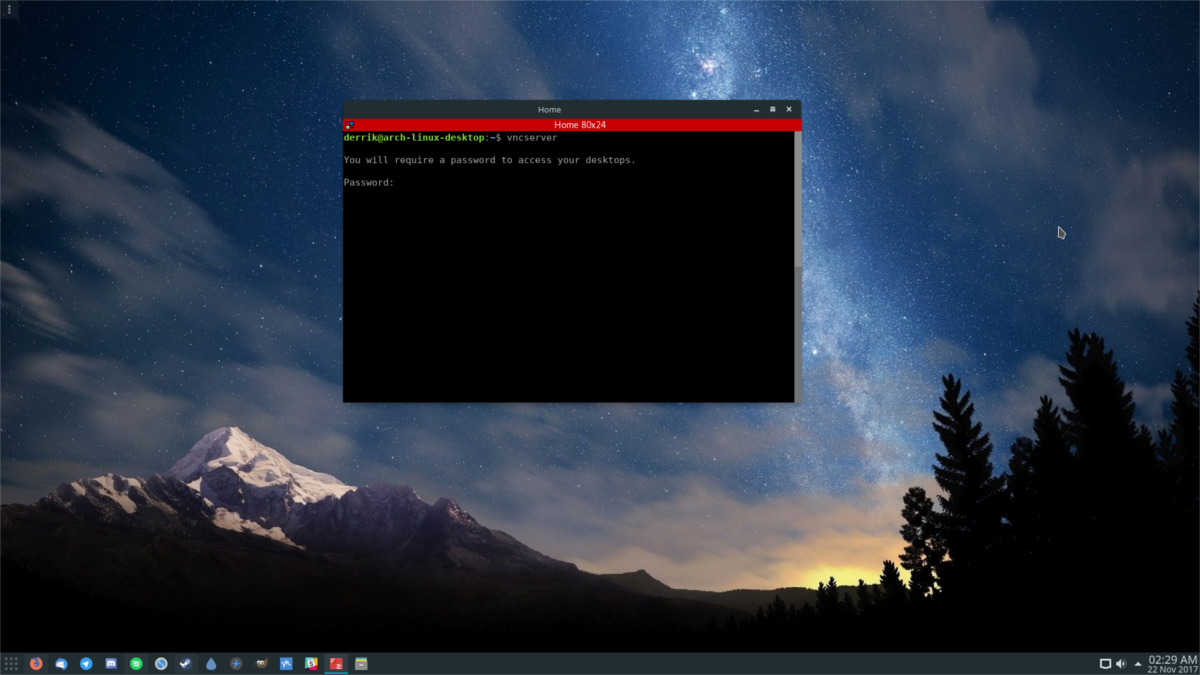
TigerVNC will automatically configure things and get them ready to use. To start the server configuration process, open up a terminal window. Inside the terminal window, use the following command:
vncserver
As this command runs inside of the terminal, the prompt will ask for a password to access your desktops over VNC. In a web browser, go to strongpasswordgenerator, and generate a secure password. This is critical, especially if you plan to pipe your VNC connections out to the internet.

Enter the password into the prompt, and the configuration file will generate itself, and save to ~/.vnc.
Running The Server
By default, the VNC server you’ve just set up will only run when you open a terminal and run the vncserver command. Since things are configured already, the tool will start everything up, and print out the address to connect to over the LAN.
vncserver
Note: to run VNC over the internet, refer to your router’s manual and port-forward port 111.
Autorun With Systemd
Running the server with a command is nice if all you need is quick access here and there. However, if you’re in need of a constant connection, the best way to go is to enable VNC to constantly run via your init system. As most modern Linux operating systems use systemd, that’s what the example will cover.
If your Linux operating system doesn’t use the systemd init system, you’ll need to add the “vncserver” command to startup via xinitrc, or something similar.
Enable the server to run at startup with the following systemd command.
systemctl --user enable vncserver@:1
Do not run this command outside of user mode, as it could be a security issue. Additionally, do not enable the VNC server to constantly run if you do not trust others on your network.
Killing The VNC Server
Sometimes TigerVNC may glitch and mess up. If at any time you need to kill the server at any time, use this command.
vncserver -kill :1
Keep in mind, this command will only kill one running instance at a time. If you’re running multiple versions of the server at once, you’ll need to specify it in the command. To do this, replace the :1 with the number the server gave you when you started it with the command.
Starting Your Desktop Environment
Just because you can connect to your VNC server, doesn’t mean anything will happen. For something to happen when you log in, you’ll need to specify it inside of an autostart file. Make one by going to a terminal, and entering:
echo '#!/bin/sh' > ~/.vnc/xstartup

chmod u+x ~/.vncxstartup
Next, find the code to start the desktop environment. To find this code, open another terminal tab, and use the cd command to go to the xsessions directory.
cd /usr/share/xsessions/
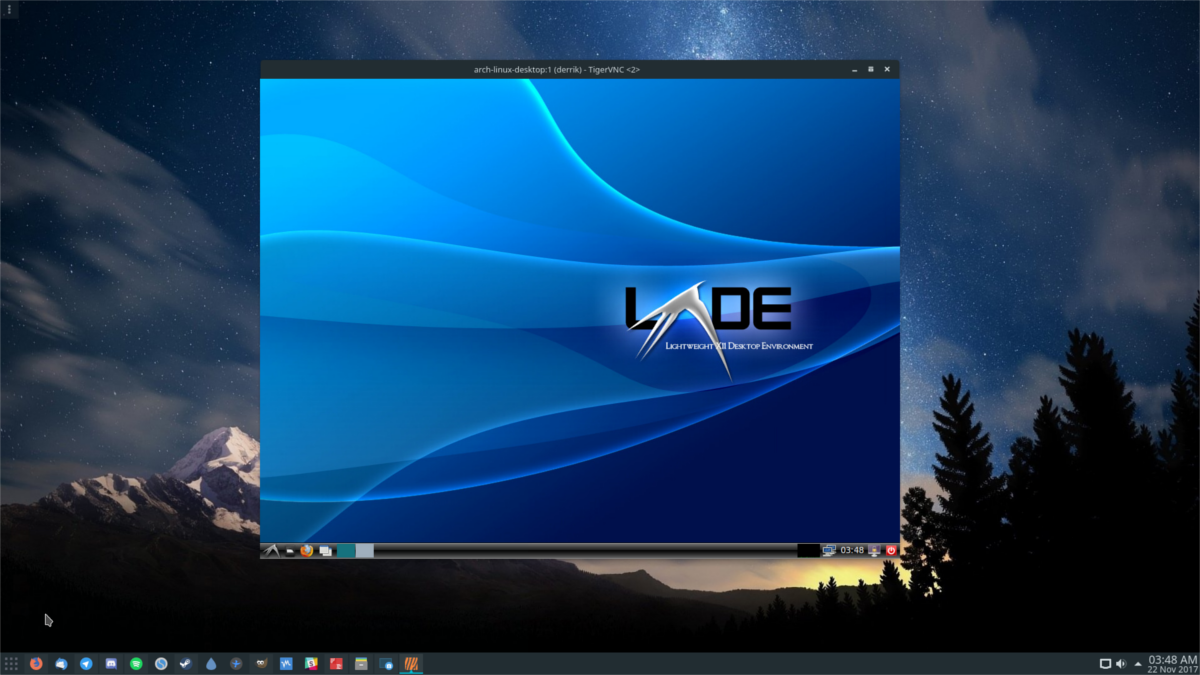
Inside this folder, use LS to reveal everything in there. This is where all the session files for desktop environments live. In this example, we’ll use the LXDE Desktop, but the concept is the same for every desktop environment.

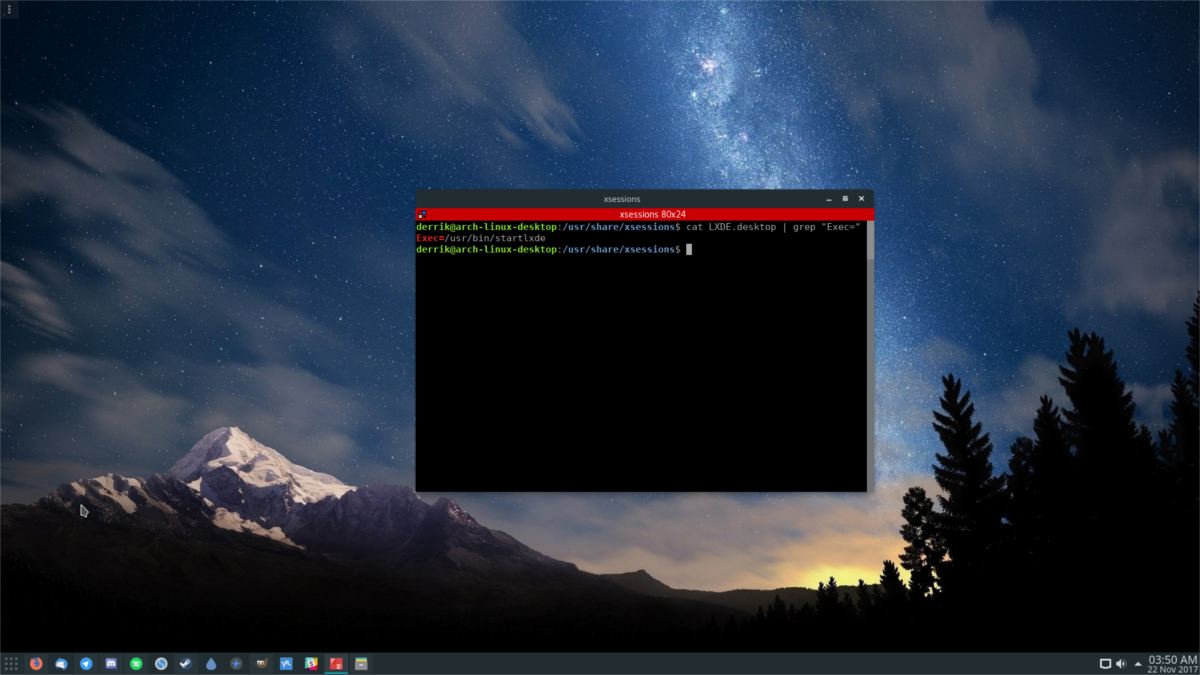
Using cat and grep, reveal the command inside of the xsession Desktop file.
cat LXDE.desktop | grep "Exec="
Running the cat command on this session file reveals the start command for LXDE:
Exec=/usr/bin/startlxde
Forget about “Exec=”, and just focus on “/usr/bin/lxde“. Using the Nano text editor, paste this newly discovered code into the startup file, and press Ctrl + O to save it.
nano ~/.vnc/xstartup

exec /usr/bin/startlxde &
This process will work with any desktop environment session inside of /usr/share/xsessions/.
Connecting To A Running Server
Connecting to a running VNC server on the network is very easy. To start off, keep in mind that each time you run an instance of the VNC server, it creates a 1. The first instance of the server (aka only running the command one time) will create:
example-linux-pc:1
Running it 4 times, in 4 separate terminals will create:
example-linux-pc:1

example-linux-pc:2

example-linux-pc:3

example-linux-pc:4

As long as the computer looking to connect to the session, as well as the computer hosting the session are on the same network, a connection can be made with just the hostname. To connect, open a terminal and enter the following command.
vncviewer example-linux-pc:1
After entering the command into the prompt, the TigerVNC GUI tool will open, and ask for a password. Enter the password you wrote in during the setup process to get connected.
Connect With GUI Instead
Don’t want to connect over the command line? If so, open up the Tiger VNC viewer, and fill out the server address inside the prompt. Enter the password you were asked to fill out when it started.

hello there
thx for sharing.. but.. i need some difficult
have 65k port on OS. and i wanna change vnc port number at timely… mean.. today i will use 4082 port number.. tomorrow i wanna use 61250 port number…
i can do with realvnc on windows…. sooo… i need smilar
could be ?