How To Set Up A Resilio Sync Server On Linux
Want an easy, hassle-free way to sync between Mac, Windows, Linux, Android and other platforms? Check out Resilio Sync! It’s a syncing tool made by some of the people behind bittorrent. It uses the bittorrent protocol to transfer files over the network, and the the internet at large. Here’s how to set up a Resilio Sync server on Linux.
Add Software Repo
Before installing the software on the system, Resilio Sync has a software repository that needs to be added. This is because it’s third party software, and Linux distributions don’t carry it possibly because Resilio Sync is closed-source, and Linux distributions don’t have the license to distribute the software.
In any case, follow these instructions to add the third party software repository to your system.
Debian/Ubuntu based
Even though the software repository looks heavily Debian, it will work on all Linux distributions based on Debian and Ubuntu. As it stands, there isn’t a reliable (and official) PPA for Ubuntu users. As a result, this will have to do. Open a terminal window, and paste this long line inside. DO NOT ADD ANY SPACES. If this line is shortened, or spaced out in any way, the edit will not work correctly.
This line of commands will automatically edit the core sources software file. No need to edit anything with a text editor.
echo "deb https://linux-packages.resilio.com/resilio-sync/deb resilio-sync non-free" | sudo tee /etc/apt/sources.list.d/resilio-sync.list
After the software source is on the system, you’ll need to grab the signed GPG key. This is important as the package manager WILL NOT install unsigned software:
wget -qO - https://linux-packages.resilio.com/resilio-sync/key.asc | sudo apt-key add -
Lastly, run an update to reflect the changes.
Ubuntu based:sudo apt update
Debian based:sudo apt-get update
Redhat Based
Redhat based Linux distributions, like Debian based ones do not ship the Resilio sync software by default, and thus users must add a third party software server to their system before getting the software.
Here’s how to do it for Redhat based Linuxes. First, open a terminal window and gain root access:
sudo -s
With root access, create a new repo configuration file.
sudo nano /etc/yum.repos.d/resilio-sync.repo
Then, paste the following inside the file:
[resilio-sync]
name=Resilio Sync
baseurl=https://linux-packages.resilio.com/resilio-sync/rpm/$basearch
enabled=1
gpgcheck=1
After making the new repo file, add the publicly signed GPG key. Redhat based systems often refuse to install software without this step, as it is a security issue.
rpm --import https://linux-packages.resilio.com/resilio-sync/key.asc
Installation

The software repositories are added to the system. Now all that’s left is to install the software. If you do not use Arch Linux, a Debian/Ubuntu or Redhat based Linux distribution, instead of following the instructions below,
(https://download-cdn.resilio.com/stable/linux-x64/resilio-sync_x64.tar.gz) you’ll need to download the generic binary package for the Resilio Syncing tool.
Note: if you are following this article and using the generic binary, the instructions are most likely the same.
Ubuntu Based (Mint/Elementary and other derivatives)
sudo apt install resilio-sync
Debian Based (Bunsen Labs, and other Debian based Linuxes)
sudo apt-get install resilio-sync
Redhat Based (Fedora/CentOS/Rhel etc)
sudo dnf install resilio-sync
or
sudo yum install resilio-sync
Arch Linux
Arch Linux users have it easy. Like most software, the Resilio Syncing software is readily available on the the Arch Linux User repository. Not sure how to install AUR packages? Head over to our tutorial and learn all about it!
To get the Resilio Sync package, download the snapshot or directly point your favorite AUR helper to this package here.
Configuration
The software is installed. Now it is time to configure it.
Systemd
Most modern Linux distributions use systemd (minus older versions of Debian). It is because of this init system, enabling and starting the sync service is two commands away. First, to enable the syncing system, run this command:
systemctl --user enableresilio-sync
Systemctl enable will allow the sync tool to automatically start at boot, provided you reboot. However, if you’re not interested in rebooting the system, it’s time to run the start command. This command will directly start up the sync tool right away for use.
systemctl --user start resilio-syncOlder Debian versions:
sudo service resilio-sync start
Syncing
The syncing tool is not a GTK program. Instead, the tool is web based. To configure your sync setup, open a web browser and go to this website: https://localhost:8888/gui/
On the website, Resilio Sync prompts the user to create a new username and password. Do so, and use a secure password.

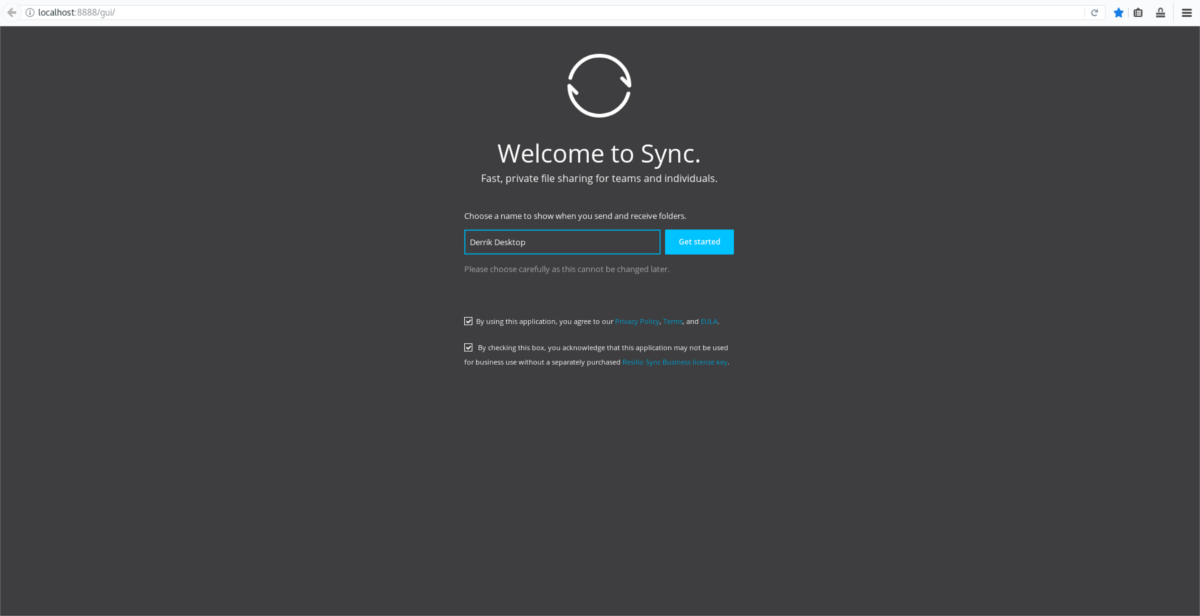
The next page requires the user to give a name for the sync device. This is what other users on the network will see when you use it. Enter the name of your PC. For example: ubuntu-PC, or something similar.

After this info is filled out, you’ll be taken to the sync UI.
To start a sync, press the + sign in the UI and click “standard folder”.
Use the file browser to navigate to the folder where the sync should use.
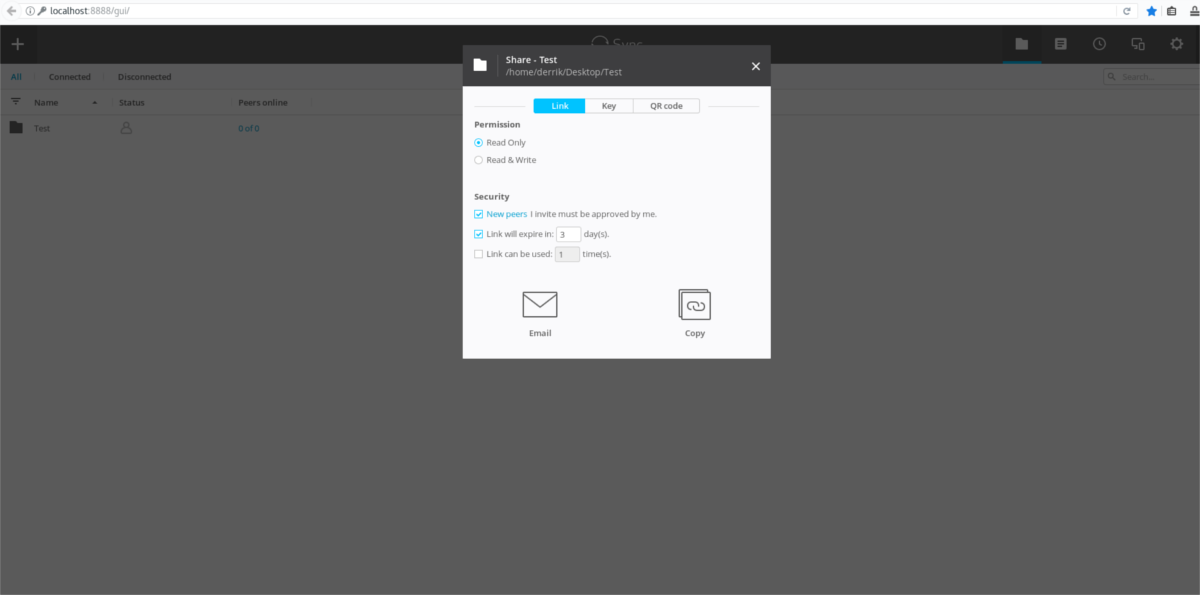
Configure the sync options, such as “read only”, or “read and write”.

With the permission set up, click on “key”. Copy this key and send it to other users to add to your sync. Alternatively, scan the QR code on mobile.

Note: To add a sync via a key, click + and then select “enter a link or key”.
Resilio has support for Windows, Mac, Android.
