Set up Pi-hole on Ubuntu Server with Docker
Pi-hole is a network-wide ad-blocking and DNS filtering tool. Normally, this software is installed on a Raspberry Pi, but it’s also feasible to run a Pi-hole within a Docker container on an Ubuntu server. In this guide, we will demonstrate how to set up a Pi-hole on your system.
How to install Docker on Ubuntu Server
Pi-hole is a network-wide ad-blocking and DNS filtering tool. Typically, this software is installed on a Raspberry Pi, but it’s also possible to run Pi-hole within a Docker container on an Ubuntu server. In this guide, we will demonstrate how to set up a Pi-hole on your system.
sudo apt update

sudo apt upgrade
Once you’ve installed all of your updates, utilize the apt install command to install the necessary packages for setting up Docker.
sudo apt install apt-transport-https ca-certificates curl software-properties-common
With all the required packages installed, use the curl command to download and install the Docker GPG key. You need to have this GPG key installed to interact with the Docker repository on Ubuntu.
curl -fsSL https://download.docker.com/linux/ubuntu/gpg | sudo gpg --dearmor -o /usr/share/keyrings/docker-archive-keyring.gpg
How to create a Pi-hole Docker compose file
Setting up Pi-hole on Docker in Ubuntu Server is best achieved using a Docker Compose file. This is because there are several configurations to handle, and using a Docker Compose file allows you to do this ahead of time.
Here’s the standard Docker Compose file for the Pi-hole. If you save it as docker-compose.yml, it will work. However, there’s one important change to make: replace PASSWORD next to WEBPASSWORD with a strong and easy-to-remember password.
version: "3"

# More info at https://github.com/pi-hole/docker-pi-hole/ and https://docs.pi-hole.net/
services:
  pihole:
    container_name: pihole
    image: pihole/pihole:latest
    # For DHCP it is recommended to remove these ports and instead add: network_mode: "host"
    ports:
      - "53:53/tcp"
      - "53:53/udp"
      - "67:67/udp" # Only required if you are using Pi-hole as your DHCP server
      - "80:80/tcp"
    environment:
      TZ: 'America/Chicago'
      WEBPASSWORD: 'PASSWORD'
    # Volumes store your data between container upgrades
    volumes:
      - './etc-pihole:/etc/pihole'
      - './etc-dnsmasq.d:/etc/dnsmasq.d'
    #   https://github.com/pi-hole/docker-pi-hole#note-on-capabilities
    cap_add:
      - NET_ADMIN # Required if you are using Pi-hole as your DHCP server, else not needed
    restart: unless-stopped
To implement these changes, log in to your Ubuntu server via SSH and create the docker-compose.yml file using the touch command.
touch docker-compose.yml
After creating your Compose file, open it using the Nano text editor with the following command. Then, paste the Docker Compose code into it as mentioned earlier. Remember to replace “PASSWORD” with a secure and memorable password.
Note: You can paste text in Nano using Ctrl + Shift + V on the keyboard.
nano -w docker-compose.yml
Once you’ve made your modifications, save the edits by pressing Ctrl + O on the keyboard. After saving, you can exit the Nano text editor by pressing Ctrl + X on the keyboard.
How to deploy Pi-hole on Ubuntu Server with Docker
Deploying the Pi-hole container on the Ubuntu Server is straightforward, as all the necessary setup is defined in the compose file. To deploy, simply execute the command docker-compose up -d
sudo docker compose up -d
Keep an eye on the prompt for any errors. If everything proceeds without issues, the Pi-hole container should be up and operational on your Ubuntu Server system. You can access Pi-hole in any web browser using the following URL.
http://IP-ADDRESS-OF-UBUNTU/admin/
How to configure Pi-hole
Now that you’ve logged into Pi-hole on your Ubuntu Server, let’s proceed with its configuration. Follow the steps below to configure Pi-hole for your usage.
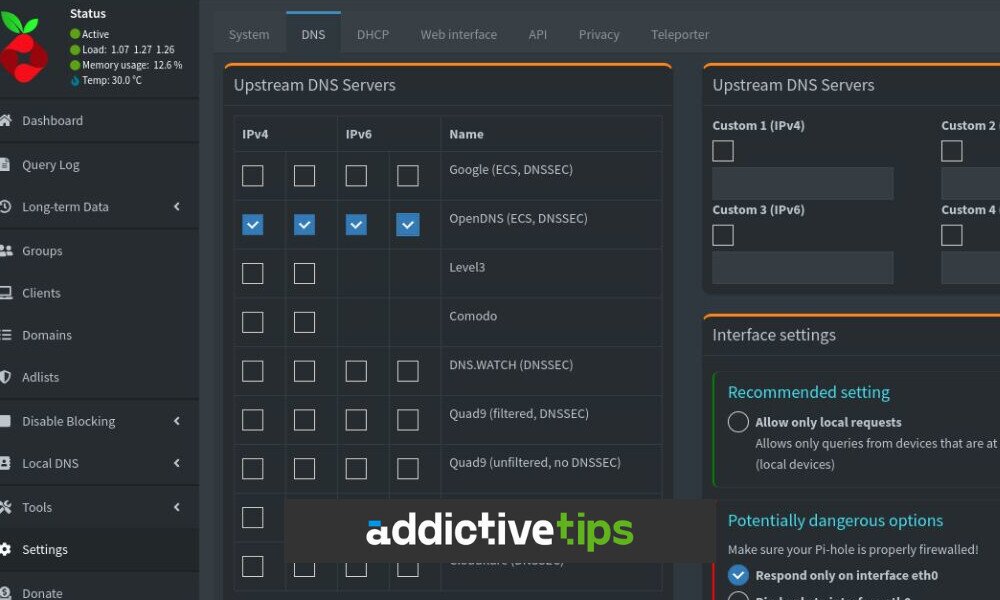
Upstream DNS
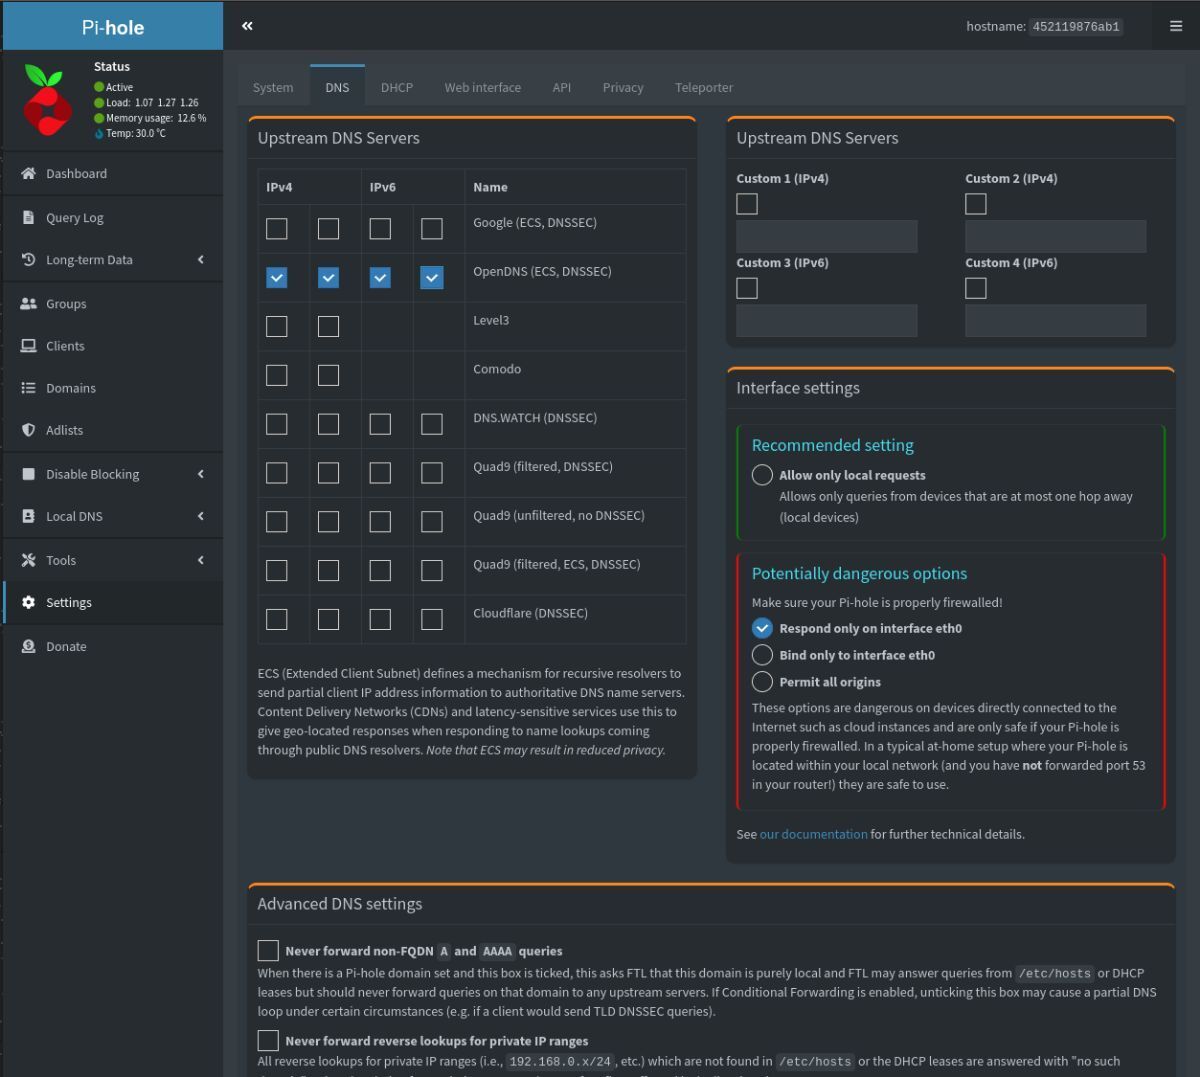
Within the “Settings” tab, go to “DNS.” In this section, you’ll need to configure your upstream DNS servers. By default, the servers are set to Google. If you prefer not to use Google, here are some alternative options:
Once you’ve finished editing your upstream DNS server settings, it’s time to save your changes. Simply click the “Save” button to save the settings.
Adlists
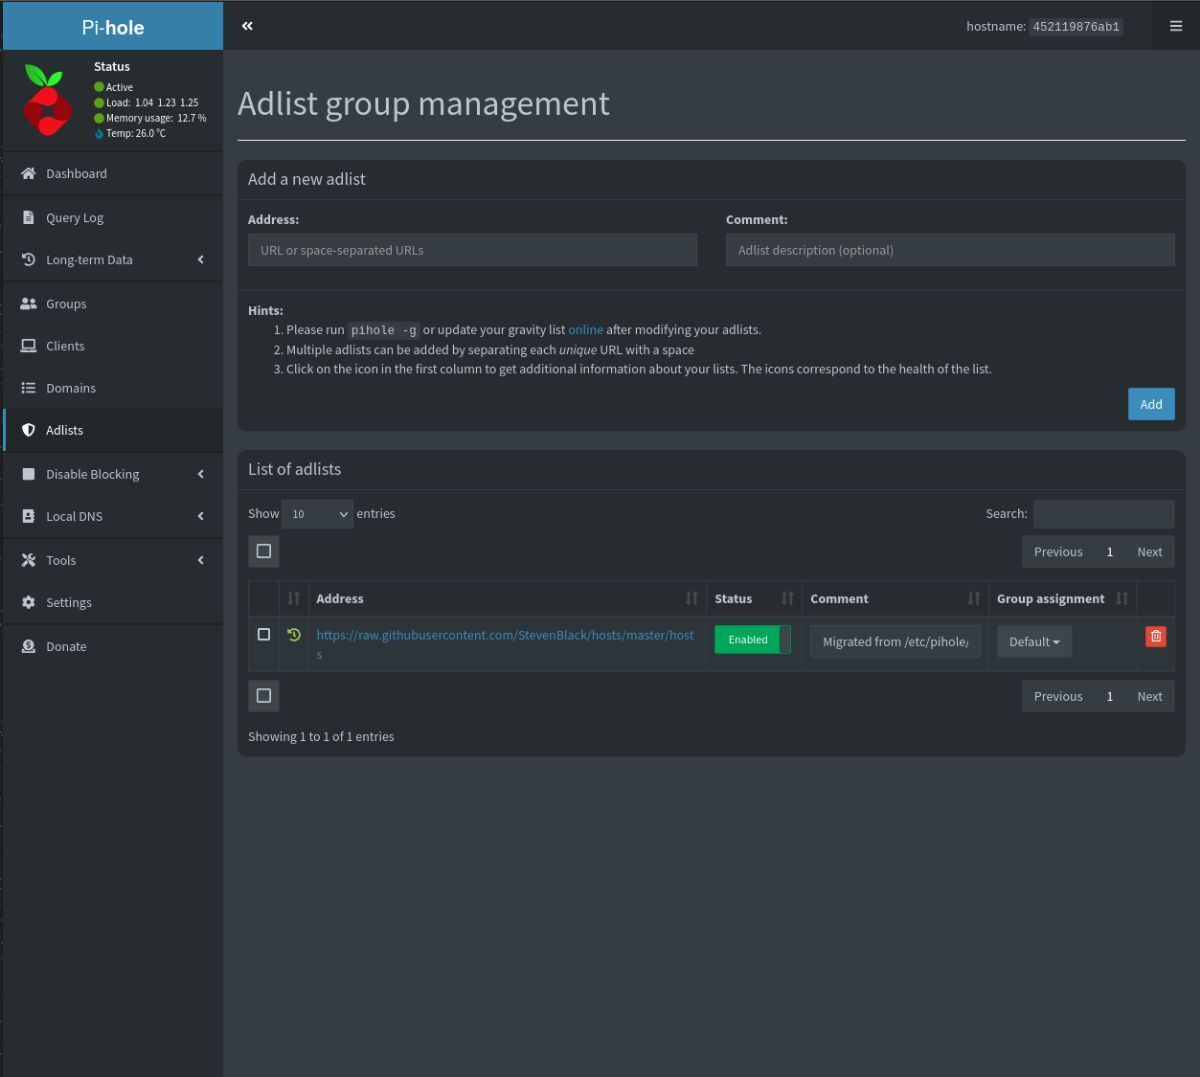
Once you’ve configured your upstream DNS settings, the next step is to set up your Pi-hole Adlists. To do this, click on “Adlists” in the Pi-hole sidebar. Clicking this button will take you to the “Adlist group management.”
In the “Adlist group management” section, you’ll find a default Adlist already configured. For most users, this list will suffice. However, if you want to add more, it’s entirely possible. Here are some widely-used adlists that can help you block things like malware, trackers, and more with Pi-hole.
- Adaway: https://adaway.org/hosts.txt
- Easylist: https://easylist.to/easylist/easylist.txt
When you add new adlists to Pi-hole, the settings are automatically saved. To add more in the future, simply repeat this process.
Device configuration
With upstream DNS and adlists configured, it’s time to set up your device to utilize Pi-hole. For optimal results, it’s recommended to configure your router to use Pi-hole as the primary DNS server. This way, you won’t need to manually edit the DNS settings for each device on your network. Instead, the router will handle this, ensuring that every device automatically uses Pi-hole. For more details, consult the official Pi-hole documentation.
