How To Run Linux On Android With Linux Deploy
Ever wanted to run Linux on Android? Turns out you can, with an app called Linux Deploy. Before you get excited, there’s something you should know. The app will only work if the Android device it is installed on has root access. This is due to the fact that Linux Deploy runs an entire Linux operating system completely within the Android file system. It is very hard to run a Linux kernel and Chroot environment without these kinds of modifications.
To gain root, look up the model number, as well as the specific operating system version number on you Android phone. With this information in mind, head over to xda-developers.com. Use the website and search through the forums. This community is perfect to find information regarding gaining root on your device. In fact, XDA has many sub-forums for individual devices.
If your current version of Android doesn’t allow to easily gain root, consider checking out LineageOS and installing that instead. Its a complete replacement for your current version of Android based on open source technologies.
A good reason to consider using Lineage is this: some device manufacturers lock up the version of Android they ship and make it nearly impossible to gain root access. If this is the case, the best course of action is to replace this version with something else. Lineage OS has built in root, and supports many different Android devices. Learn more about Lineage OS here!
Getting BusyBox
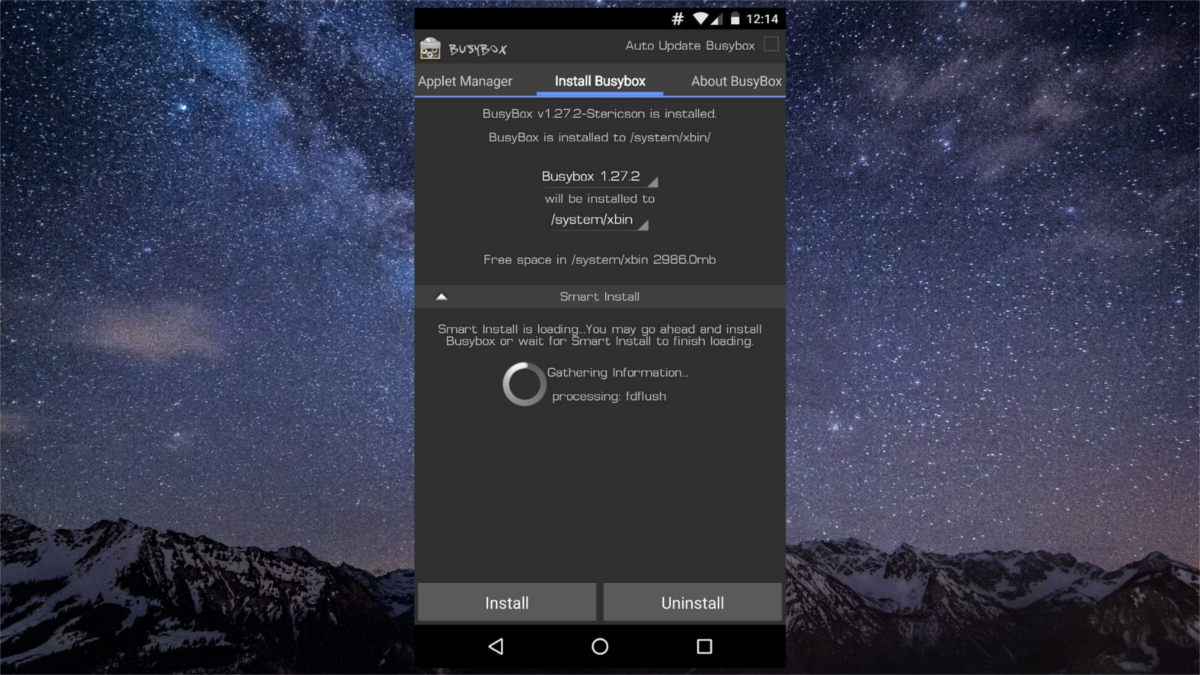
Linux Deploy places a fully functional Linux operating system within Android. It is because of this, the app itself requires some Linux-compatible tools. Mainly, the BusyBox toolkit. There are many apps that can help users on Android get BusyBox working, but by far the most reliable out there is this app here. Download it to your Android device, and open the app.

As the app opens for the first time, you’ll be taken through the BusyBox installation process. Click the “install” button to get BusyBox. The process will take anywhere from a couple seconds, to a few minutes (depending on how fast your device is). When the process completes, close the app.
VNC
The last thing users need to install before using Linux deploy is a VNC viewer. This is because though Linux Deploy installs an entire operating system inside Android, it doesn’t actually allow the user to directly access it. This is because of how Android is build. A nice work around is to install a VNC viewer app, to access the graphical interface for your Linux install. There are many different VNC viewers for Android, so feel free to install whichever one you’d like. In the tutorial, we’ll be using VNC Viewer.
Deploying Linux With Linux Deploy
When all the requirements have been met (gaining root access, installing BusyBox, and installing a VNC viewer) the Linux installation can begin. Start off by downloading the Linux Deploy app to your device. When the app is installed, open it. Click the three dot icon at the top right. Scroll down and enable “VNC”. Additionally, look for the default username and password. Linux Deploy automatically generates one. Write them down, then head back to the main screen.

Out of the box, Linux deploy will set up a Debian Linux environment. This is sufficient for most users. If you absolutely have to change it to something else, head into the settings.
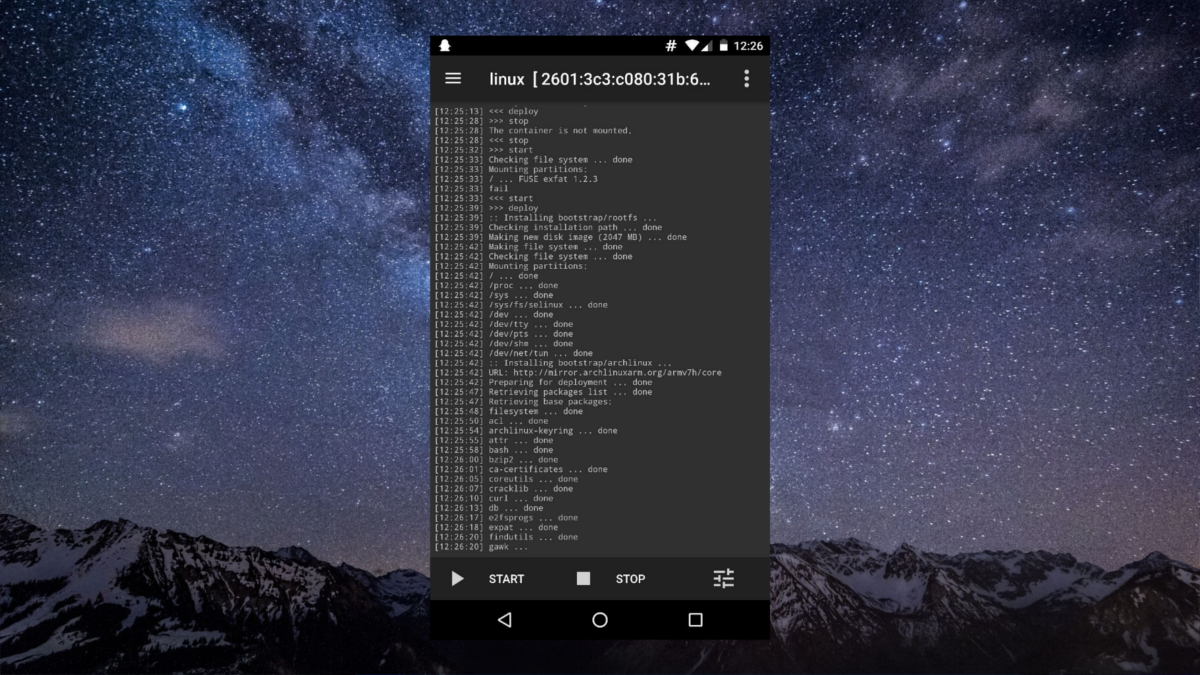
To start the installation process, click the “start” button. From here, the app will take over. It’ll go through and build a Debian Linux install directly on your Android phone or tablet! Sit back, read the prompt, and wait!
Accessing The Linux Installation
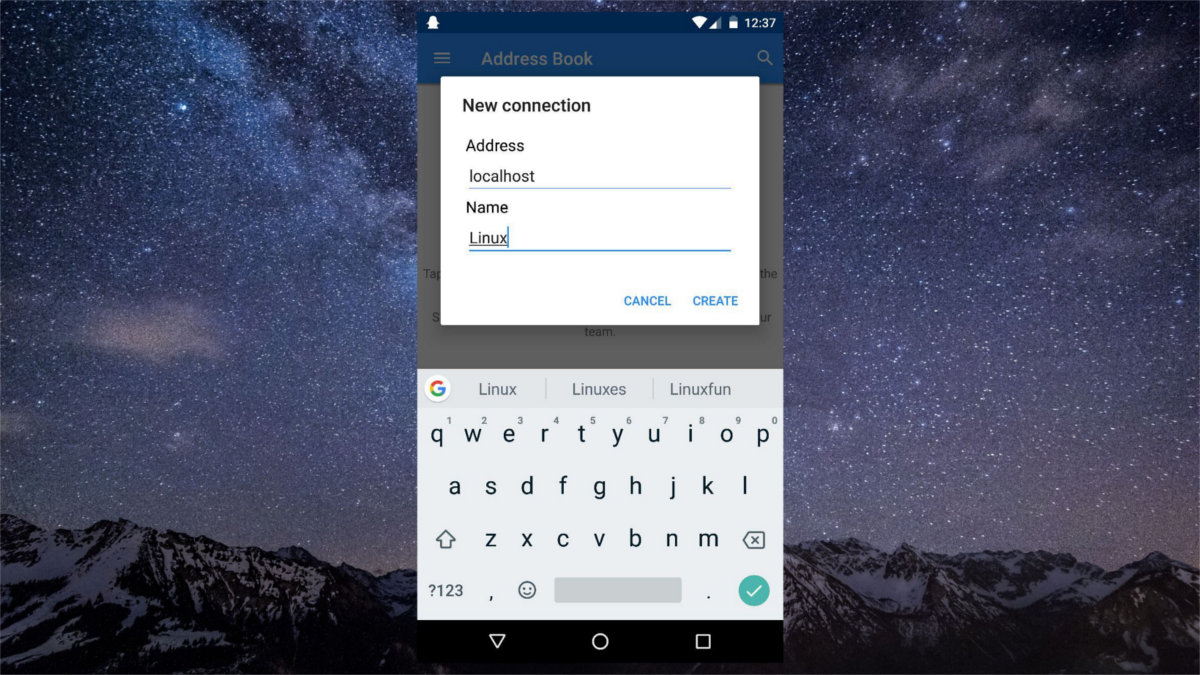
Linux is installed. Now it’s time to actually use it. To do this, open Linux deploy and click the play button (if it’s not already running). Open the VNC app, then click the green plus icon to create a new connection. In the connection manager, there are two fields: Address and Name.

Under “Address”, type “localhost”. In the name section, type whatever you’d like to call the connection. Filling out the info creates a new connection, and brings up a connection screen. At the bottom of the screen, click the big “connect” button.
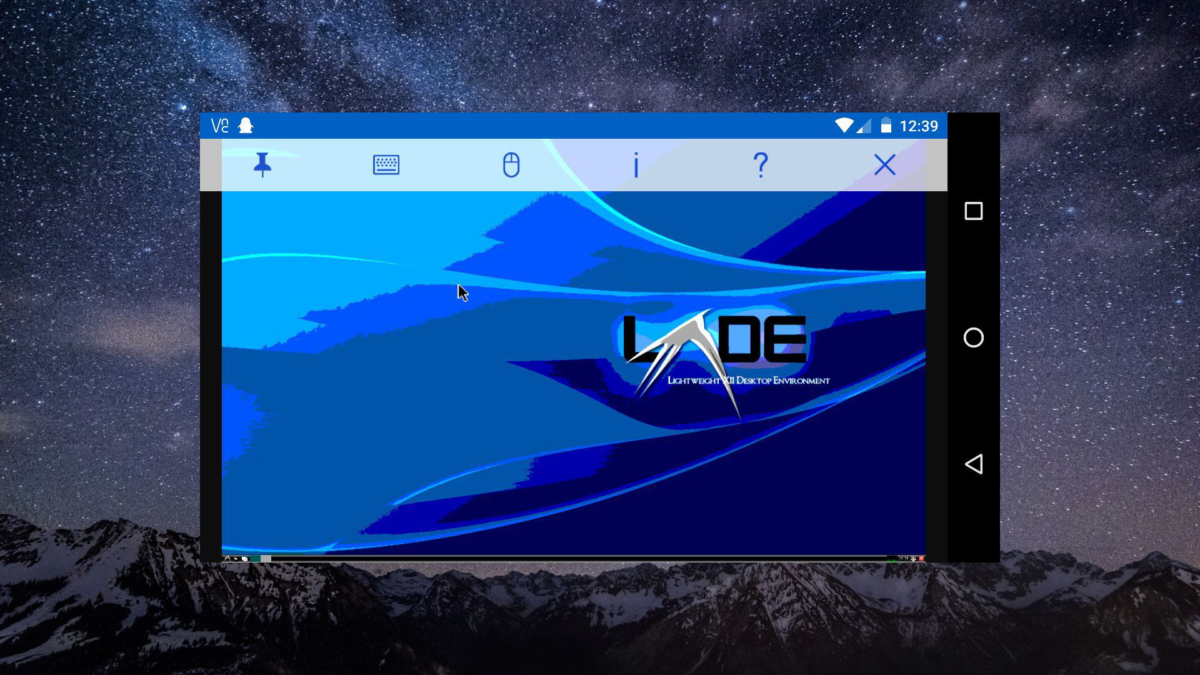
From here, the VNC tool will prompt for the password. Enter the password you wrote down earlier to gain access to your Linux installation.
Conclusion
This tool quite literally allows a full-blown Linux installation to work on any rooted Android device. It’s incredible. Inside of the viewer, users have complete and total control of the Linux installation. The VNC app, as well as the VNC server running from the Linux install on Android makes it possible to install programs, use a mouse and keyboard, as well as touch events, full, clear sound and more!

Being able to run Linux on Android is a game changer. For so long, Linux fans have wanted a portable (phone/tablet) experience with their favorite open source platform. Given the fact that projects like Firefox OS and Ubuntu Touch have slowed, users will need to settle for tools like Linux Deploy.

Is there any way to launch/kill Android apps from the linux deploy environment? I’d like to do some cool stuff with bash scripting / cron.
I am not aware of anything like this, but I’ll do some investigating and make a post about it asap.
how can i use multiple distros
i have installed kali
but i also want to use ubuntu
please make a guide
i keep getting Missing parameters: target_path
Me too until I installed busybox and set the path in the settings to match busybox. Ex. /su/xbin. Don’t forget to update your environment variables after.