Record Your Desktop Sessions In Ubuntu Linux With recordMyDesktop
recordMyDesktop is a Linux based application that records sessions of the entire desktop or any specified window. With this application, you can save copy of your screencast sessions for creating training videos. Alternatively, it can also be used to keep a track of someone’s activities when he/she uses your computer (e.g. for parental control purposes).
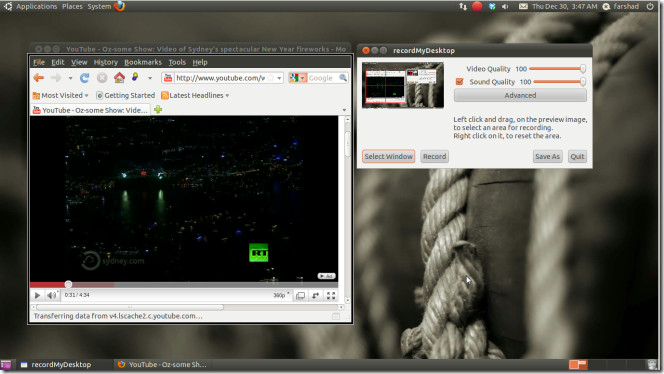
To record a screencast session of the entire desktop, run recordMyDesktop and after setting quality options (if required), and click Record. If you do not wish to record the entire desktop progress then click on the Select Window button to record the session of a specific window only.
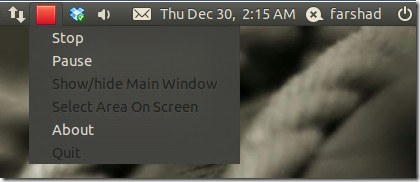
To pause or stop the recording process, select the respective option from the drop down menu on the Taskbar. The main window can be hidden via the Show/Hide Window option in the drop down menu. You can also remove the Stop button from the panel to secretly record the proceeding of the desktop (for parental control).
After the session is stopped, click Save and specify output directory to save the recording.
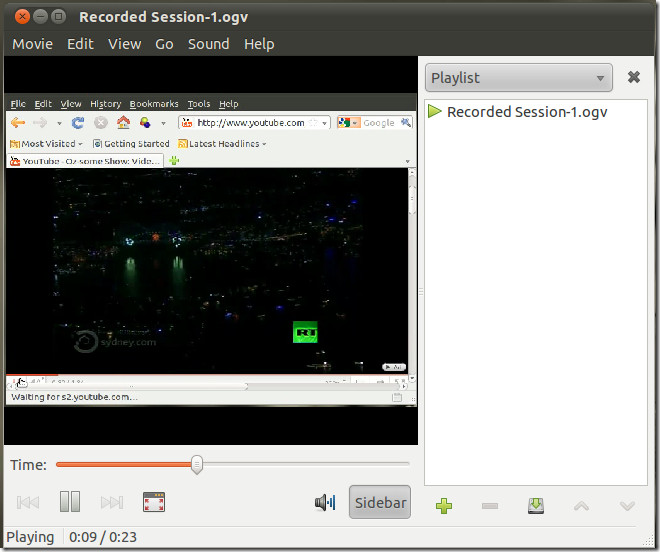
The recorded session can be played back anytime from the saved video file.
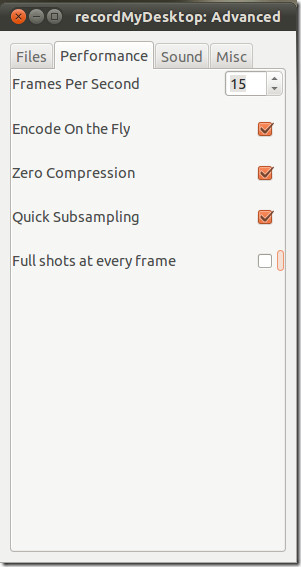
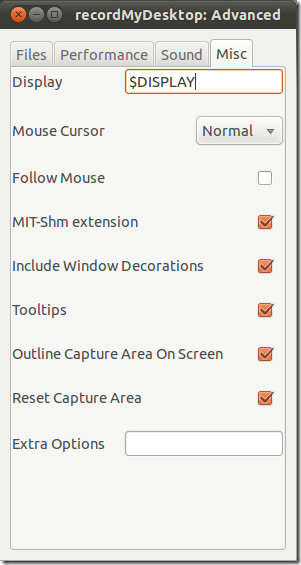
Go to Advanced Options and select a temp directory to automatically save files to. The Performance tab can be used to set encoding, video compression, subsampling and frame options, whereas the Sound tab provides configuration options for sound recording. The Misc tab contains miscellaneous options regarding tooltips, capture area, window decorations of the recorded window, etc.
recordMyDesktop is a very effective tool for recording screencasts for educational, personal, vocational and parental control purposes. This freeware was tested on Ubuntu 10.10.

Have you tried Kazam?. It is very good.
In Ubuntu I’ve tried xvidcap and gtk-recordMyDesktop. I’ve been able with both of them to record video and audio from the system or the microphone.
But gtk-recordMyDesktop has 2 problems:
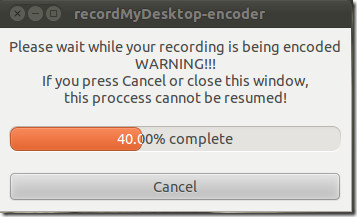
a) When you click on stop it takes a lot of time to encode the video (in xvidcap you have it in the moment you stop the recording).
b) It uses a lot of space in a folder called more or less /tmp/rMD-session-xxxx. Sometimes is deleted after the encoding but sometimes not (keeps on growing) and you have to delete it before your linux partition gets full.
In Ubuntu, to be able to record the sound with xvidcap you just need to follow a few steps:
http://ubuntuforums.org/showthread.php?t=1714139
Specially for people having problems to record audio or sound with a GNOME based GNU/Linux distro, for example Ubuntu:
gtk-recordMyDesktop (records video + audio) and gnome-sound-recorder (records audio) can record both the system and the microphone sound. To choose the sound to be recorded open gnome-volume-control (from ALT+F2 for example), click on Hardware, then on Profile and there choose the corresponding option, depending on what will be recorded ..:
+ sound of the system: a) Analog Stereo Output; or b) Digital Stereo Duplex (IEC958)
+ sound from the microphone: a) Analog Stereo Duplex; or b) Digital Stereo (IEC958) Output + Analog Stereo Input
In gnome-volume-control, it may be necessary to choose “Off”, close it, open it again, choose the desired option and close it again.
Some of the other options may work sometimes, but they may record sometimes the system sound and sometimes the mic sound. And other options may record audio but could not permit to listen to the recorded sound. So it’s better not to use those options.
NB: system sound is the sound of what one can hear from the speaker. It can be a .ogg or .mp3, … song played by Totem, or a Flash music video of a web site, …