How To Make A Windows USB drive On Linux With WoeUSB
Making a Windows USB disk is easy — on Windows. This is because as a Windows user, you’re surrounded by a plethora of great USB imaging tools. As a result, getting a copy of Windows flashed to a USB for install can happen in a matter of minutes. It is not as easy to make a Windows USB drive on Linux. All of the traditional USB imaging tools on the platform (even the good ones like Etcher) can not make a good Windows USB. This leaves users who use both Windows and Linux out of luck.
SPOILER ALERT: Scroll down and watch the video tutorial at the end of this article.
Thankfully, there are a few ways to make a bootable Windows USB stick on Linux. In this article, we’ll go over two methods. The first is by making use of a tool called WoeUSB. The second is a simple trick that only works with Windows 10. Let’s get started!
Installation
The installation process differs on each operating system. Some have packages for WoeUSB available, and others don’t.
Ubuntu
For those on Ubuntu, there’s a package available for WoeUSB. This package is on the pkgs.org website. Head over here, and select your version of Ubuntu. With the Debian package downloaded, install it by double-clicking on the file in the downloads folder. Alternatively, open a terminal to install it that way:
cd ~/Downloads

sudo dpkg -i *.deb
Fix any missing dependencies with:
sudo apt install -f
OpenSUSE
Like always, there’s a version of WoeUSB in the SUSE package search. Install it with the “one-click” method on this page.
Debian
Debian users looking to install this tool are in luck. The SUSE build service has packages available for both Debian 8 and 9. Head over to the download page, and select the “show unstable packages” button under either Debian 8 or 9. After that, install the package:
cd ~/Downloads

sudo dpkg -i *.deb
Fix any missing dependencies with this command:
sudo apt-get install -f
Building WoeUSB
Besides Ubuntu, Debian and SUSE, finding a binary for WoeUSB is pretty difficult. As a result, you’ll need to compile the program from source before using it. The source code is on Github. However, before you can download the source code, some things need to be installed.
Fedora
sudo dnf install wxGTK3-devel git
Arch Linux
sudo pacman -S wxgtk-common wxgtk2 wxgtk3 lib32-wxgtk lib32-wxgtk git
Generic
Building WoeUSB from source is easily done. That being said, dependencies need to be satisfied. As every Linux distribution is different when it comes to package names, we can’t possibly list every single dependent package name.
That being said, if you’re looking to build, know this: this software relies on wxgtk3 to compile. Even then, it might still not compile. When that fails, just install anything wxgtk related, and it should build.
Compiling
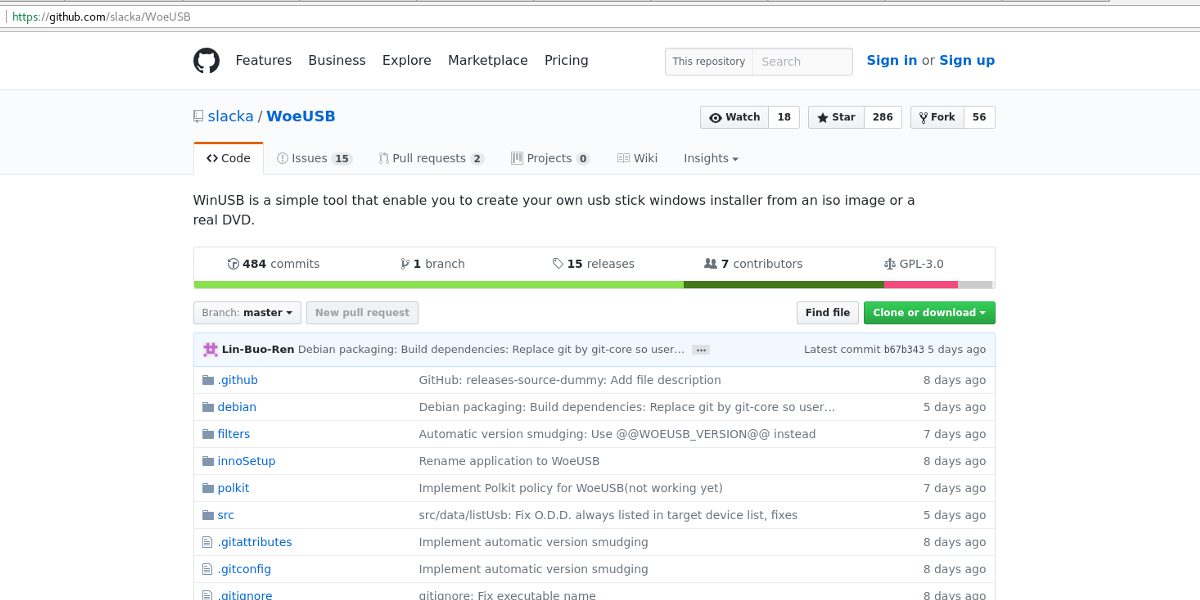
With all the dependencies satisfied, building is possible. To start off, grab the source code
git clone https://github.com/slacka/WoeUSB.git

cd woeUSB
Configure the source code. This is important, as the configuration will scan your operating system and turn on specific compilation flags.
./configure
Configuration is complete. Now, compile the binary with the make command.
make
Lastly, install the tool:
sudo make install
Using WoeUSB
With WoeUSB installed, it is possible to launch the tool. There is both a graphical and terminal based tool. In this guide, we’ll be covering the graphical tool (but the terminal tool is usable as well).
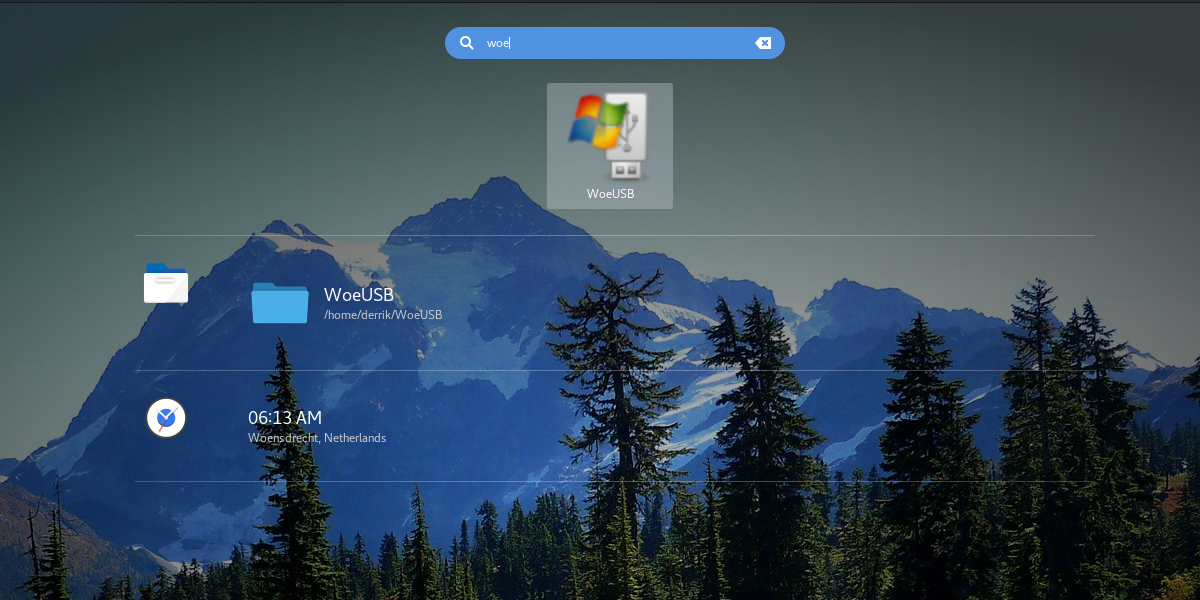
Start using it by getting a USB flash drive out. Keep in mind that most Windows ISO files are at least 4 GiB in size. Plug the drive into your Linux PC, and launch woeUSB.
Inside the tool, select the option to make a USB install disk with an ISO. Select the option to make it from DVD if you are using the DVD copy of Windows.
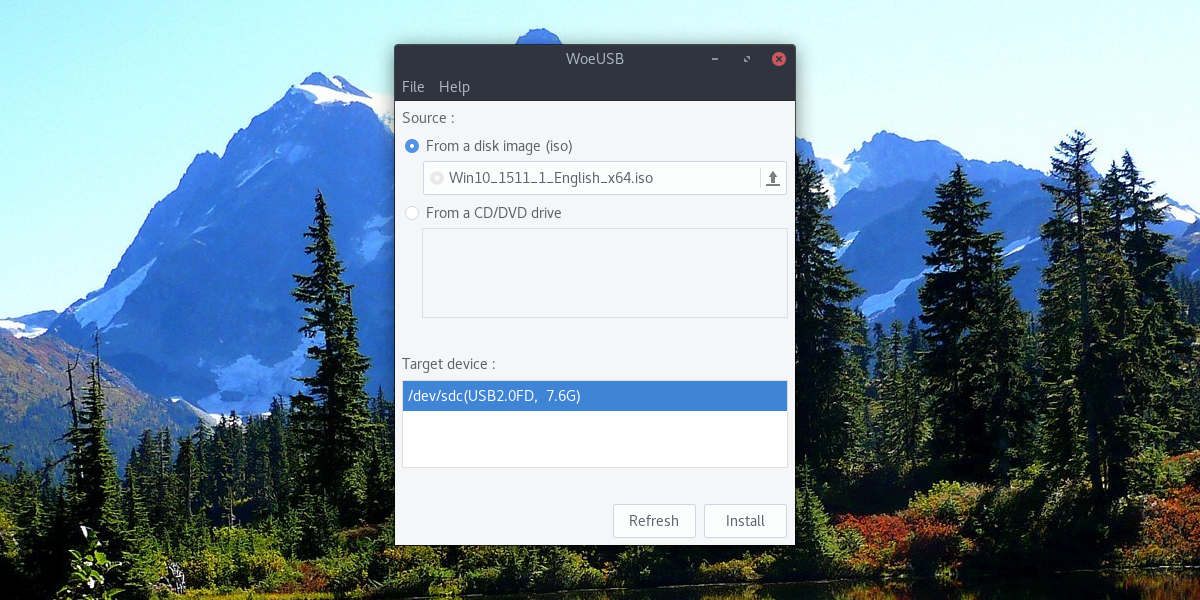
After giving the woeUSB tool a version of windows to use, select your flash drive under “Target device”, then click the “install” button.
Making A Windows Live Disk Without WoeUSB
For some versions of Windows, a USB creation tool is required. This is not the case for Windows 10 and possibly Windows 8.1. This is because recently, Microsoft has changed up how their installation disks work with USB.
If you’re in need of a Windows usb disk and don’t want to use woeUSB, follow these instructions.
First, format the flash drive in Fat32. Do so by opening a terminal, and finding out what the drive label of it is. In this example, it’s /dev/sdc1. Your drive may have a different label.
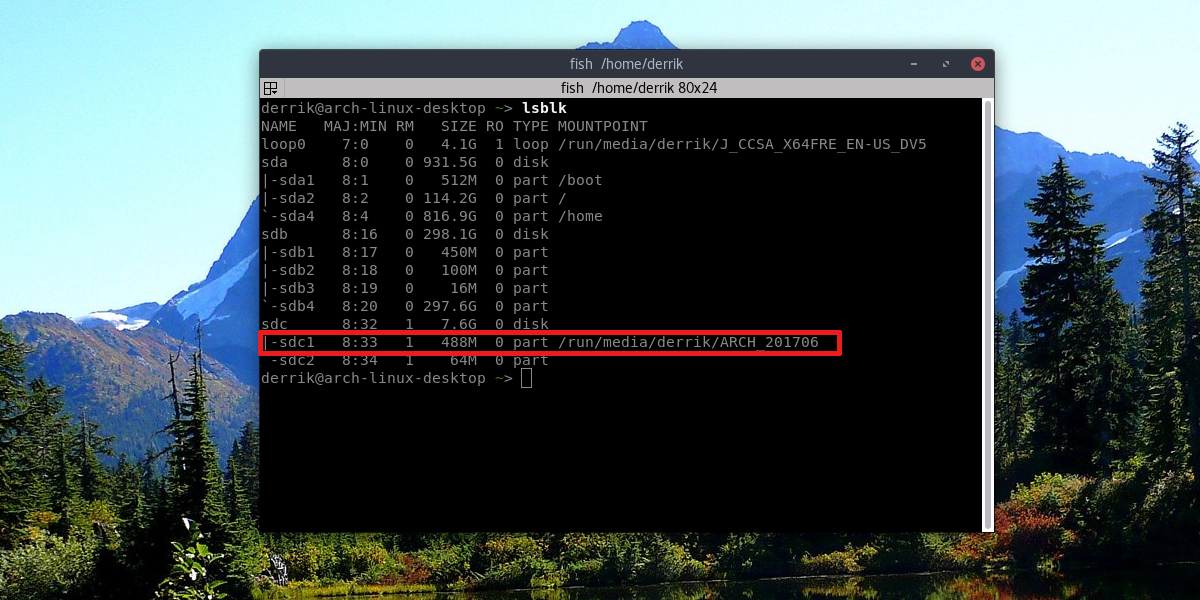
Format the flash drive to Fat32 with: sudo mkfs.msdos -F 32 /dev/sdc1.
Once formatted, open up the file manager and right-click on your Windows 10 ISO file. Select the option to “Open With Archive Manager”. Inside of the Archive manager, click the “Extract” button, and extract the contents of the ISO file directly to your USB flash drive.
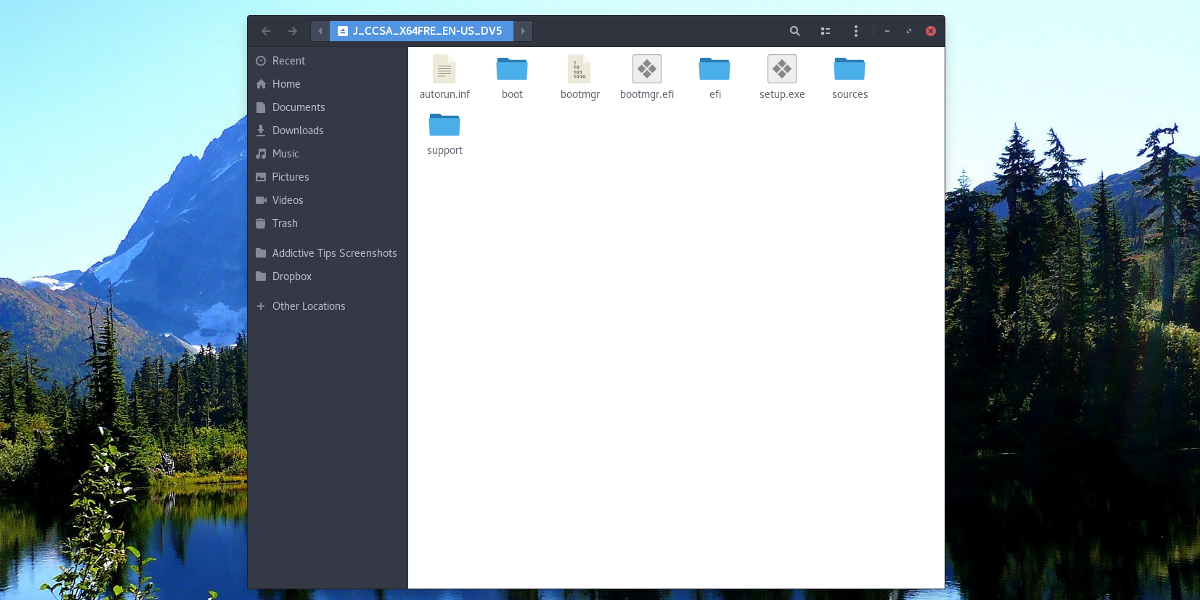
When the ISO fully extracts to the USB drive, the process is complete, and should boot Windows 10 when you connect the USB drive to a PC.
Conclusion
As optical media dies a slow death, installing via USB is the only option. That’s why it’s infuriating that Microsoft works so hard to make it difficult to make live disks on other operating systems. Hopefully as time goes on, USB imaging tools will add support for Windows. Till then, WoeUSB has everyone covered.

I tried these instructions, and used the command-line as well (with FAT and with NTFS) and I haven’t managed to create a USB stick that works: Though I do get into the Windows menu using UEFI boot, the only partitions I get to choose for the installation are my own SSD partitions, which I clearly don’t want to touch. Would you know what I do wrong?
Formatting it with Fat and extracting the ISO directly to it should work if the program does not. Perhaps you are doing something wrong. Follow the instructions and try again?
Could it simply be that my disk, though officially 16GB, has only about 14.7GB space free?
Have you tried these things yourself? You need to format the USB drive to NTFS if you want to use as Win10 install stick – NOT FAT32
You needed NTFS because you are installing on a BIOS system.
For UEFI you are required to use FAT32 as the drive in order to load the UEFI stub.
The Windows 10 Media Creation Tool creates an offical usb stick with FAT32.