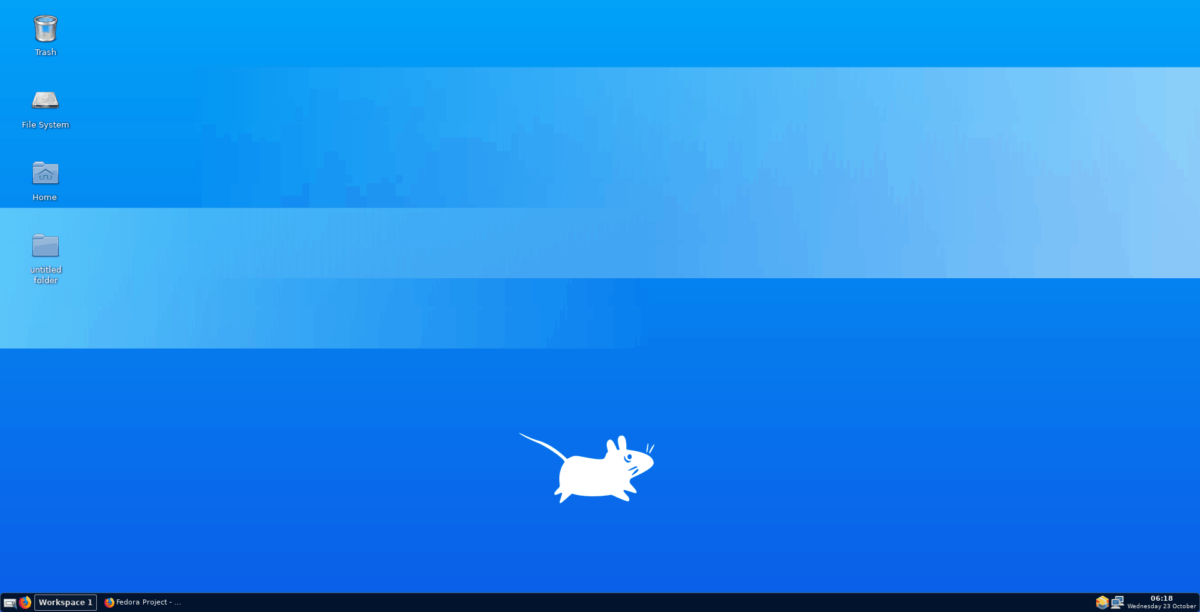
How to make a custom Linux panel with Tint2
All desktop environments on Linux provide a panel to use for switching open applications, managing notifications, and so on. However, these panels are often hit and miss, and some Linux users find themselves unhappy with the default options.
A great alternative option to the panels that Linux desktop environments provide is Tint2. It’s lightweight, fully customizable, and can work on all of the popular Linux desktops! Here’s how to set it up!
Note: if you use a window manager rather than a desktop environment, consider following this guide here to learn how to set up Tint2 on the Openbox window manager.
Which desktop environment to use with Tint2?
As mentioned earlier, Tint2 will work on any desktop environment. However, the Tint2 panel is meant to give users a Lightweight panel alternative. So, since it is a lightweight panel, the best desktop to use is XFCE4.
Note: feel free to use Tint2 on any desktop environment on Linux. However, you will not have the same type of experience as you would with XFCE4.
Why XFCE4? It’s incredibly lightweight. Furthermore, it’s possible to configure XFCE to work well with Tint2.
So, before we begin on how to configure Tint2, you must install the XFCE4 desktop environment.
Ubuntu
sudo apt install xfce4
Debian
sudo apt-get install xfce4
Arch Linux
sudo pacman -S xfce4
Fedora
sudo dnf install @xfce-desktop-environment
OpenSUSE
sudo zypper in -t pattern xfce
After installing the XFCE4 desktop environment, log out of your current desktop environment. Then, find “session” at the login screen, set it to XFCE, and log in.
Install Tint2
The Tint2 panel is available on all modern Linux distributions, as it is open source and not a lot of work to install. To get the Tint2 panel working on your Linux PC, open up a terminal window by pressing Ctrl + Alt + T or Ctrl + Shift + T on the keyboard. Then, follow the command-line instructions below that correspond with the Linux OS that you currently use.
Ubuntu
On Ubuntu, the Tint2 panel is available in the “Universe” software repository. To install it, enable “Universe.”
sudo add-apt-repository universe
sudo apt update
After enabling the “Universe” software repository, you can install the Tint2 panel on your computer with the Apt command.
sudo apt install tint2
Debian
The Tint2 panel is available to Debian Linux users in the “Main” software repository. Install it on your system with the following Apt-get command.
sudo apt-get install tint2
Arch Linux
On Arch Linux, the Tint2 panel is available for installation through the “Community” software repository. Be sure that you’ve enabled “Community” in your Pacman.conf file.
After enabling the “Community” software repository, you can install Tint2 with the following Pacman command.
sudo pacman -S tint2
Fedora
The Tint2 panel is available to Fedora Linux users via the primary software repository. To get it working on your system, use the following Dnf command.
sudo dnf install tint2
OpenSUSE
Tint2 is installable on all current releases of OpenSUSE via the “OSS all” software repository. To get the panel working on your system, use the following Zypper command in a terminal.
sudo zypper install tint2
Configure Tint2
The configuration process for Tint2 is pretty straightforward. To make it as easy to understand as possible, follow the step-by-step instructions below.
Step 1: In the XFCE4 desktop environment, we must disable the default desktop environment panel from loading up. To do this, you need to access the XFCE4 session settings.
Press Alt + F2 on the keyboard. Then, write the command in the launcher below to access session settings.
xfce4-session-settings
Step 2: In the session settings window, find the “Application Autostart” tab, and click on it with the mouse. Then, find the “+ Add” button and click it to create a new startup entry.
In the name box, write:
XFCE Panel killer.
Then, in the command box, write:
killall xfce4-panel
When both boxes are filled out, click the “OK” button to create the new session entry.
Step 3: Make your way back to the session settings window and click the “+ Add” button to make a second entry.
In the name box, write:
Tint2 launcher.
Then, in the command box, write:
tint2
Step 4: Click “OK” to create the new session entry.
Step 5: After both session entries have been created, right-click on the desktop, hover over the “Applications” section of the right-click menu, and choose “log out” to access the logout window.
Step 6: In the logout window, find the box that says “Save session for future logins” and uncheck it.
Step 7: Log back into your XFCE4 desktop session. When you do, you’ll notice the Tint2 panel has replaced the default XFCE4 one!

Need to open applications on your new Tint2-powered XFCE4 session? Right-click on the desktop and select the “Applications” menu. Or, press Alt + F3.
Customize the Tint2 panel
The Tint2 panel is incredibly customizable. If you’re not a massive fan of the default look, do the following to change themes.
Step 1: Click on the menu icon next to the “workspace” box on the Tint2 panel. Selecting this icon will open up the Tint2 wizard app.
Step 2: In the Tint2 wizard app, look through the list of panel themes available. Then, when you’ve found one you like, click on it to select it with the mouse.
Step 3: After selecting the Tint2 theme you like from the list, click the green check-mark button to apply it.
As soon as the green check-mark button is selected, the panel will switch to the new theme.
