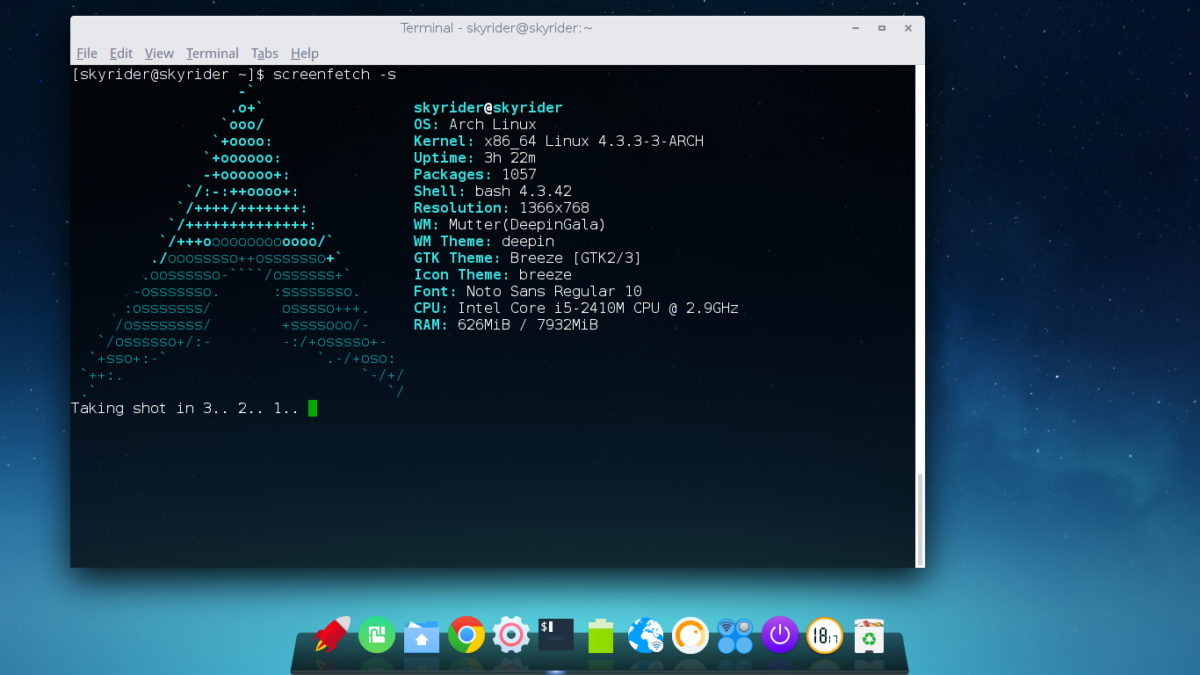
How to install the Deepin Desktop on Linux
The Deepin desktop environment is part of the Deepin Linux distribution. Its primary focus is to offer up an elegant, easy to use, beautiful alternative to the popular Linux desktop environments.
Developers of the Deepin desktop put the core of their development effort into their distribution. However, the creators of Deepin also maintain the environment for other distributions. If you’re interested in trying the desktop out, it can be installed on Linux operating systems like Arch Linux, Ubuntu, OpenSUSE, and others. To get it working, open up a terminal window and follow the instructions that correspond with your OS.
Note: Debian users, if you’ve come across this article to install the Deepin desktop on your system, consider installing Deepin Linux instead! It’s built upon Debian Stable! For more information about the distribution click here.
Ubuntu instructions
Ubuntu Linux users looking to use the Deepin desktop environment are in luck! There’s an active effort in getting it up and running on recent versions of the operating system.
It should be noted that though the Deepin Desktop is ported to Ubuntu, it won’t work on every single version of the operating system. As of right now, the newest version that Deepin supports through the PPA is Ubuntu 18.04 LTS.
The fact that the Deepin desktop only supports 18.04 LTS isn’t a huge deal as the OS still is available for download on the website. If you’re using a newer release of the operating system and want to use Deepin, download 18.04 LTS and re-install before continuing.
Once you’re on Ubuntu 18.04 LTS, you’ll be able to start the process of installing the Deepin desktop by following the step-by-step instructions below.
Step 1: Launch a terminal window on Ubuntu. This is easily done by pressing Ctrl + Alt + T or Ctrl + Shift + T.
Step 2: With the terminal window opened up, use the add-apt-repository command to add the Deepin PPA to Ubuntu.
sudo add-apt-repository ppa:leaeasy/dde
Step 3: Using the terminal window, run the update command. Running an update will allow your Ubuntu PC to check for any pending system updates available. In addition, it’ll set up the new Deepin PPA for use.
sudo apt update
Step 4: With everything up to date, it’s time to install any pending software updates for Ubuntu. Doing this will ensure that Deepin will run with the latest patches.
sudo apt upgrade -y
Step 5: Upgrades are done. The last step is to install the Deepin desktop environment using the apt install command.
sudo apt install dde
Fedora instructions
Fedora Linux users can install the Deepin desktop environment, though be warned: it’s very unstable and does not to work very well. Still, if you’re a Fedora fan and want to try Deepin, this is the only option.
To get the desktop working, start by launching a terminal window. Once the terminal session is open, follow the step-by-step instructions outlined below.
Step 1: There are some Deepin packages in the Fedora software sources. That said, not every single package is readily available, and as a result, you must enable a third-party software source. To do this, enter the following command in the terminal window.
sudo dnf copr enable mosquito/deepin
Step 2: After enabling the new Deepin Copr software repository, it’s time to update Fedora using Dnf update.
sudo dnf update
Step 3: With everything up to date, install the Deepin packages on your Fedora Linux PC.
sudo dnf install deepin-desktop lightdm deepin-calendar deepin-calculator deepin-editor deepin-image-viewer deepin-picker deepin-system-monitor
Step 4: The Deepin desktop requires some third-party codecs not currently in Fedora. To get these codecs, you’ll need to enable RPMFusion. Be sure to change the X in the commands below with the version of Fedora Linux you currently use.
sudo dnf install https://download1.rpmfusion.org/free/fedora/rpmfusion-free-release-X.noarch.rpm
sudo dnf install https://download1.rpmfusion.org/nonfree/fedora/rpmfusion-nonfree-release-X.noarch.rpm
Step 5: With RPMFusion up and running, use the Dnf command to get the rest of the packages set up on your Fedora Linux PC.
sudo dnf install deepin-movie deepin-music
Step 6: Finally, configure Fedora to load up the LightDM greeter system.
sudo systemctl disable gdm.service && sudo systemctl enable lightdm.service
sudo sed -e "s/SELINUX=enforcing/SELINUX=disabled/g" -i /etc/selinux/config
sudo su -c "echo -e '[Seat:*]\ngreeter-session=lightdm-deepin-greeter' > /etc/lightdm/lightdm.conf.d/deepin.conf"
When you’ve finished with the three commands above, reboot your Fedora PC. When Fedora finishes restarting, you should see the Deepin login screen.
OpenSUSE Tumbleweed instructions
Thanks to the OpenSUSE Build service, it’s now possible to use the Deepin desktop environment on OpenSUSE Tumbleweed. If you’re interested in installing it, do the following.
First, head over to the Deepin page on the OBS. Then, select the “1-click” install button. Clicking it should prompt OpenSUSE to install Deepin.
Having issues getting it working? Keep in mind that you may need to manually install each of these Deepin packages if your system doesn’t do it automatically. Also, keep in mind that OpenSUSE Tumbleweed is an unstable release, and this version of the desktop may be buggy.
Arch Linux instructions

In the past on Addictivetips, I did an entire tutorial all about how to install the Deepin Linux desktop environment on Arch Linux. The reason I dedicated a full post to it, is that setting up the Deepin desktop on Arch Linux is time consuming, confusing and tedious.
If you’re looking to set up Deepin on your Arch Linux PC, check out the linked post. However, before you do, keep in mind that you’ll need to have the “Community” software repository enabled.
Don’t have “Community” working on your Arch Linux system? Edit /etc/pacman.conf, scroll down to “Community” and enable it by removing the # symbols.
