Install And Use FileZilla FTP Client In Ubuntu Linux
FileZilla is a fast, reliable, and cross-platform FTP client software. It has a vast user base due to prominent features like easy-to-use, multiple languages support, drag and drop facility, search, and remote file editing.
Editor’s Notes: This article is for absolute beginners who are new to Ubuntu. We have discussed the basics of installation and usage in this post.
To install it in Ubuntu, run the following command in terminal.
sudo aptitude install filezilla
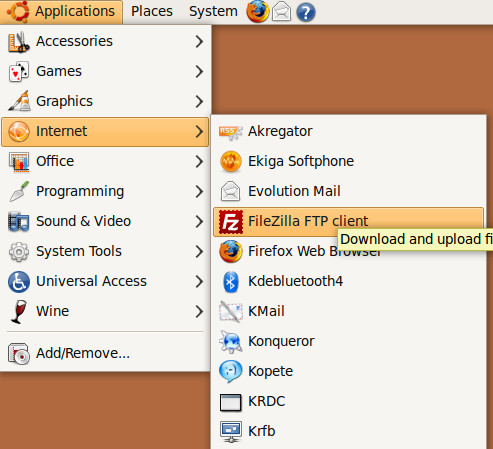
Once installation is complete, it can be loaded from Applications > Internet > File Zilla FTP Client.
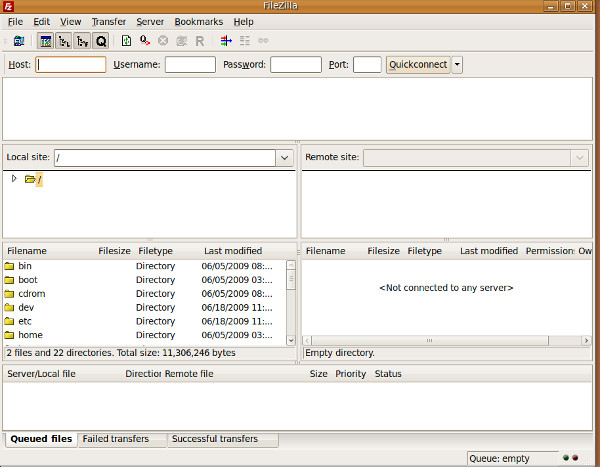
Here is screen shot showing the main screen of FileZilla.
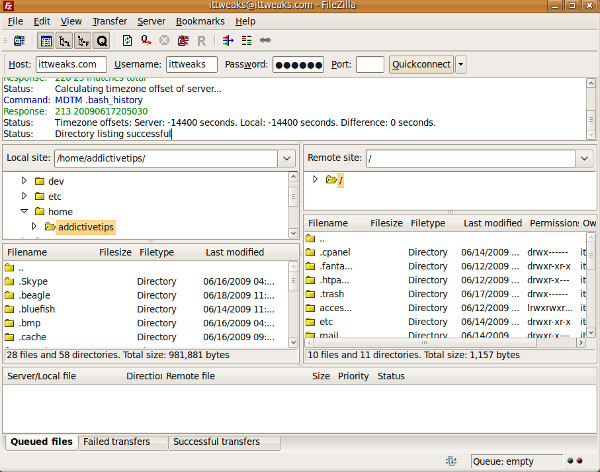
Specify your host name ( IP address) and other login details and click Quick Connect to connect to your remote site. It has a basic dual window interface, once your connection is successfully established, you will be able to see remote files on right side window and local files on left side window.
Now, to upload some file, drag and drop the file from your local drive to remote server.
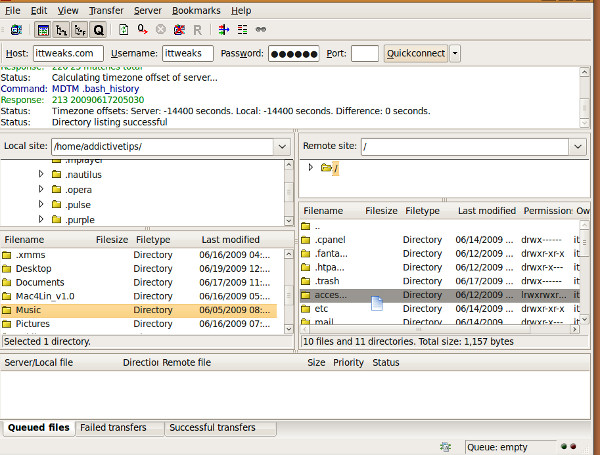
Alternatively you can also transfer files without drag and drop, right click the file or folder in left side window and choose upload.
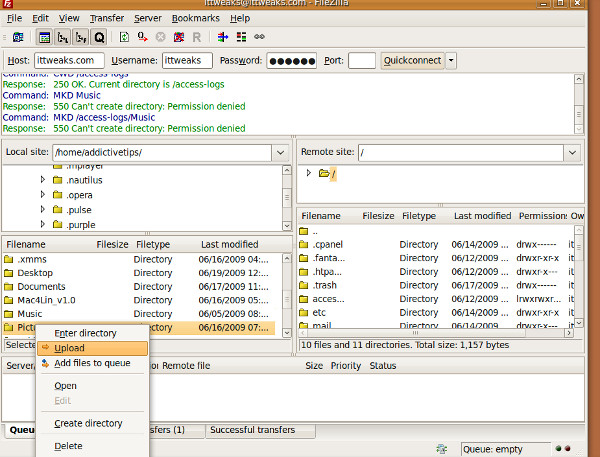
Similarly, to download files/folders, right click the respective file/folder and choose download.
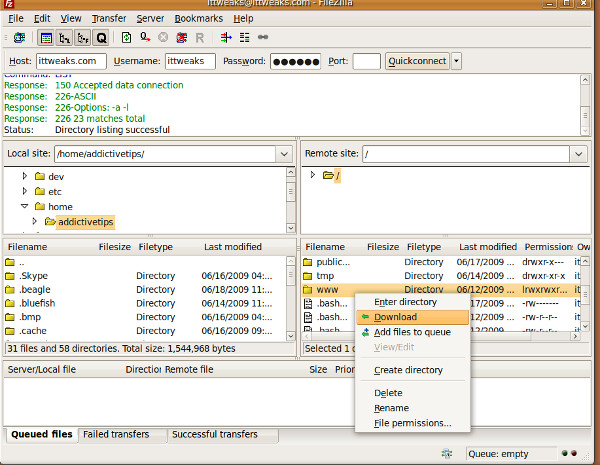
Renaming remote file/folder and changing permissions is also possible. You can track successful, failed, and queued transfers from the transfers window at the bottom. If you are looking forward to use search feature in FileZilla then go here. Enjoy!
