How to tweak the Gnome login screen on Linux
GDM Settings is a helpful app that makes customizing the Gnome desktop login screen easier than ever. In this guide, we’ll show you how to install GDM Settings and how to use it to improve your Gnome login screen.
Installing GDM Settings on Linux
Before customizing the Gnome login screen, you’ll have to install the GDM Settings app. There are a few ways you can get the GDM Settings app on your Linux PC. It is installable via Flatpak, the Arch Linux AUR, or manual installation.
To start the GDM Settings application installation on your computer, you must open a terminal window. You can open a terminal window on the desktop by pressing Ctrl + Alt + T on the keyboard. Alternatively, search for “Terminal” in the app menu.
With the terminal window open and ready to use, the installation of the GDM Settings app can begin. Follow along with the instructions below that correspond to the method of installation you prefer.
Flatpak
To set up the GDM Settings application on your Linux PC as a Flatpak, you’ll need to install the Flatpak runtime first. Thankfully, the runtime is easy to get working. Install the “flatpak” package on your computer to set up the runtime.
Are you having issues setting up the Flatpak runtime on your computer? We can help! Follow along with our in-depth Flatpak setup guide to get the Flatpak runtime up and running on your computer.
With the runtime on your system, you’ll need to set up the Flathub app store. Flathub has all dependencies and related packages for the GDM Settings app to work correctly on your Linux system. To set up the Flathub app store, run the flatpak remote-add command.
flatpak remote-add --if-not-exists flathub https://flathub.org/repo/flathub.flatpakrepo
After setting up the Flathub app store on your computer, the GDM Settings application can be installed using the flatpak install command below.
flatpak install io.github.realmazharhusain.GdmSettings
Arch Linux AUR
If you’re on Arch Linux or a Linux operating system based on Arch Linux, you’ll be able to set up the GDM Settings app using the AUR. To start the installation, you must set up the Trizen AUR helper.
Trizen makes setting up AUR packages much easier. To install it on your system, enter the commands below in succession.
sudo pacman -S git base-devel
git clone https://aur.archlinux.org/trizen.git
cd trizen/

makepkg -sri
With the Trizen AUR helper program, you can install the GDM Settings application using the trizen -S command.
Manual installation
Follow the instructions on the app’s Github to set up the GDM Settings application on Linux to use it without Flatpak or the AUR. However, be sure to install all dependencies.
Using GDM Settings
To use the GDM Settings app, open the app menu, type in “Login Manager Settings,” and open it up. Alternatively, launch a terminal window and run the following flatpak run command to start it up.
flatpak run io.github.realmazharhusain.GdmSettings
Once the app is open, follow the instructions below that match what aspect of your Gnome login screen you wish to customize.
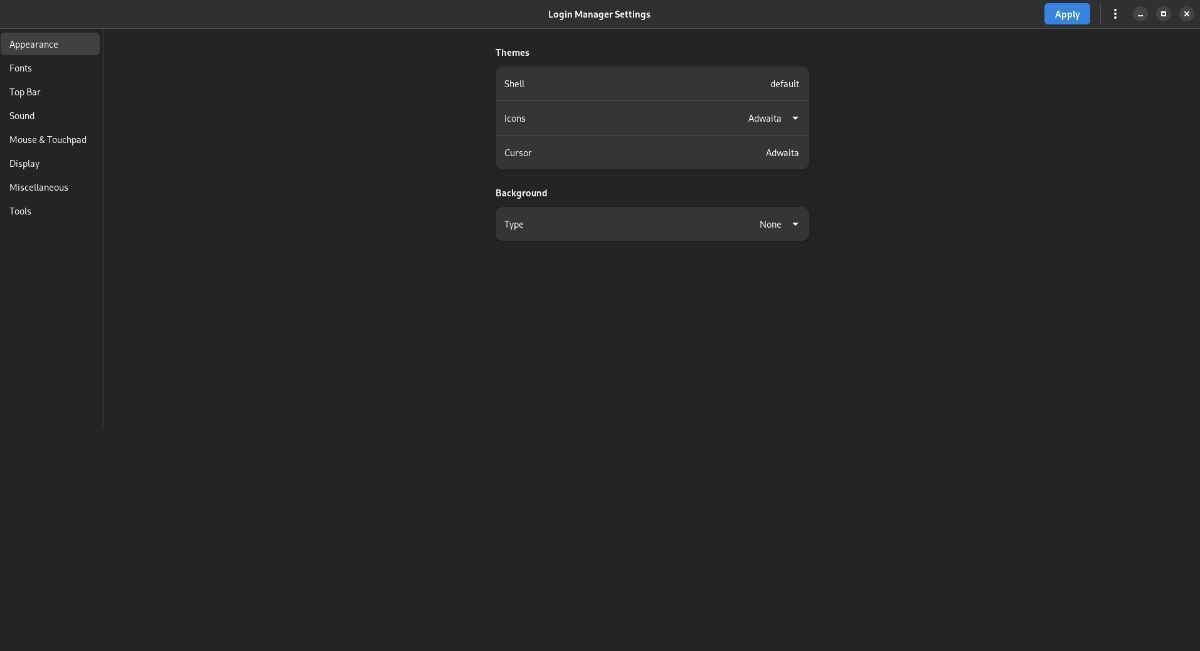
Appearance
In the “Appearance” tab, you can customize the look of the Gnome login screen. Select the “Shell” area to change the shell Gnome uses. Select the “Icons” area to change the default login icons, “Cursor” to change the cursor type, and “Background” to change the login background.
When you’ve finished customizing the appearance, click the “Apply” button.
Fonts
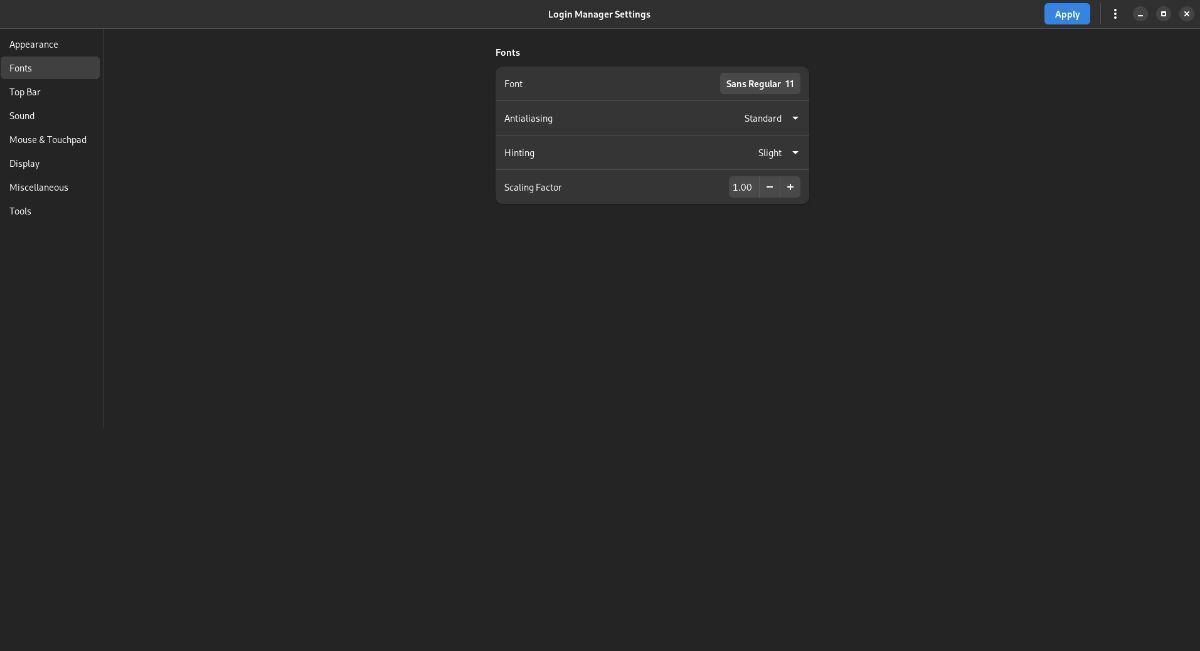
Not a fan of the default fonts inside of the Gnome login screen? Select the “Fonts” section in the GDM Settings app. Then, select the “Font” area to change the font used on the login.
You can also change the way fonts are rendered in the Gnome login screen by customizing “Antialiasing,” “Hinting,” and “Scaling Factor.” Select “Apply” to apply changes.
Top Bar
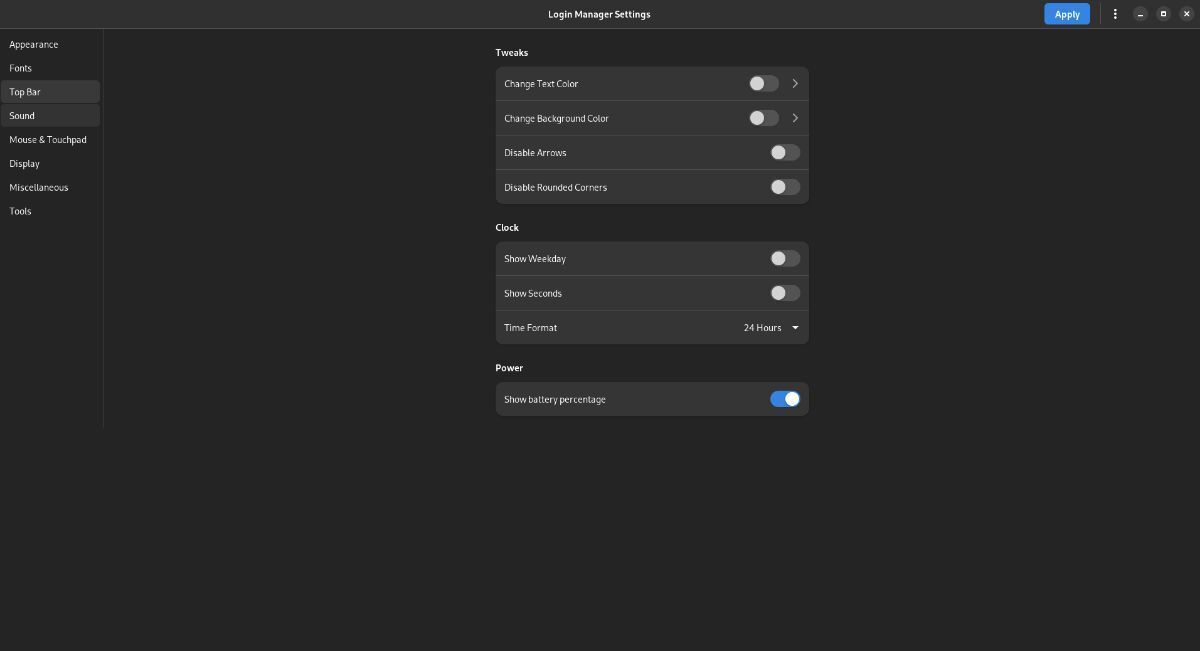
Are you looking to customize the top bar in the Gnome login screen? Select the “Top Bar” section of the GDM Settings app. Once there, you can change things like text color and background color; you can disable the “arrows” and the “rounded corners. It’s also possible to change how the clock looks by tweaking the “Clock” area or the laptop battery appearance by tweaking the “Power” section.
Click the “Apply” button when done customizing to apply the changes.
Sound
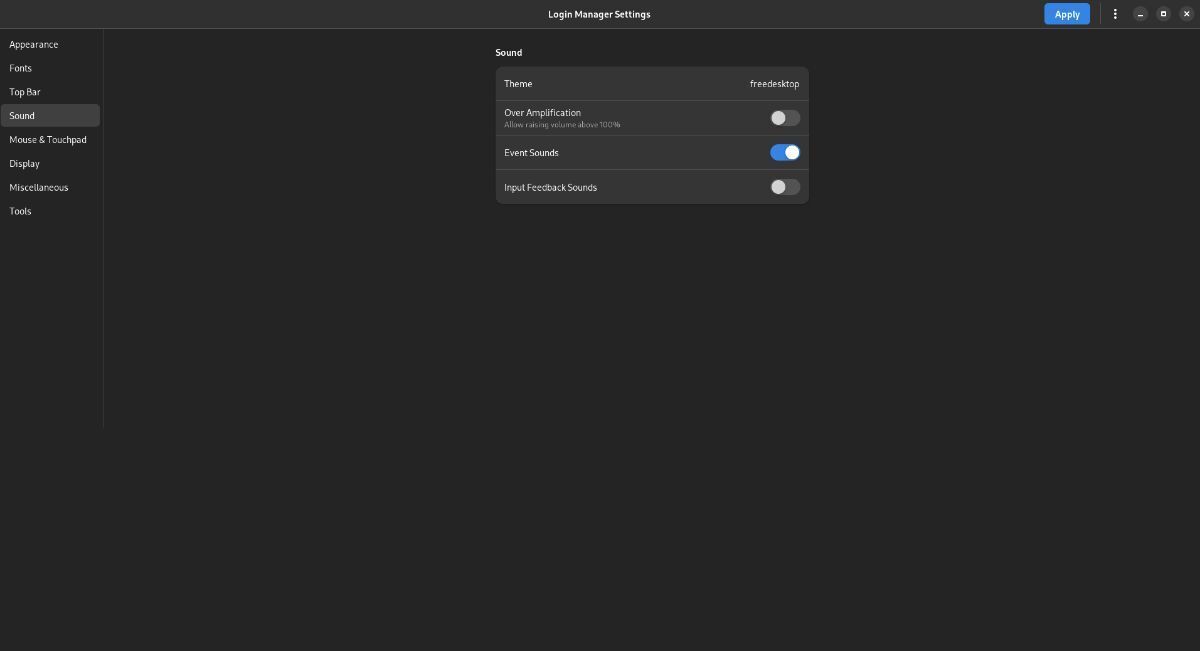
Need to change the sound settings for the Gnome login screen? Find the “Sound” section in the GDM Settings app. Once there, feel free to change things like “Theme,” “Over Amplification,” “Event” sounds, and “Input Feedback Sounds.”
When you’ve finished customizing the various sound settings for the Gnome login screen, click “Apply.”
Mouse/Touchpad
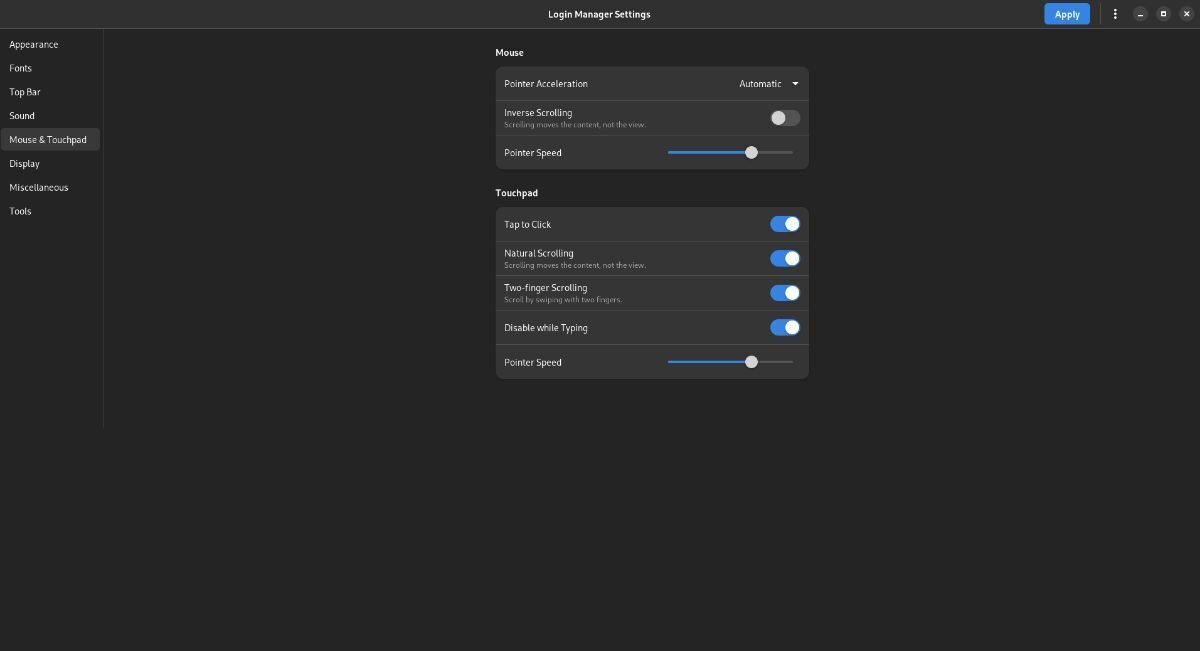
There are a lot of mouse settings to change for the Gnome login manager. Select the “Mouse & Touchpad” button to customize various mouse settings in the GDM Settings app.
Once inside the “Mouse & Touchpad” area, you can tweak things such as pointer acceleration, scrolling direction, pointer speed, tap to click, and many other mouse and touchpad settings.
When you’ve finished changing mouse/touchpad settings for the Gnome login screen, click on the “Apply” button to apply the settings.
Display
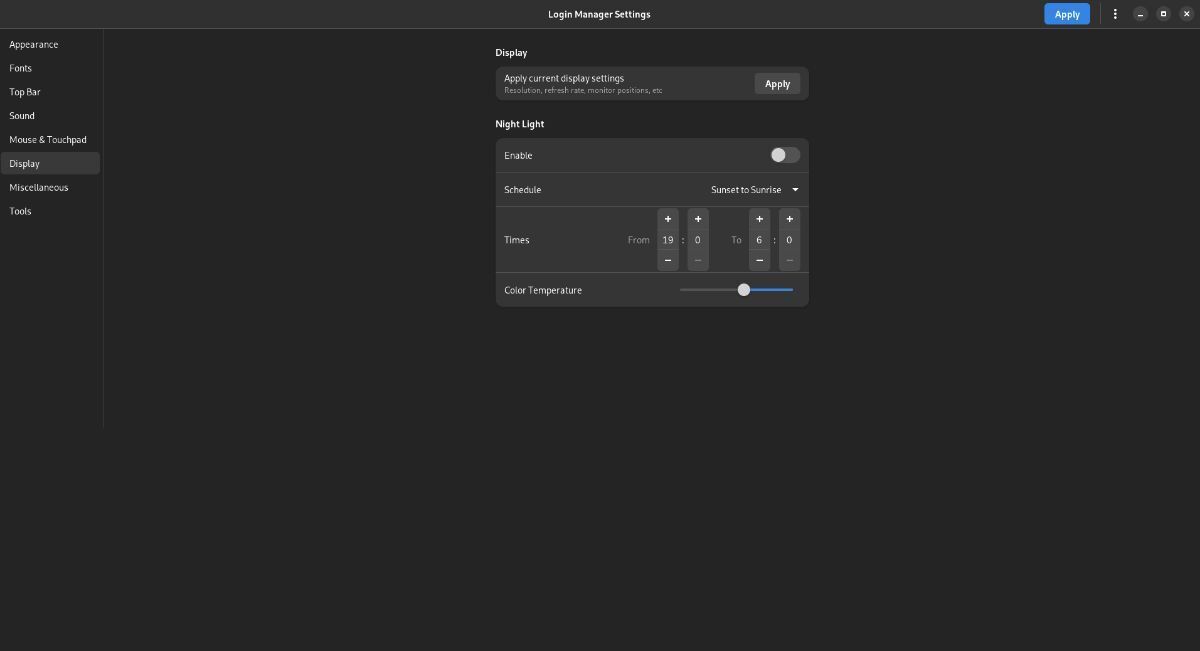
Want to change the login screen settings? Select the “Display” option. From here, you can configure the Night Light feature (the brightness tweaker that makes Gnome easy on the eyes.)
Once you’ve tweaked the display settings for the Gnome login screen, click on the “Apply” button to apply the newly tweaked settings to your system.
Misc
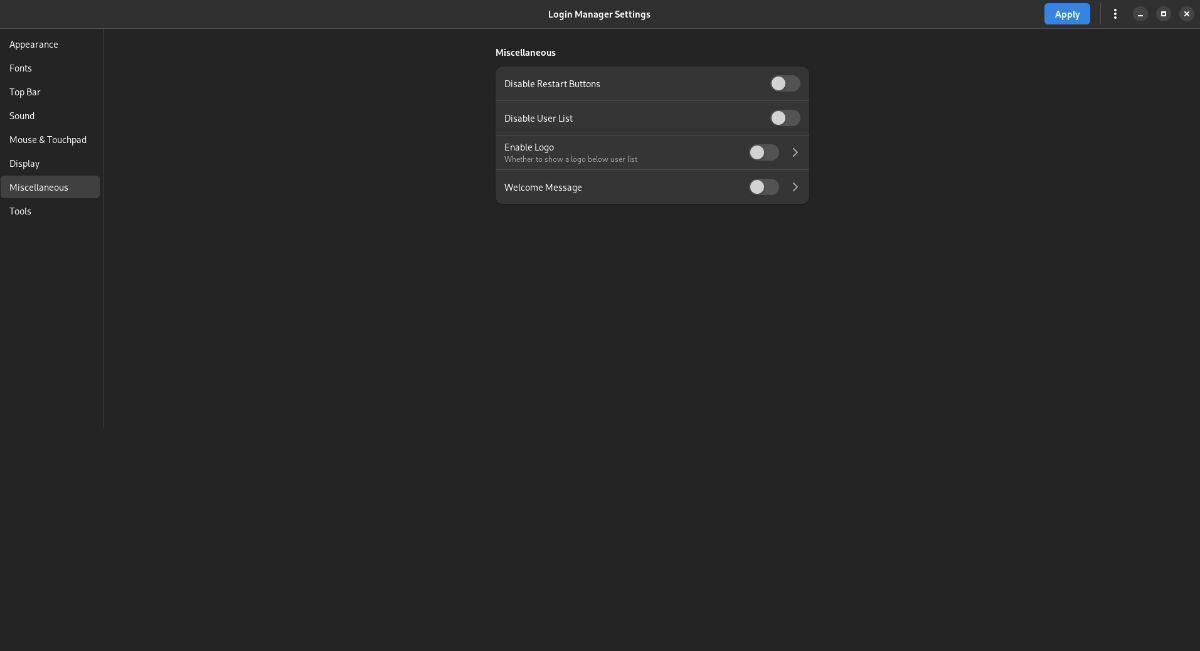
Users can change some misc settings in the GDM Settings app. To access these misc settings, click on the “Miscellaneous” section. From here, you can change things like the restart button, the user list, the distribution logo, and even the welcome message.
Once you’ve changed your settings, click the “Apply” button to apply them to the system.
Tools
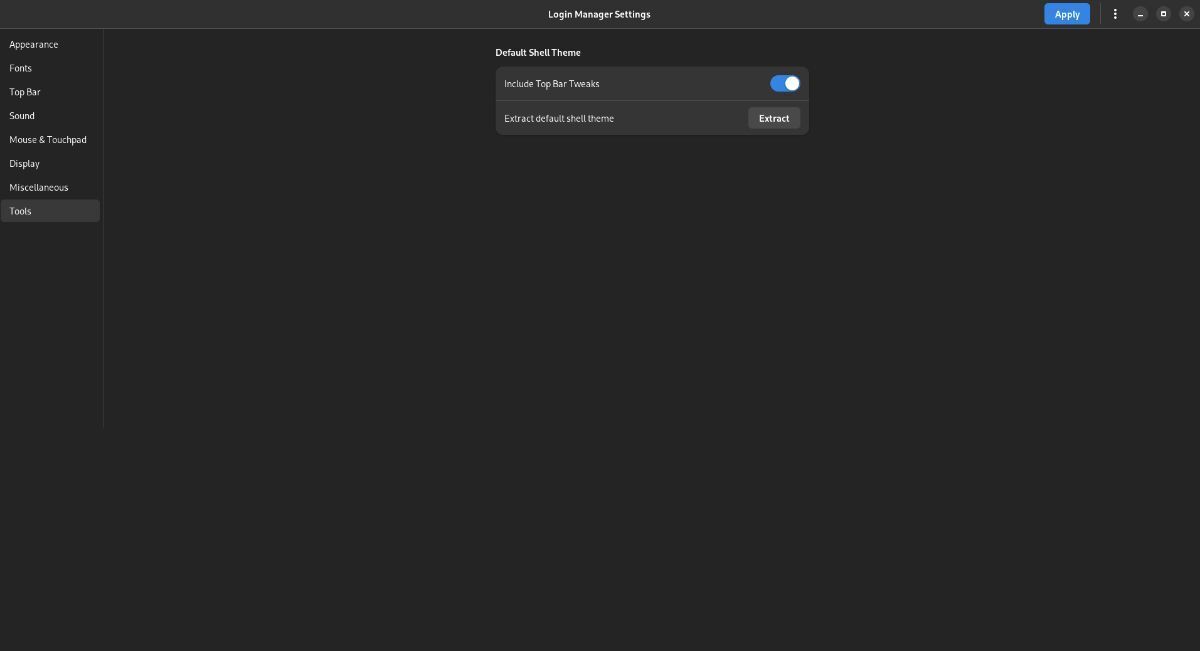
The “Tools” section of the GDM Settings area isn’t necessary for most Linux users. However, if you wish to extract the default shell theme, select “Tools,” to access the tools settings.
