How to set up a NixOS home server
NixOS is an incredible Linux operating system for servers, as it allows you to configure everything ahead of time and replicate it in deployments by simply sharing a configuration file. In this guide, we’ll show you how you can set up your own NixOS home server.
Downloading NixOS
NixOS is available for download on the official website. Before installing it on your system, you first need to download it. To do this, head over to NixOS.org and click the “Download” button.
After clicking “Download,” scroll past the “Nix: the package manager” section, and find “NixOS: the operating system.” Here, you can choose between the Gnome or Plasma desktop ISOs. It’s recommended to select a graphical desktop version, especially if your home server relies on a wireless connection, as it supports WiFi.
Once you’ve selected your preferred edition of NixOS, your web browser will begin the download to your computer. Note that this download might take some time to complete. After the download is finished, prepare for the next step in the guide by finding a USB flash drive and plugging it into your computer.
Creating a NixOS Installer
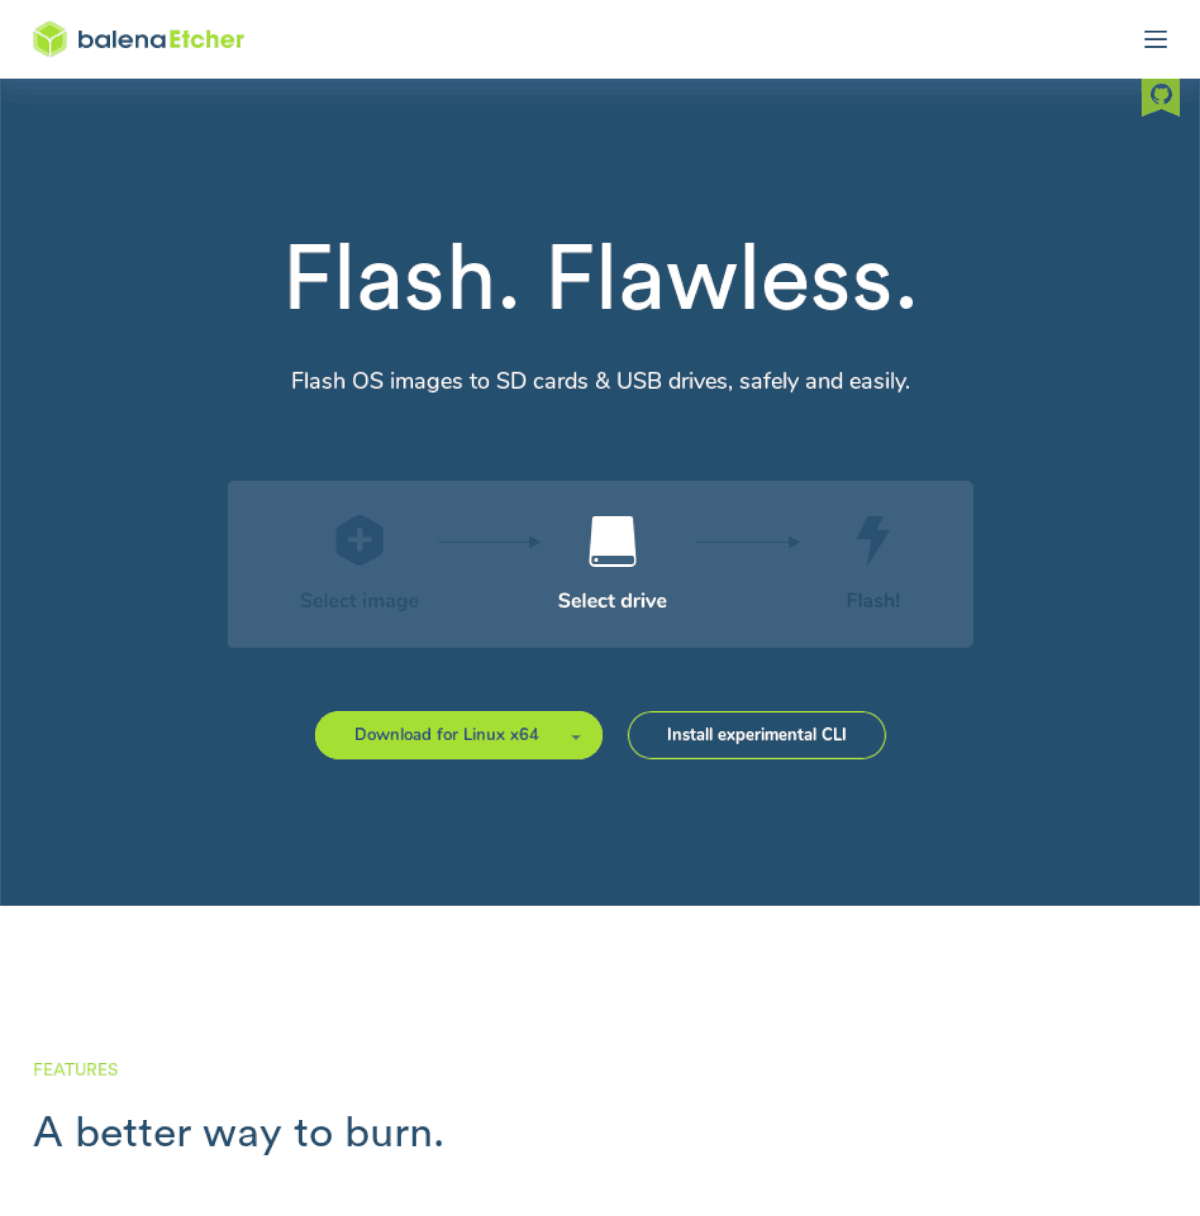
Creating a USB installation medium is a necessary step for installing NixOS on your home server. Fortunately, this process is straightforward. Start by downloading the “Etcher” tool, which is compatible with Windows, Linux, and Mac OS. Etcher simplifies the creation of bootable OS images. To download Etcher, visit its official website.
After downloading the Etcher tool, open it. Then, follow these step-by-step instructions to create your NixOS installation medium:
- Click on the “Flash from file” button in Etcher and browse for the NixOS ISO you downloaded earlier.
- Once you’ve selected the NixOS ISO file, click on the “Select target” button. Then, choose your USB flash drive as the target for the NixOS ISO.
- Click on the “Flash!” button in Etcher. Upon clicking this button, Etcher will start flashing the ISO image onto the USB flash drive. This process may take some time, so please be patient.
Once the flashing process is complete, reboot your home server and enter the BIOS. Configure the BIOS to boot from the USB drive to initiate the NixOS installer.
Installing NixOS
Installing NixOS differs from other operating systems. By default, NixOS uses a GUI installer, but the operating system is declarative, requiring you to specify your configurations in advance.
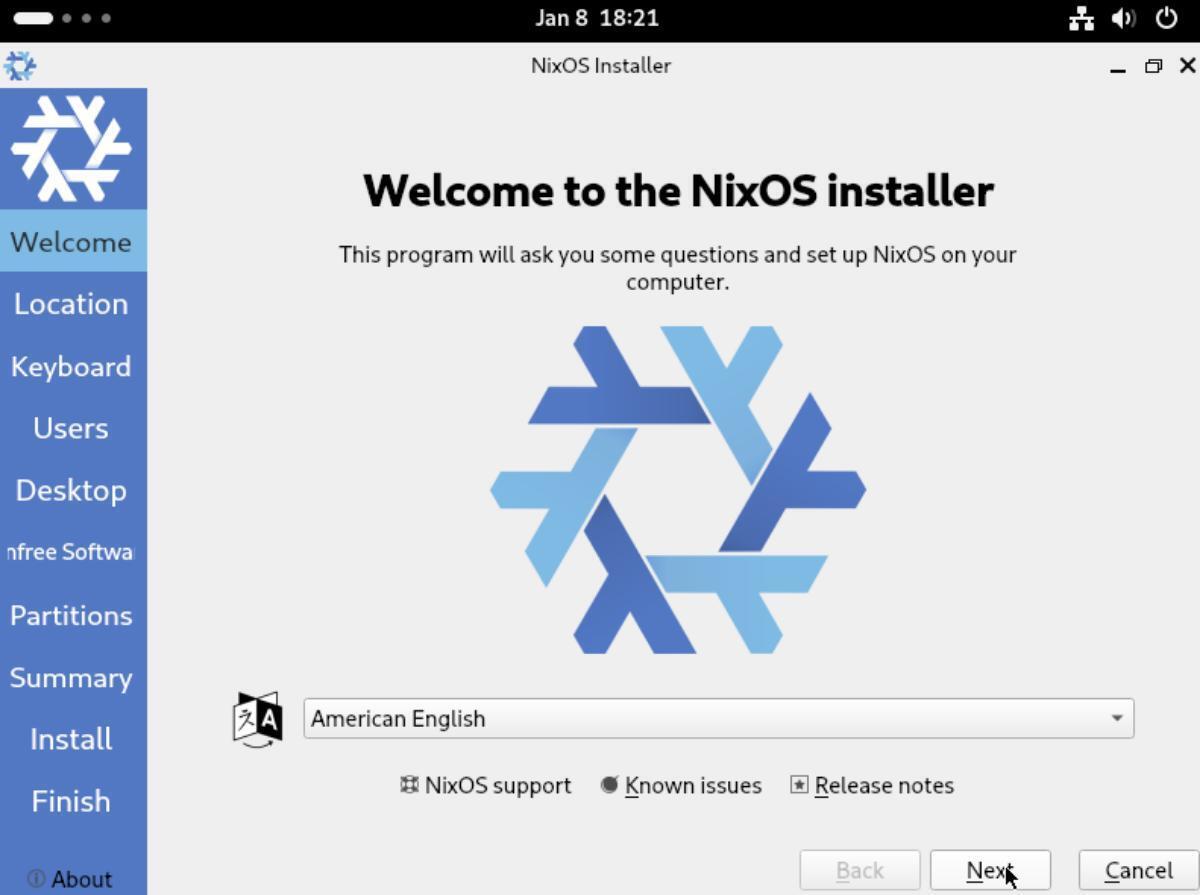
Start the installation by connecting your server to the internet, either via Ethernet or WiFi. Access the GUI NixOS installer, select your language, and click “Next.”
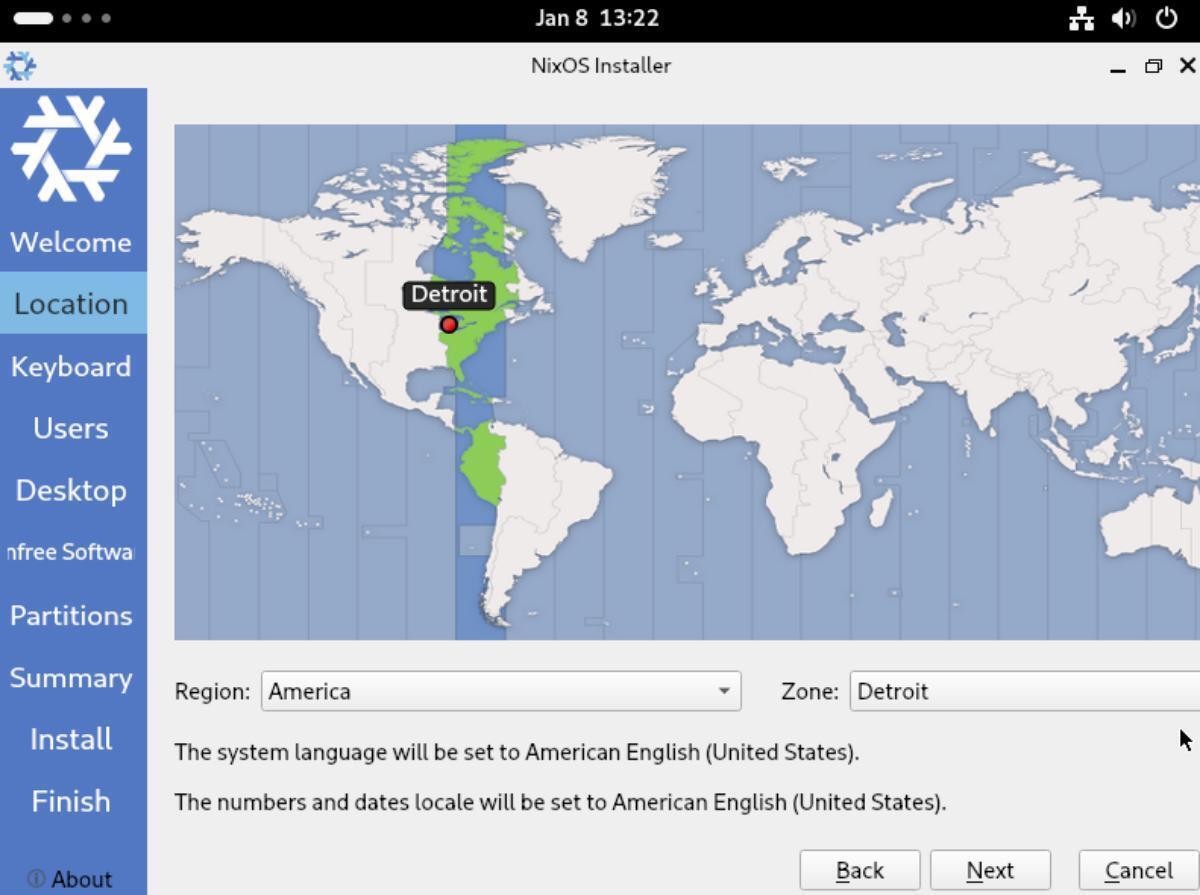
Next, set up your timezone by selecting your location on the world map, then click “Next.” Configure your keyboard layout, server’s hostname, user account, and password. Click “Next” after each selection.
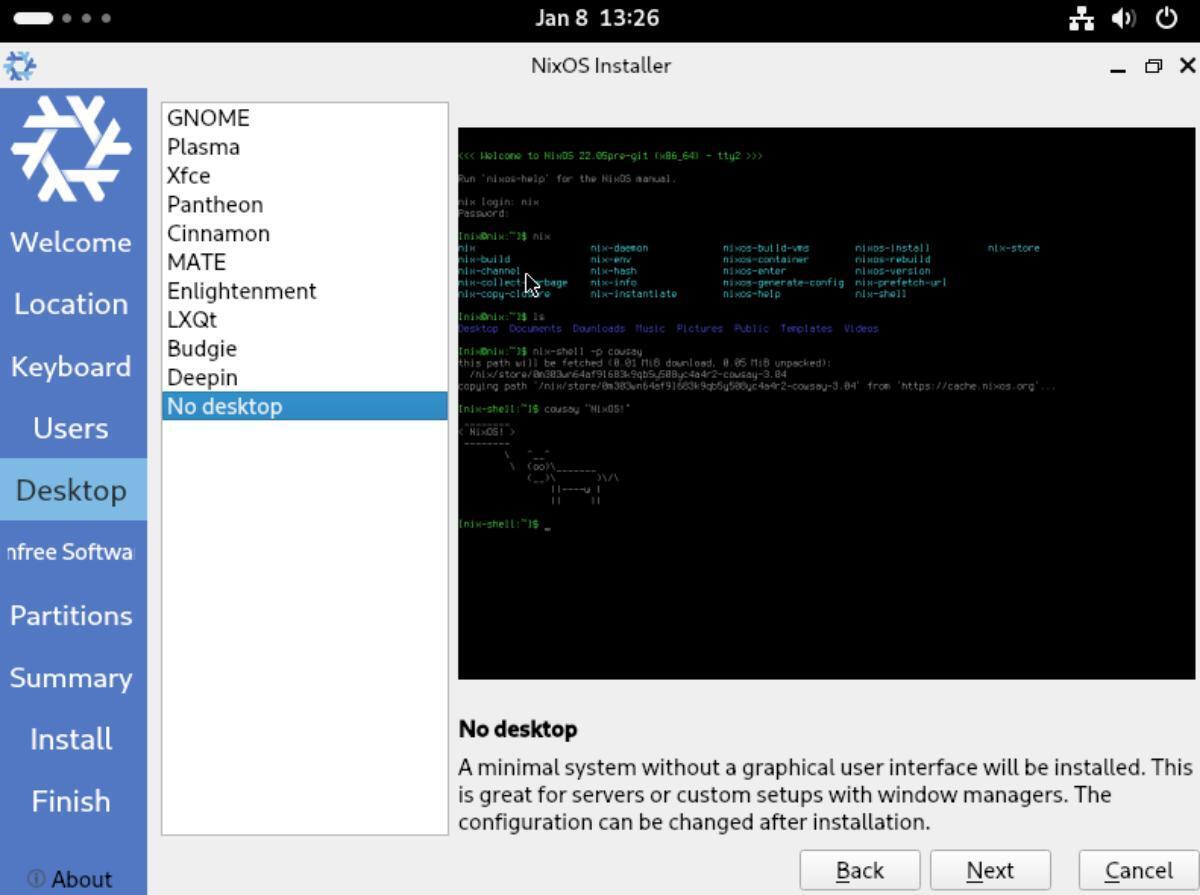
For a home server, choose the “No desktop” option, as you won’t need a desktop environment. Click “Next” to proceed. If you want to use unfree software on your NixOS home server, check “Allow unfree software.”
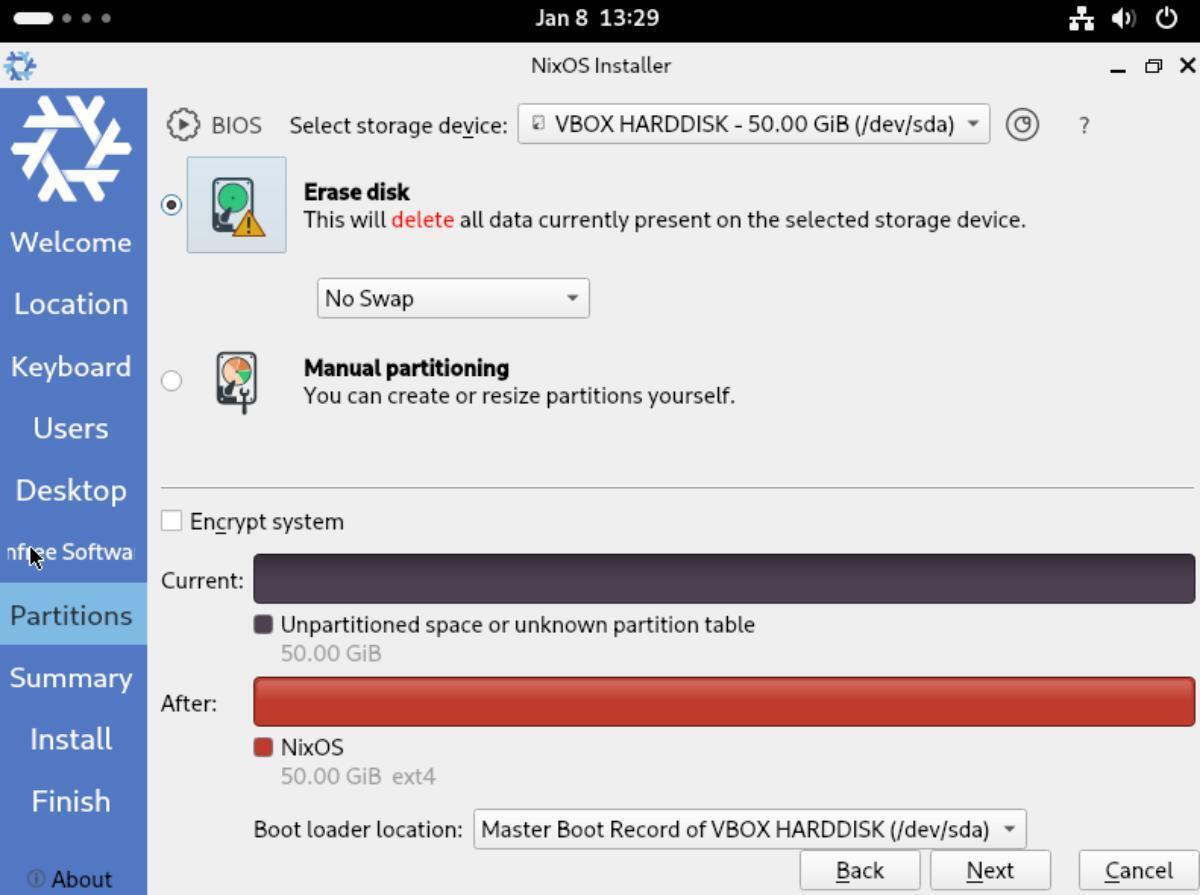
On the disk selection page, choose the disk for NixOS installation and select “Erase” to format the disk. Click “Next” to continue.
Review the summary of your configurations and click ‘Next’ to start the NixOS installation. After the installation is complete, unplug the USB and reboot into NixOS.
Setting up NixOS as a Home Server
If you’re using NixOS as a home server, you’ll need to configure some basic things. To start, you’ll need to configure SSH server access. To do that, access the command line on your NixOS system. Once you’ve got command-line access, use the cd command to access the /etc/nixos/ directory.
cd /etc/nixos/
Next, use the touch command to create the “ssh-server.nix” file. This file is known as a “module.” Adding separate modules allows you to make your NixOS server more modular, and easier to modify.
sudo touch ssh-server.nix
Open up the ssh-server.nix module with Nano and paste in the following code. This code will enable you to run an SSH server and accept SSH connections.
sudo nano -w /etc/nixos/ssh-server.nix
{ config, pkgs, ... }:

{
  # Enable OpenSSH daemon
  services.openssh.enable = true;

  # Configure GnuPG
  programs.gnupg.agent = {
    enable = true;
    enableSSHSupport = true;
  };

  # Additional configurations can be added here

  # Example: Enable SUID wrappers for specific programs
  # programs.mtr.enable = true;
}
Once you’ve added the code to the file, save it with Ctrl + O, and exit with Ctrl + X. Then, add it to your imports in configuration.nix like so:
sudo nano -w /etc/nixos/configuration.nix
{ config, pkgs, ... }:

{
  imports =
    [
      ./hardware-configuration.nix
      ./ssh-server.nix
      # Other imports...
    ];
  # Other configurations...
}
After adding ssh-server.nix, run a rebuild to enable the SSH server.
sudo nixos-rebuild switch
Basic Server Configuration
For a basic server configuration, you may want to enable things like Nginx, PostgreSQL, Cron, and other applications. For a basic server configuration, feel free to download my “basic-server.nix” module. It is pre-configured with applications like logrotate, PostgreSQL, Cron, Apache, Nginx, etc.
To install this module, do the following:
cd /etc/nixos/
sudo wget https://raw.githubusercontent.com/soltros/configbuilder/main/server-modules/basic-server.nix
Open up configuration.nix with Nano, and add it to your imports:
sudo nano -w /etc/nixos/configuration.nix
{ config, pkgs, ... }:

{
  imports =
    [
      ./hardware-configuration.nix
      ./ssh-server.nix
      ./basic-server.nix
      # Other imports...
    ];
  # Other configurations...
}
Once you’ve added basic-server.nix to your imports, rebuild Nix to begin using the applications.
sudo nixos-rebuild switch
