Manage containers with Podman Desktop
Managing Podman containers can be tedious on Linux if you’re not familiar with the command line. If you want an easier way to manage your Podman containers on your Linux system, install the Podman Desktop app. Here’s how to get it working on your system.
How to install the Podman desktop application on Linux
The Podman desktop application works on various Linux operating systems via Flatpak. So, we recommend installing the software with this method. However, it is also possible to download the Podman desktop app via the official website.
To start the installation for the Podman desktop application, open up a terminal window. You can open a terminal window on the Linux desktop by pressing Ctrl + Alt + T on the keyboard. Or, search for “Terminal” in the app menu.
Once the terminal app is open, the installation can begin. Follow along with the installation instructions outlined below to get the Podman desktop app working on your Linux system.
Flatpak installation instructions
Flatpak is the suggested way to get the Podman desktop application working on Linux. It’s suggested on the Podman website, and we highly suggest installing it this way (unless you’re an expert.)
To start the installation process, you’ll need to enable the Flatpak runtime on your system. You can do this by installing the flatpak package on your system.
Ubuntu installation instructions
To get the Flatpak runtime working on your Ubuntu system, run the following apt install command.
sudo apt install flatpak
Debian installation instructions
To get Flatpak working on your Debian system, run the following apt-get install command.
sudo apt-get install flatpak
Arch Linux installation instructions
If you want to get the Flatpak runtime working on your Arch Linux system, run the following pacman -S command.
sudo pacman -S flatpak
Fedora installation instructions
If you use Fedora Linux, the Flatpak runtime is already installed, so there is no need to set up anything before installing the Podman desktop application.
OpenSUSE installation instructions
Those on OpenSUSE Linux do not need to set up the Flatpak runtime, as it is already configured beforehand. No need to set up anything before installing the Podman desktop app.
Once the Flatpak runtime is installed, you can set up the Podman desktop app with the following flatpak commands.
flatpak remote-add --if-not-exists flathub https://dl.flathub.org/repo/flathub.flatpakrepo

flatpak install flathub io.podman_desktop.PodmanDesktop
TarGZ installation instructions
If you’re on an operating system that doesn’t support Flatpaks, you can download the TarGZ release of Podman Desktop and run it directly. To start, open up a terminal window. Then, use the wget command to download the Podman Desktop package.
wget https://github.com/containers/podman-desktop/releases/download/v1.4.0/podman-desktop-1.4.0.tar.gz
After downloading the TarGZ package to your Linux PC, you must extract it. To extract it, use the tar xvf command below.
tar xvf podman-desktop-1.4.0.tar.gz
Once the command is extracted, you can enter the directory with the cd command.
cd podman-desktop-1.4.0/
After loading up the folder, you’ll be able to start up the Podman Desktop app using the ./podman-desktop command below.
./podman-desktop
When the command is run, the Podman Desktop app will be open, and ready to use.
Podman installation
You must have the podman package installed on your system to interact with containers in the Podman Desktop app. To install the podman package on your system, follow the instructions below.
Ubuntu
sudo apt install podman
Debian
sudo apt-get install podman
Arch Linux
sudo pacman -S podman
Fedora
sudo dnf install podman
OpenSUSE
sudo zypper in podman
How to use Podman Desktop on Linux
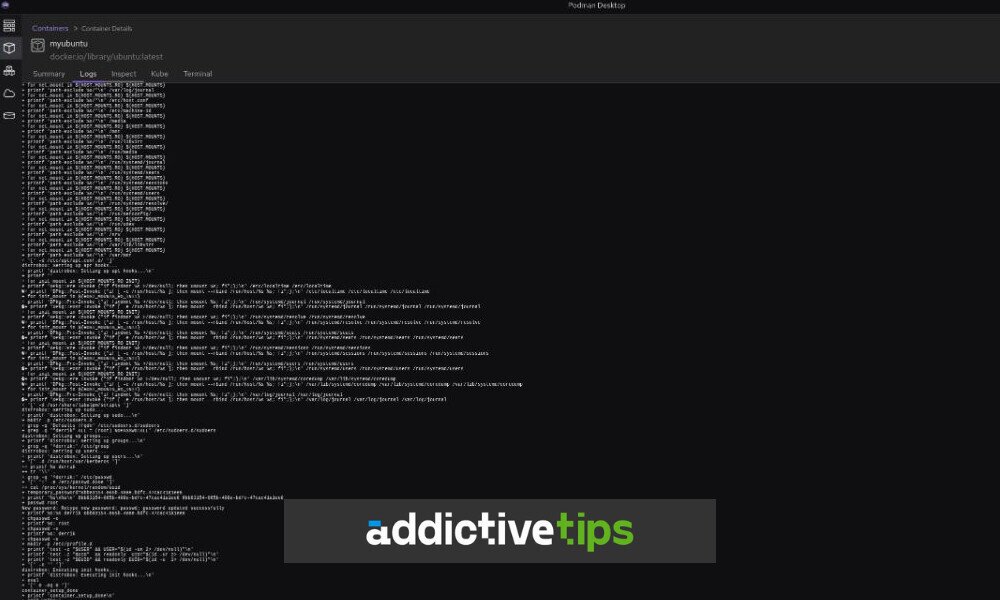
Launch the Podman Desktop app on your Linux computer. You can launch Podman Desktop by searching for it in the app menu. Once it is open, click on the “Box” icon in the left-hand sidebar.
After selecting the box icon in the left-hand sidebar, you’ll have access to the Podman Desktop “Containers” section. From here, click on the “Create a container” button.
Once you’ve selected the “Create a container” button, a pop-up window will appear. This window says “Create a new container.” Below, it’ll outline two ways you can create containers. You can use a containerfile or a Dockerfile. Or, you can create one with an existing image. Select “Containerfile or Dockerfile”.
Note: before using a Containerfile, you must add Dockerhub to your image registry. If you do not already have Dockerhub in your Podman registry, you can add it by running the following command in a terminal:
sudo sed -i '/\[registries.insecure\]/a registries = ['"'"'http://registry-1.docker.io/'"'"']' /etc/containers/registries.conf
You’ll now need to write a Containerfile for your new Podman container. Open your favorite text editor and follow the instructions below. Here is an abstract example of a Containerfile.
 # Step 1: Specify Base Image (example: ubuntu:latest)
FROM base-image:tag

# Step 2: Set Metadata (Optional)
LABEL maintainer="maintainer@example.com"

# Step 3: Run Commands
RUN command-to-install-something

# Step 4: Copy Files
COPY ./local-file-path /container-file-path

# Step 5: Set Environment Variables
ENV VARIABLE_NAME value

# Step 6: Expose Ports
EXPOSE port-number

# Step 7: Set Working Directory
WORKDIR /container-directory

# Step 8: Define Command or Entry Point
CMD ["command-to-run", "argument1", "argument2"]
The possibilities are endless when it comes to Podman Desktop. Your limits are only your knowledge of Linux. For example, if you wanted to set up an Ngnix server in the latest Ubuntu, you’d make your Containerfile look like the example below:
# Specify the base image
FROM ubuntu:latest

# Optional: Set metadata
LABEL maintainer="maintainer@example.com"

# Update package list and install nginx
RUN apt-get update && apt-get install -y nginx

# Copy a custom configuration file or website files (optional)
# COPY ./default.conf /etc/nginx/sites-available/default
# COPY ./html /var/www/html

# Expose the HTTP port
EXPOSE 80

# Set the working directory (optional)
WORKDIR /var/www/html

# Define the command to run nginx in foreground
CMD ["nginx", "-g", "daemon off;"]
When you’ve finished writing your containerfile, save it as “Containerfile” on your computer. Then, go back to Podman Desktop, select “Containerfile path” and browse for your “Containerfile.”
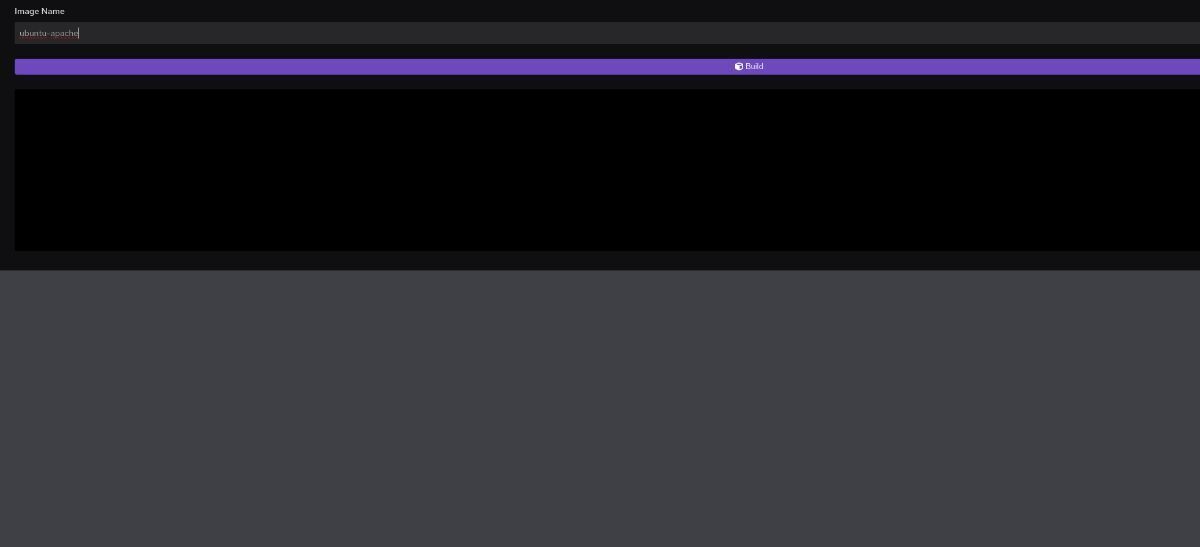
After you’ve specified your “Containerfile,” find “Image Name” and enter the name of your new image. Then, select the “Build” button to start the build. The build will take a while. When the build is finished, click on the box icon in the Podman desktop sidebar. Then, select the “Create a container” button to create a new container.
When you’ve selected the “Create a container” button, choose “Existing image”. Then, browse for the newly created image you built with Podman Desktop. Select the “Play” button next to your chosen image to run it.
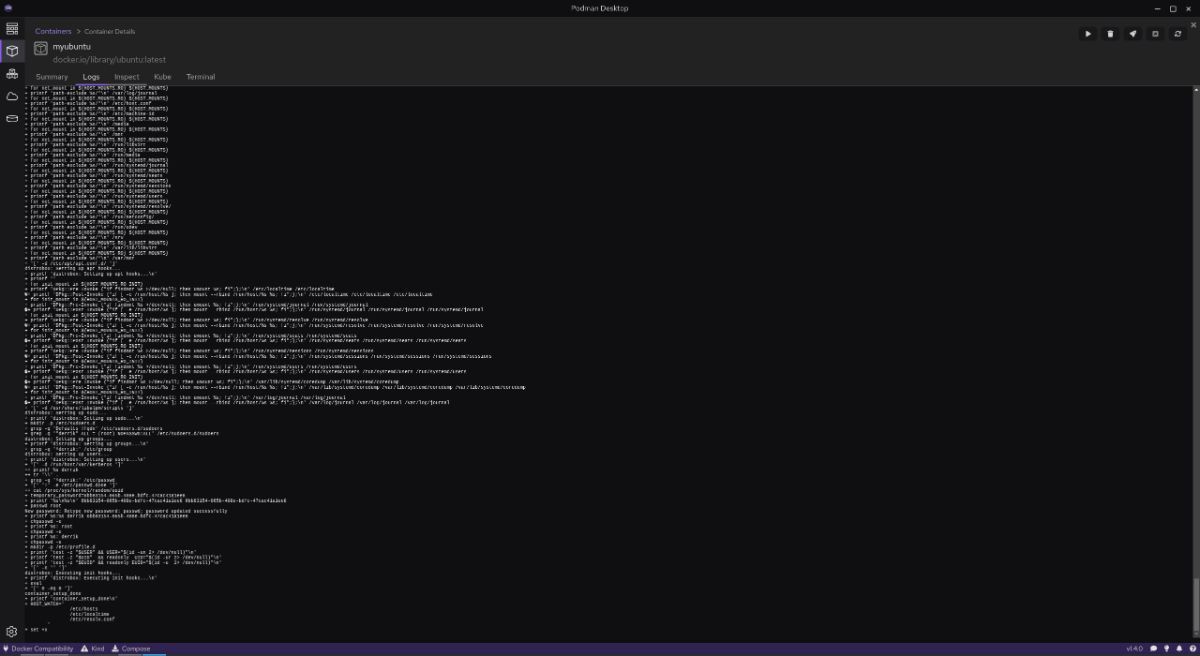
Note: you do not need to configure your container as everything was configured previously in the “Containerfile”.
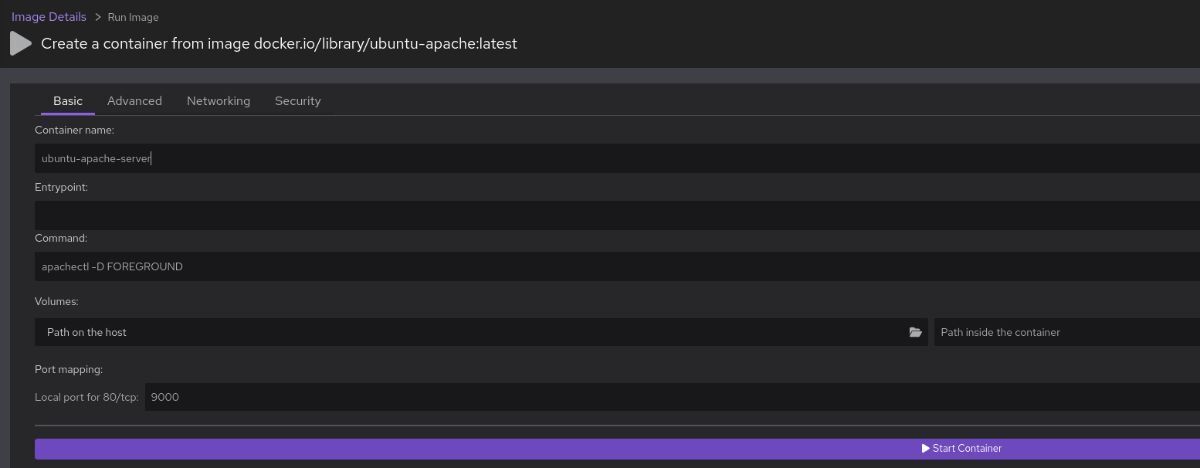
When you select the “Play” button, a pop-up window will appear. Find “Container name” and enter your desired name. Then, click the “Start Container” button to start up your newly created container.
